Common Mistakes To Avoid When Building A Raised Garden Bed
We may receive a commission on purchases made from links.
Many who dream of a verdant horticultural paradise will, in at least one corner of the garden that swims in their mind's eye, have reserved a spot for a raised bed. And why wouldn't you? Raised beds have several benefits over in-ground gardens, including their ability to warm up and come to life more quickly in the spring, effectively allowing gardeners to extend the growing season.
While raised beds can often take a while to become fully established, in the long run, they can also be easier to manage, not least because you won't need to worry about invasions from an overzealous lawn. You'll also find weed control far easier in a finite space. To put this all rather simply, there's a lot to be said for raised beds.
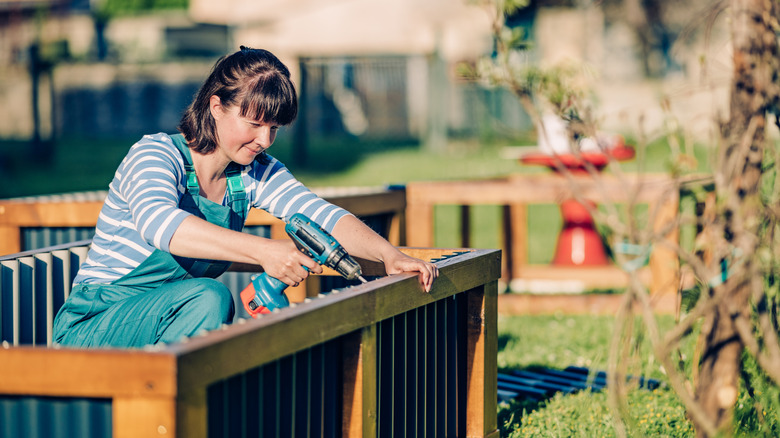
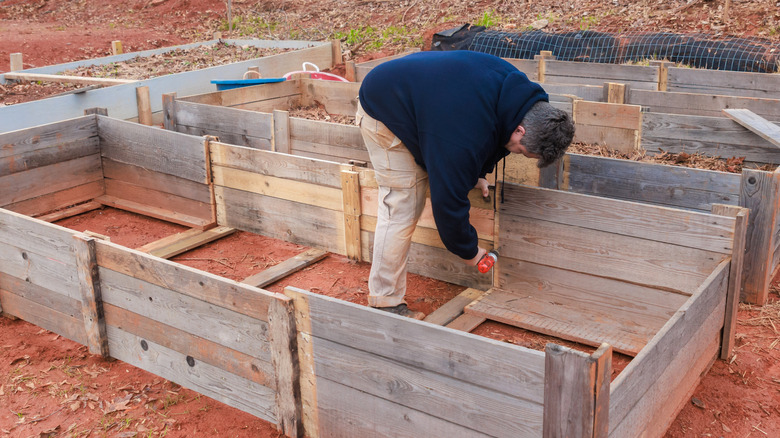
However, before you begin drawing up your plans and sourcing your materials, it's important to understand the common mistakes that gardeners so frequently make when installing one. Yes, it's possible to build a DIY raised bed on a budget; however, you should consider which materials are best for the job, especially if you hope to keep maintenance to a minimum. You should also decide where it's best to install your bed, the amount of room you'll need to leave between multiple installations, and whether its dimensions allow you to easily tend to your garden. There are plenty of other potential hurdles that you could run into when constructing your raised bed, but don't worry. With this guide in hand, you can avoid the potential raised-bed roadblocks and set yourself up for multiple seasons of horticultural success.
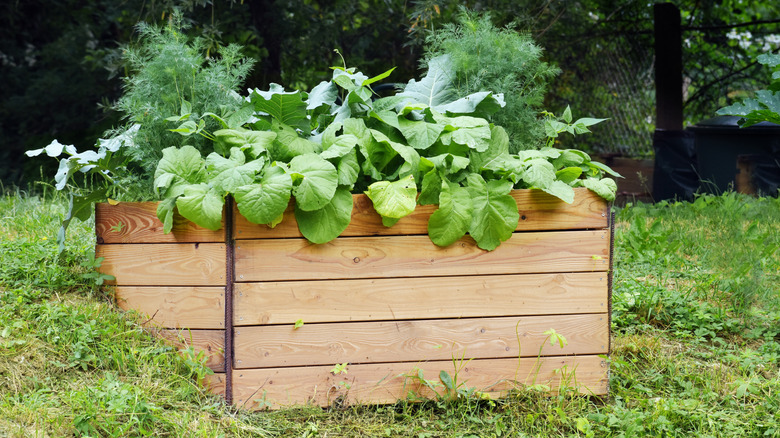
Not considering the height of your bed
While there is no one-size-fits-all approach here, it's nonetheless important to consider the height of your structure. If you get it wrong, it has the potential to hamper both your enjoyment and the success of your raised bed. For example, if you have difficulties bending over or kneeling, a taller raised bed could make your life easier when it comes to weeding, harvesting, and general maintenance. Taller raised beds are also less likely to be plagued by weeds shooting up from the ground beneath, since any dormant seeds are unlikely to grow through the depth of your substrate.
Another benefit of higher beds is that certain critters may not be able to pilfer your vegetables if they're out of reach. Just bear in mind that, if you intend to plant towering vegetables like pole beans, a tall raised bed might not be the best place to do it. Pole beans can grow up to 6 feet in height, which means that you may not actually be able to tend to them if your bed is already a few feet above ground level. And don't forget, whichever height and depth you choose, you have to fill it. You needn't pack it entirely with soil and compost, and you can even use other organic fillers like green and brown waste, which are rich in nitrogen and carbon, respectively. Nevertheless, a taller raised bed will call for more materials, which could potentially increase your costs.
Building your raised bed too wide
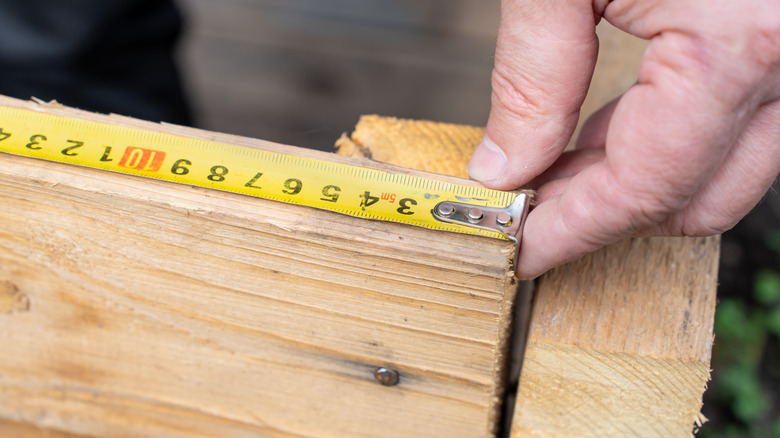
Aside from the limits imposed by the length of your garden, there's no real restriction on how long your raised bed can be. What's important is ensuring that the width doesn't hamper your ability to access your crops. If your raised bed is too wide, and you have to step into it to weed and tend to your crops, you risk compacting the soil and even damaging the roots of your plants.
Keeping your structure to a manageable and easily-accessible width is especially important if your raised bed is butted up against a fence or another boundary line. If you can only use it from one side, then try to ensure that the farthest plants are still easily within reach from the accessible part of the bed. As for specific measurements, again, there are no hard and fast rules. The Royal Horticultural Society recommends keeping your raised bed's width below 5 feet.
Not leaving enough space between multiple beds
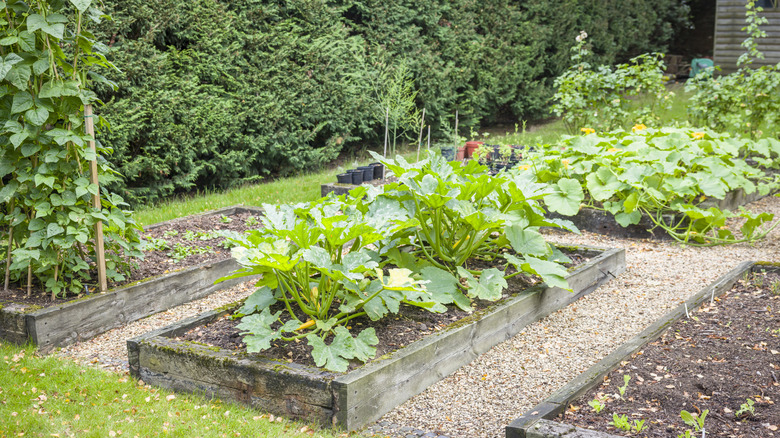
If you're hoping to realize your verdant vision of endless rows of carefully cultivated vegetables, then you're probably planning to install multiple raised beds. After all, if you have the space (and the DIY capability), then why wouldn't you? However, before you install them, try to ensure that your plans allow for plenty of space between each one.
Giving yourself around 18 inches of width between each bed will make your life far easier. Firstly, it'll mean you have ample space to kneel and tend to your precious plants. Secondly, when it comes to preparing your vegetable plants for winter, you'll be glad that you left plenty of room between them for a wheelbarrow. Instead of carrying handfuls of spent, uprooted annuals from your growing beds to the compost heap, you can simply toss them into the wheelbarrow and haul them over in one trip.
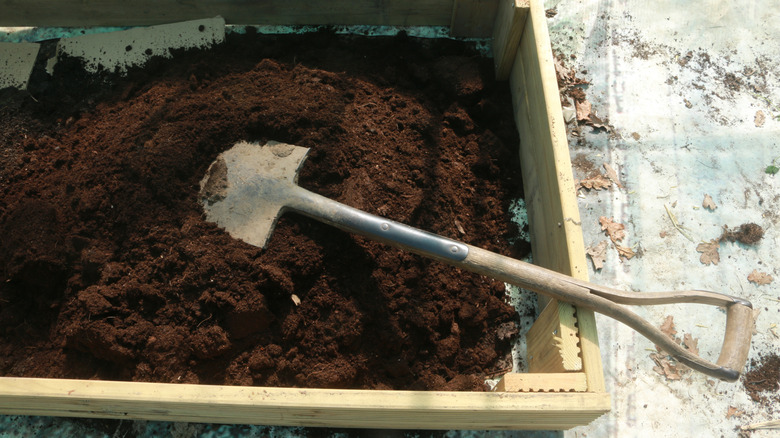
Underfilling your beds with soil
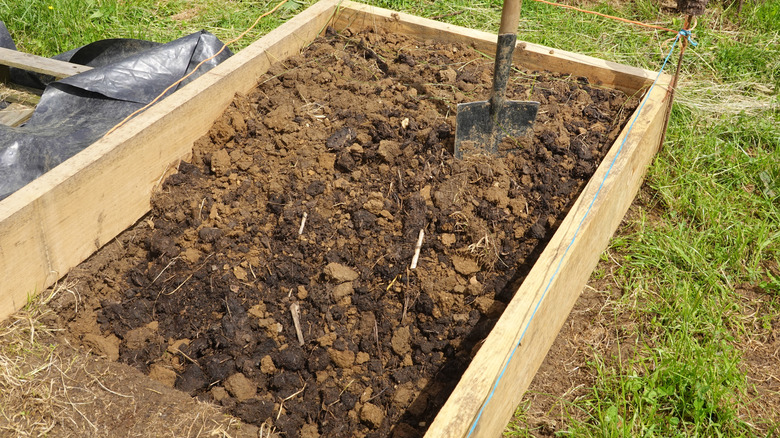
This mistake is especially common with taller raised beds, but in reality, it's an easy one to make regardless of the depth of your structure. Once your beds are built and you're ready to start filling them, it can be useful to first line the bottom layer with a non-soil substrate like rubble. This can save on costs, reducing the amount you have to spend on soil (especially if you have a pile of rubble elsewhere in your yard from another DIY project). It can also help to make water drainage in your bed as effective as possible.
Once you've added the drainage layer, it's time to top it up, and don't be afraid to fill it. Your raised bed soil will gradually settle, and you may well be surprised by how much it appears to drop over time. With that in mind, fill it to the brim with soil, and once that's done, avoid planting anything too soon. Two weeks should be enough to allow the soil and compost to settle, after which you will be left with a decent gap between your substrate surface and the rim of your raised bed.
Not considering the sunlight requirements of your fruits and vegetables
Failing to provide your plants with the conditions they need to grow is one of the most common mistakes that beginner gardeners make, and it's equally important whether you're growing in the ground or in a raised bed. Sunlight, as you probably know, plays a critical role in the development of almost all plant species, and this is especially true for most fruits and vegetables.
With that in mind, it makes sense to install your bed in a spot that receives plenty of direct sunlight — ideally a minimum of six hours per day. As straightforward as this sounds, it's important to consider how much sun a given spot receives throughout the year (not just in the summer), especially if you hope to continue gardening through the colder months. Members of the brassica family, for example, including cabbage, kale, and broccoli, will readily grow in winter, but only if they're given ample amounts of sunlight to do so. Similarly, carrots can be grown in mild winters, provided they receive a minimum of six to eight hours of sunlight a day. So, if you tend to lose your favorite sun trap to shade during the cooler months, then it might be best to look elsewhere for a spot to install your winter-growing bed.
Not factoring irrigation into your raised bed plans
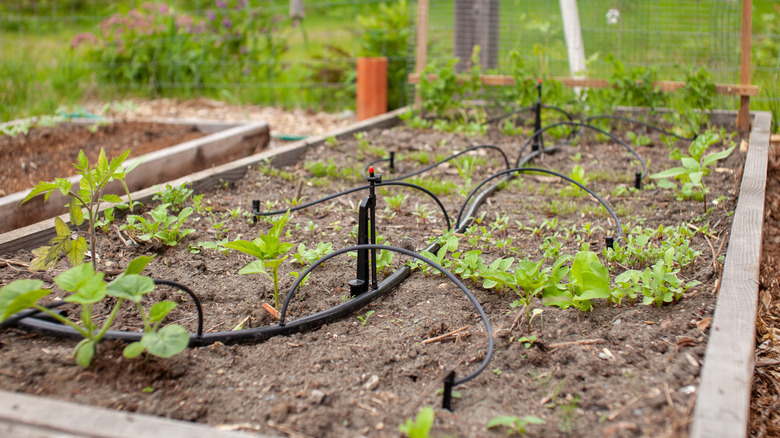
If you have lots of raised beds to keep hydrated during the warmer months, you might find that watering them is every bit as laborious as building the beds themselves. It's even more challenging if you forgot to consider this essential plant-care step during the initial stages. Of course, an extra-long garden hose could do the trick. A shorter hose is also fine, provided that your beds are built in a spot that's close to the faucet. Either is better than lugging a watering can back and forth from the spigot in the sweltering summer heat!
Alternatively, if you want to make irrigation as seamless and efficient as possible, you could install a pre-fabricated raised bed irrigation grid. These come in an array of sizes, and if you buy them ahead of your project's start, they can serve as handy measuring guides to plan your beds around. Building a DIY irrigation system for your raised bed is another option; however, if you already have your hands full setting up the beds themselves, a pre-made solution will probably be easier.
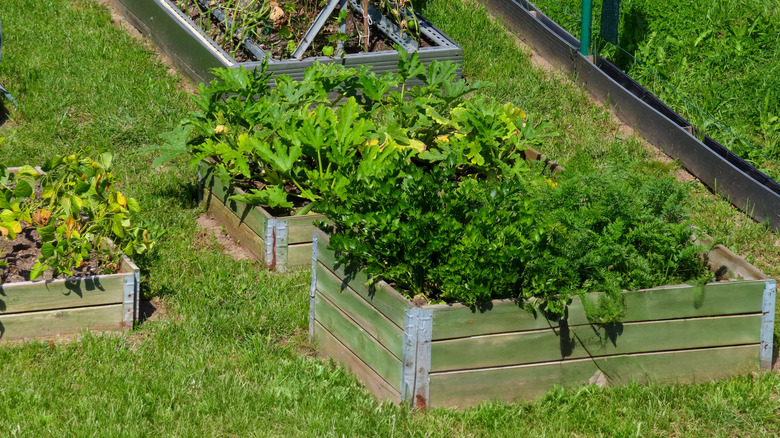
Choosing the wrong build materials
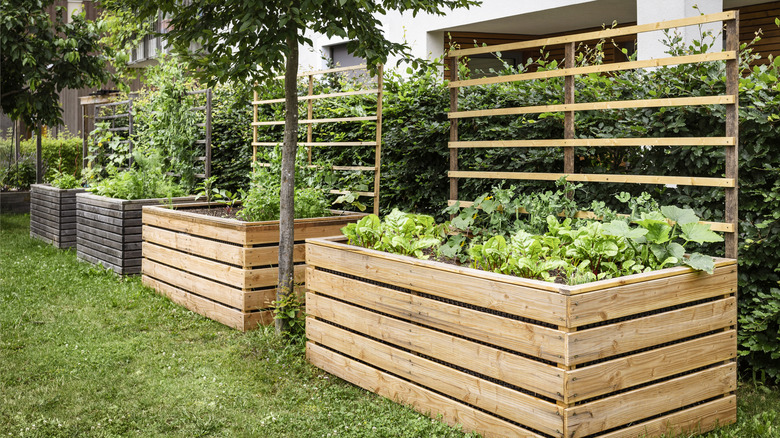
Raised beds can be made with an array of materials, including metal, lumber, bricks, and paving slabs. They all have their merits, but wood is often the most commonly associated with this kind of DIY garden project. With wood, it's important to use the right kind. Lumber that's been treated for weather resistance will inevitably last longer; however, you may only get a decade's worth of growing out of the wood before you need to remove and replace it. More naturally-durable choices, like redwood or cedar, are better for the job, although such materials can quickly — and significantly — add to the cost of your project.
Another option is to use metal, which could potentially double the lifespan of your bed compared to one made from treated lumber. Similarly, leftover pavers or bricks make for extremely durable raised beds. For brick or paver-built beds higher than 8 inches, the Royal Horticultural Society recommends first installing hardcore foundations and concrete footings, meaning you'll need a certain amount of skill to ensure the structure is built for long-term stability.
Not leveling your raised bed
It might seem like the natural thing to do when building your raised bed, but allowing it to follow the natural contours of your garden is usually best avoided. In other words, try to ensure that your raised beds are as level as possible. Doing so is relatively straightforward. If you're installing at the top of a slope, then digging down at the high end of your bed will help level it with the bottom end. And if you're installing it at the foot of the slope, do the opposite — building the low end of the bed up to sit level with the high point.
As for why it's important, it once again boils down to giving your plants the optimum conditions to grow. In beds that haven't been leveled, water can easily collect at one end, thus overwatering some plants and underwatering others. What's more, if your area experiences considerable amounts of rainfall, the soil could easily be washed out from your raised beds' low points, creating a mess in your yard and requiring a potentially expensive top-up with new soil.
Skimping on your soil
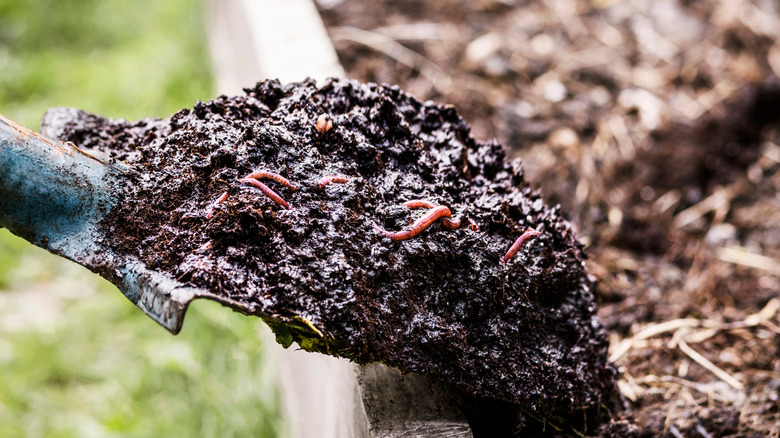
The obvious way to fill your new raised beds is to use the earth that's already abundant in your garden, but this is potentially a big mistake. Unfortunately, garden soil tends to be too heavy, and if you have excess potting soil on hand, it is likely to be too light. The solution? A sandy loam soil, which is a blend of sand, clay, and silt.
The reason loamy soil is so good for gardens, including raised beds, is that it's loose, it drains well, and perhaps most importantly, it's jam-packed with nutrients. When you build a raised bed, don't forget that you have to create your own growing area from scratch. The right substrate gives your plants the most nutrient-dense start to life possible. It might seem like an unnecessary expense, especially if you had to dig out portions of your garden to level your bed and now have heaps of soil ready to go. If you give your new plants plenty of nutrients and the ideal growing medium, however, you'll be rewarded with thriving garden beds.
Not accounting for tree roots
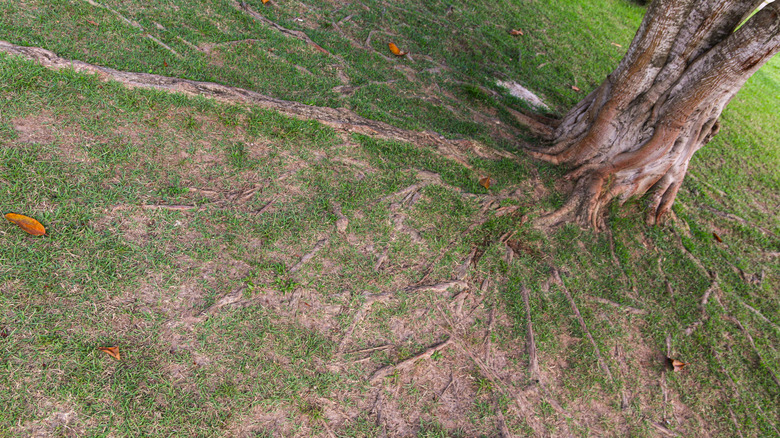
Those stately trees that provide welcome shade in the summer and a useful buffer against the winds of winter are likely to have some seriously long root systems. And if you intend to dig a raised bed near trees, you should know that, if their roots are anywhere underneath your new structure, they're unlikely to consider your vegetable-growing needs. In other words, they'll gladly soak up all available nutrients.
So, before you build your raised bed, check the area for roots. If you need to cut some away that are already in place, try to keep pruning to a minimum to avoid causing undue damage to the tree. Ideally, refrain from cutting more than 25% of a tree's root system. Once the garden bed is built, you should still monitor the area periodically, as wandering tree roots can easily damage the walls and foundations. This can be managed on an ongoing basis by annually trenching around the bed and snipping away any errant roots. Alternatively, you could line the inside of your bed with a heavy-duty root barrier, which should be enough to keep them out.
Filling the bottom of your raised bed with inappropriate materials
As touched on before, how high you fill your raised bed and the substances with which you do it are key to ensuring an optimal growing ground. Filling it from top to bottom with soil is one tip to help your raised garden bed thrive; however, this is unlikely to be cost-effective. Instead, if you can't justify the cost of an all-out soil approach, then consider adding a layer of old, already-rotting twigs and branches or a layer of fallen leaves to the bottom of your bed. Whatever you do, avoid filling the bottom with plastic or trash bags, as this can cause soil contamination.
Gardening experts widely agree that the best approach is to layer your raised bed like a lasagna. For example, you could line the bottom with rubble, topping it up slightly with coarse, rotted twigs and branches, followed by compost, and then a final layer of loamy soil. And if you want to make sure that no weeds make their way from ground level up to the surface of your final substrate, consider using cardboard in your raised beds before layering other materials. Another benefit of a cardboard liner is that, if you opted to fill your bed from top to bottom with soil, the liner will help prevent the soil from washing out.
Building your raised bed too far from your house

There are, in fact, three reasons why you should avoid building your raised beds too far from the house. The first boils down to easy access. When the growing season is in full flow, you'll want to be able to quickly venture outdoors and tend to your plants.
The second reason is somewhat related to the first. If you build your raised bed out of sight, then it can all too easily become out of mind. When your raised beds are in full view of your kitchen, for example, you're much less likely to forget to give them the attention that they need. Finally, the third reason relates to an earlier mistake and involves building your beds too far from the water supply. In many households, the outdoor faucet is connected either very closely or directly to the house itself. Whether you're running a hose over to your beds for a daily watering or installing a dedicated watering system, your irrigation plans will be far easier to realize if your beds are built close to the water source.