Hacks To Improve Garden Soil On A Shoestring Budget
We may receive a commission on purchases made from links.
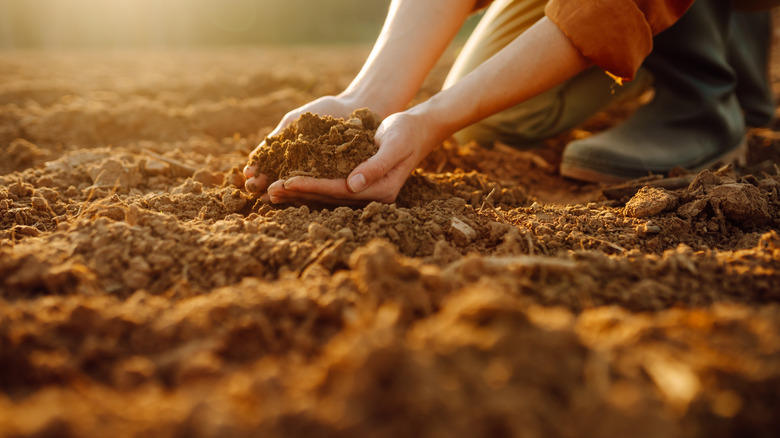
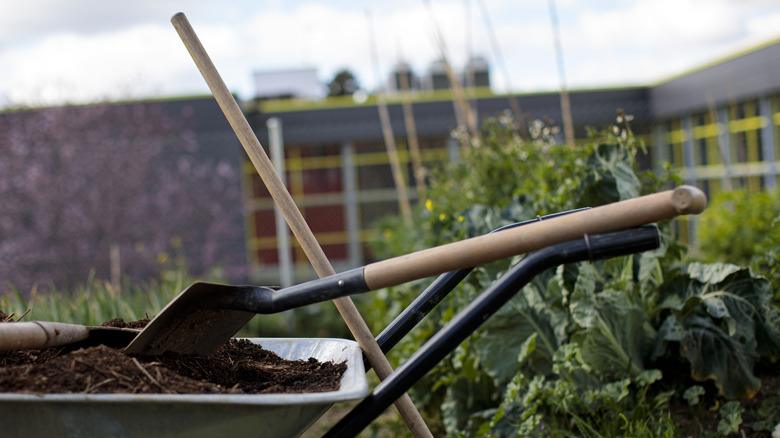
We all know the benefits of starting a garden: health, self-sufficiency, ornamental beauty, and more. However, for many, beginning a garden can be a rather intimidating affair. Questions arise like where in my yard should I plan the garden? Should I grow using raised or in-ground beds? Is my soil even healthy enough to sustain a garden? This is perhaps the most important question of all, because without good soil you don't have a garden.
Now, even if you don't have the best soil in your yard, you can improve it to the point where it can grow beautiful flowers or excellent produce. With various amendments and fertilizers, you can transform poor or nutritionally unbalanced garden soil. If you're thinking that it is going to be awfully expensive to bring in these ingredients, you might be right. Industrially produced fertilizer, for example, can be really expensive. Bringing in a ton of it is not cost effective in the long term, especially if you are on a budget.
It's important to know that improving the soil in your garden does not have to be expensive. As a matter of fact, there are numerous different ways you can improve your soil that don't cost you a single penny. So, if you're on a shoestring budget and looking to improve garden soil, here are some great hacks for you to try.
Invest in a soil test
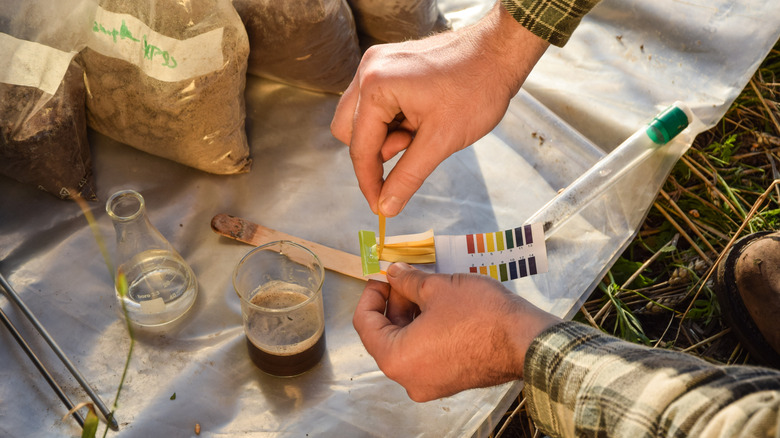
It may seem strange to start this budget-conscious list with a monetary investment, but hear us out. If there is one thing worth spending good money on before you start working on your garden soil, it is a soil test. These tests provide a detailed analysis of what is going on underground. They can tell you if it is highly acidic, if there are enough nutrients, how much clay is present, and even if there are traces of chemical fertilizers or toxins in your soil. The amount of detail depend on the kind of test you choose.
While soil tests can certainly range well into the thousands of dollars territory, DIY tests, like the MySoil test kit can run as little as $20 to $50. You can even use an old mason jar to help perform a soil test. You can also call your local university cooperative extension office and have them come and perform the test for you. This might cost a little extra, but it could be worth it to get the expert analysis.
Once you've determined what you're working with, you can get down to the business of actually figuring out what your soil needs. Does it need more phosphorus? Does the pH need to be balanced? All of these questions can be answered by a soil test. Failing to get one is one of the biggest mistakes any gardener can make.
Check your kitchen cabinets for baking soda
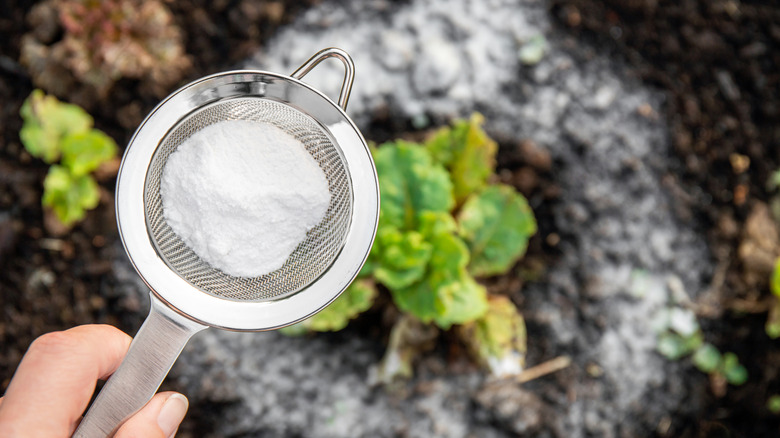
Did you know that you can improve your garden soil from items found in your kitchen cabinets? It's true! While organic waste from food stuffs can be used to make compost, baking soda is a common household ingredient that can bring some benefits to your soil.
In the garden, baking soda acts as a decent neutralizing agent. This is especially good if you have soil that is overly acidic (baking soda is a mild base with a pH around 8.5). While there are some plants that love acidic soil, such as blueberries, hydrangeas, and sweet potatoes, most plants require a more balanced pH level in order to grow properly. Thanks to its alkaline nature, baking soda can help neutralize acidic soil and make the pH more balanced.
The application of baking soda can be as simple as sprinkling it at the base of your tomato plants, who will really thrive with its use. Another great use for baking soda in the garden is actually to keep weeds at bay. It targets a plant's surface and will keep shallow rooted weeds like chicory and clover from overgrowing in your garden beds. You just need to be careful, as an over application of baking soda will actually cause salt build-up and harm your soil. So it's best when used sparingly, or in small quantities for container gardening. Still, there's a lot of bang for your buck considering you can get a box for under $1 at the grocery store.
Add calcium with eggshells
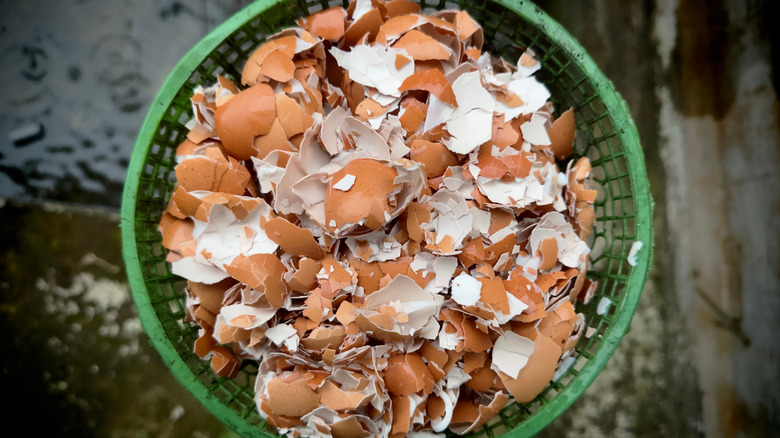
Eggshells are an unexpected superstar when it comes to your garden. Whether you buy them from the grocery store or have your own backyard flock, eggshells can be an excellent, affordable means of adding nutrients to your soil. The main benefit is that they contain calcium. By crushing them and adding them directly into your garden soil, that calcium will get released over time (or you can create a liquid fertilizer). And calcium is just one of many minerals that a whole host of plants need in order to grow to their fullest.
Another benefit eggshells have is that they help reduce pH in a similar way to baking soda. Since calcium is alkaline and not acidic, eggshells will help neutralize the pH in the soil, making them extremely beneficial for plants like tomatoes, as well as numerous types of herbs. They can also help aerate the soil and keep it from compacting.
If you can source organic eggs from a neighbor or the grocery store, those are going to be your best option, since a chicken's diet can impact its shells. When you've collected a good amount of shells, wash away any remaining egg residue before crushing them and applying them to your garden soil.
Don't toss your grass clippings
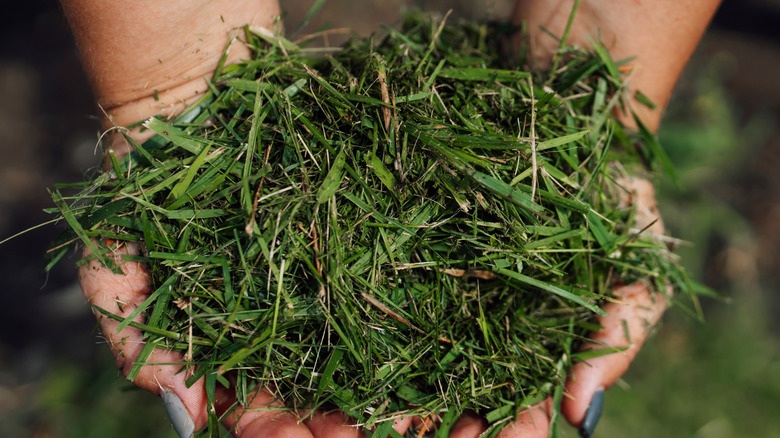
Have you ever wondered what to do with all of your grass clippings after you've finished mowing the lawn? You've probably considered just throwing them away over the fence or right into a paper bag bound for the landfill or composting center, depending on your community's options. Well, we're here to encourage you to stop throwing away your grass clippings and use them in the garden instead.
Grass is just another type of organic matter that can have multiple benefits for your lawn. On a practical level, you'll probably end up composting your grass clippings. They add good amounts of nitrogen to your compost, which will heat up the pile and allow for excellent decomposition rates. You can also apply clippings directly to your garden beds as a form of mulching. Again, as it decomposes (grass decomposes quickly), it will help add nitrogen, but also helps retain moisture and inhibit weed growth.
Grass clippings can also be a major upgrade for your raised beds. You can use the lasagna method of garden bed building: Layering grass clippings and other organic materials on top of each other with soil to create a well-aerated bed with built-in nutrients. So, the next time you mow the lawn, save those grass clippings instead of tossing them. You'll end up saving money and improving the health of your garden.
Compost your coffee grounds
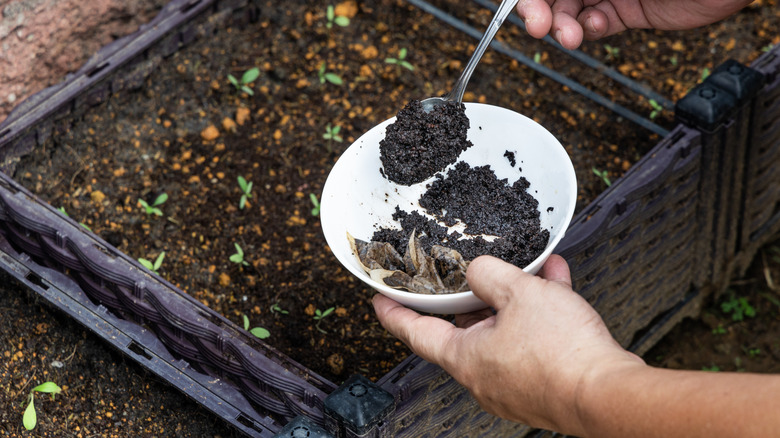
If you are a proponent of making your own coffee, listen up please! Stop throwing your coffee grounds into the trash: Compost them instead. Wait one second, though: Before you just start overloading your garden compost with coffee grounds, it is important to know that you need how to do it in order for everything to work properly. This is because an unbalanced compost pile will too much coffee will actually become toxic and end up harming your plants.
As such, you never want to exceed 20% coffee grounds by volume (in fact between 10% and 20% is great), mixed in with larger quantities of other organic matter, such as grass clippings or leaf material. This way, the coffee grounds get composted with other material, neutralizing the caffeine that could actually affect germination of your plants. This is also why you never want to apply coffee grounds directly to the base of your plants or into your soil without first composting. If you don't drink much coffee, you can often get free spent grounds for composting from your local coffeeshop.
When coffee is properly composted, it can have several unexpected benefits to your garden soil: It encourages beneficial microbes, and adds plenty of nitrogen to the soil. Another great thing coffee grounds do is help deter harmful pests like slugs from eating your plants. Create a spray solution that is one to two percent coffee to water and spray it directly onto your soil. Caffeine is toxic to slugs (so dark roast coffee or espresso is best), and they will not be remotely interested in seeking out your garden if you do this.
Wood chips are like garden magic
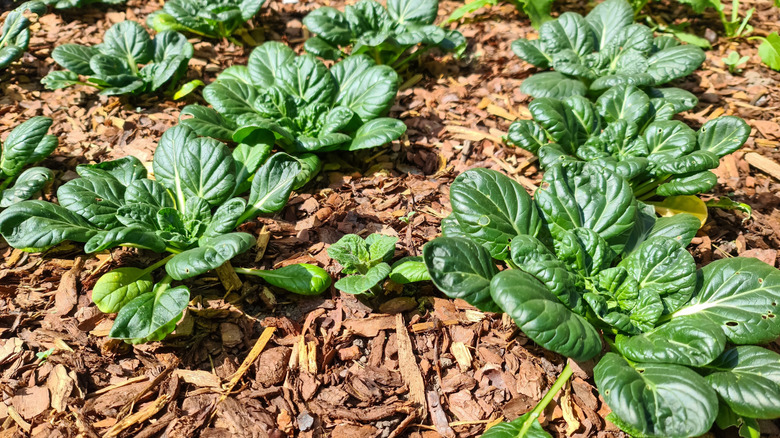
Wood chips are truly like magic for your garden. Anyone who has ever heard of the Back to Eden traditional gardening method developed by Paul Gautschi will know just how beneficial wood chips can be. When applied in layers like a mulch, the chips steadily break down over time, feeding your soil like a slow-release fertilizer, and helping to create a soft, highly nutritious topsoil that allows your flowers, plants, and produce to thrive.
Another benefit to wood chip mulch is that it helps retain moisture and prevent weeds from spreading. Depending on where you live, sourcing wood chips can be a little tricky. Most local tree services will be happy to drop some off in your yard, and you can also check and see if your local department of public works has any available for free, or use an online service like ChipDrop.
One thing that we need to make clear, however, is that wood chips should only ever be used as mulch layers on top of your soil. You don't want to mix wood chips into your soil: It might actually rob the essential nitrogen that helps the decomposition process. Instead, view wood chips as a long game nutrient boost. It's also worth noting wood chips as mulch make cozy homes for pill bugs, centipedes, slugs, and other creepy crawlies, so you don't want to lay it too deep. Figure 2 to 3 inches is plenty most of the time, adding another inch to kill off a weed problem or for new gardens. You'll want to keep the area around the base of plant stems and tree trunks free of wood chips, so roots can breathe.
Wood ash also improves pH
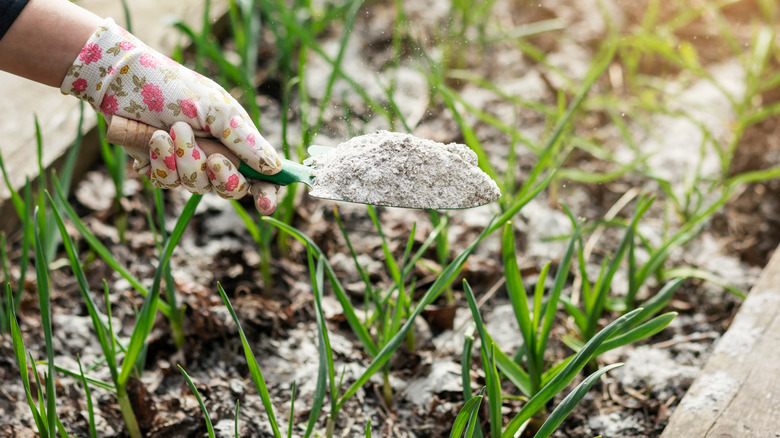
If you've wondered what to do with the leftover wood ash from a wood-burning stove, firepit, or summer campfires, why not use it in your garden? It's a great, cost-effective solution that actually has some pretty decent benefits when used properly. It's worth noting before we go further that, like baking soda, wood ash should be used sparingly in direct garden application. It's a great neutralizer that will work well in acidic soils, but not so much in non-acidic soils, so you'll want to pay attention to your soil's pH and what you're planting. Wood ash can even be beneficial for your fruit trees.
Used as a fertilizer, you can evenly scatter between 5 and 10 pounds of ash for every 100 square feet on freshly tilled, unplanted soil. You can also incorporate small amounts into your compost pile. There is plenty of calcium carbonate, a little potassium, phosphorous, and other trace minerals like iron, manganese, and zinc found in wood ash. Making your compost roughly 10 percent wood ash can actually create a much better compost mix nutritionally, than compost with no ash.
One thing you need to make sure of, however, is that you are only using ash from locally burned wood that hasn't been chemically treated in any way. Wood can contain heavy metals that don't do not burn off, and can come back to harm to your soil. Likewise, be sure not to burn wood that is known to have grown near industrial sites, as they can also have chemicals within them. The primary nutrients also leach out easily with moisture, so if that pile of ash has been sitting in the rain, it's not worth scattering in your garden.
Get manure from local farms or livestock
While we don't necessarily like to think about the fact that manure from livestock is one of the key ingredients in organic fertilizer, it remains true that one of the very best things you can do for your garden soil is fertilize it with manure. Now, sourcing manure can be a little tricky. Unless you have your own livestock, you are going to need to get your manure elsewhere. Thankfully, depending on where you live, you can find aged livestock manure for cheap or free from local farms.
Aged is the key word here. Fresh manure may contain pathogens like E. coli or salmonella. Aging it (essentially composting) creates high enough internal temperatures to kill them. Manure from poultry, meanwhile, can also be too "hot" — too high in nitrogen. Composting helps here as well, blending it with coop bedding or other organics to lower the nitrogen (and kill pathogens). Where possible, it's better to get aged manure, from reliable sources, which is well turned and fully neutralized, than rely on less thorough home composting.
It's also important to remember that manure is an inconsistent material as a nutrient boost. Some sources don't even call it a fertilizer in the modern sense, since you can't be certain of the NPK balance: The ratios and potency can vary based on animal, diet, even location, and nitrogen is available to plants only very slowly. However, once aged and properly applied, manure is an affordable resource that adds great nutrients like potassium and phosphorus to your soil, which plants and vegetables absolutely love to feed on.
Chop your fallen leaves
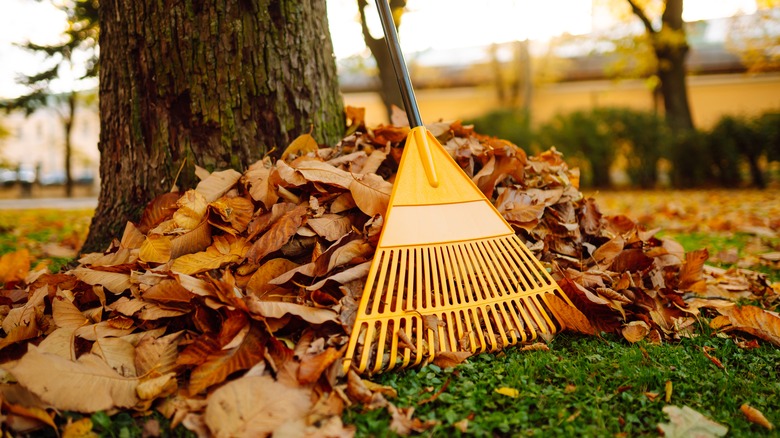
Fallen leaves can absolutely be fuel for your garden soil. We all know how annoying it is to rake or blow your leaves into piles each year to make your yard look nice and prepare it for winter. Much like with grass clippings, instead of throwing bags of leaves in the garbage, taking them to the composting center, or burning them in a late season fire, use them as a means of feeding your soil.
Chopping or shredding your leaves up is going to be more beneficial to your garden than leaving them as they are. By cutting them up, you advance their decomposition, meaning that you are going to get those essential nutrients into your soil a lot faster. You can cut up your leaves with your lawn mower. Just be sure to use the bag attachment to catch them all. You can also leave them in a pile to compost over winter, then chop them up in the spring.
You don't need to compost leaf matter in order for them to start working in your garden. They're a high-nutrient mulch that can be layered over the soil in winter, or tilled directly into the soil in the spring for a slow release of nutrients and great moisture retention. As a mulch, they also block sunlight and oxygen so weeds underneath won't germinate. Tilled into the soil, they are great at preventing erosion or compaction. If you don't have enough trees on your property, reach out to municipal collection services which may have all you need, available for free.
Used hay or straw for green compost
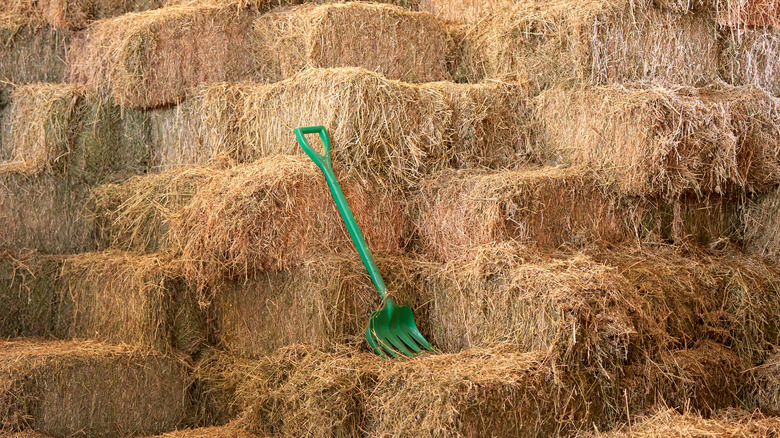
Our final hack for improving your garden soil on a budget is incorporating used hay or straw for green compost. Often first used as bedding for animals, it can be sourced from local farms (sometimes for free) or from garden centers for relatively little money. Hay that got left out in the rain might be called "spoiled" hay, and is no longer good as feed, but it's still compostable. You don't need a lot to get the benefits they bring to the soil: A bale or two will do, depending on the size of your garden. Straw can be one of the best mulches for your garden. Lay it down on your dormant garden beds over the winter, and it will decompose nicely, adding their nutrients back into the soil. That way, come spring, you already have healthier garden soil.
One thing to keep note of, especially with hay, is its tendency to drop weed seeds during that time. You may find yourself contending with weed seeds growing in your garden later in the season. Depending on how much is dropped, this is easy enough to pull. Also, make sure you're not using hay thats been sprayed with pesticides, as those can leach into your garden. Overall, between the two, straw is the better option as its drier and less likely to cause weeds.
So, as you've seen, you don't need to spend an obscene amount of money on soil amendments. By simply using what nature has provided, and a little bit of creativity and thriftiness, you can ensure your garden soil is healthy for many years to come.