The Best Method For Making Your Own Hypertufa Birdbath
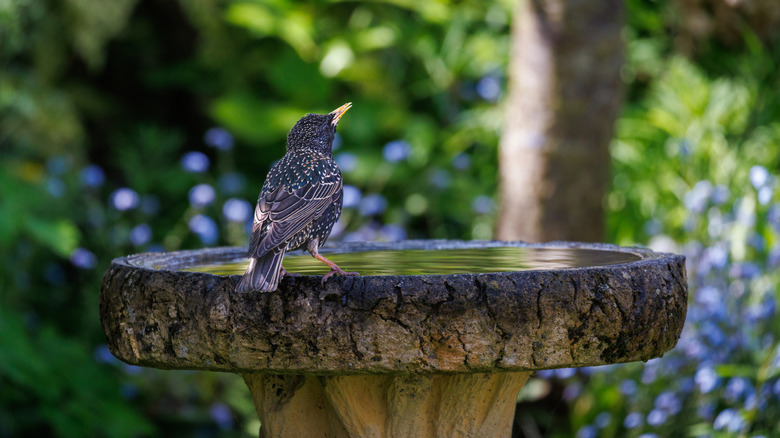
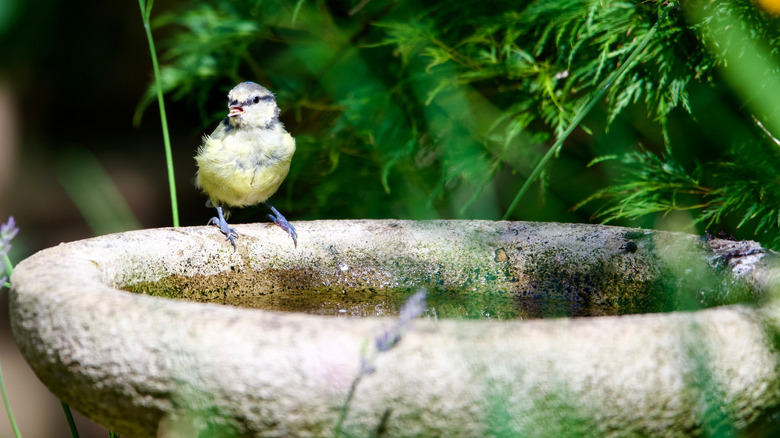
Adding a birdbath to your yard is one of the best ways to attract a wide array of helpful and colorful species to your property. Birdbaths also make excellent additions to gardens, creating a solid visual appeal among the flowers, vegetables, and shrubs. While you could DIY a quick birdbath with some everyday household kitchen cookware, it's more fun to get creative and try making your own hypertufa version instead.
Hypertufa is a versatile, easy-to-make material that will give you a solid birdbath with a rustic-looking appearance. An artificial stone made from a combination of Portland cement, peat moss, vermiculite, perlite, water, and sand, hypertufa can be molded into any number of different shapes and sizes to accommodate members of your local bird population.
Thanks to its porous nature, hypertufa works well around plants and can even be used as a planting medium. It will also hold up to a considerable amount of moisture, making it a durable — and frankly fun — option for creating a birdbath. The process is fairly simple, but it will take a little bit of elbow grease.
Mixing and shaping your hypertufa birdbath

While standard concrete works well for garden projects like DIY cobblestones, you do need a fair amount of tools and knowledge to work with concrete. Hypertufa, on the other hand, is incredibly easy to work with. All you need are some simple measuring devices, a large pot, gloves, and your hands to mix up some quality hypertufa to make your birdbath out of.
One thing that is important before you begin is to make sure you are using 100% Portland cement, as this will serve as the main body structure for your birdbath. Use goggles and a face mask when mixing your hypertufa to avoid inhaling any particles. For measurements, you will want to use equal parts of Portland cement, vermiculite, peat moss, and sand. The planned size of your birdbath will dictate the measurements. Add water until the hypertufa forms a thick ball in your hand. At this stage, the mix is thick enough to be shaped in the mold.
You can create your mold from a wide variety of materials. Just make sure that you make the birdbath thick, as it is going to hold its shape better. A smaller, more upright shape will be stronger than a wider one, so plan accordingly. Once your mold is set, you can move on to the all-important curing stage.
Curing and caring for hypertufa
Curing your hypertufa birdbath is the most important stage of the entire process. The time your hypertufa takes to dry will also depend on how thick you've made the birdbath. Heat and sunlight are the enemies of curing hypertufa. Instead, cure your molded hypertufa in a water bath for a week in order for it to absorb moisture through a slow, low-temperature process. Afterward, remove it from the water and allow it to cure completely in a shaded area. This can take many weeks.
Once the hypertufa is dried, it will be at its full strength and will last for an incredible number of years. In order to keep it off the ground, place your birdbath on a porch or deck, or adhere it to some kind of pedestal using a light adhesive. This makes it easier to move and store the birdbath during winter, especially if it's in two lighter pieces instead of one heavier one.
Once you have the birdbath where you want it, fill it with water and wait to see what kinds of birds come flying into your yard. Gentler than concrete and more natural looking, your hypertufa birdbath is going to last for a while, bring birds to your yard, and give you the satisfaction of a DIY project well done.