Simple Tips For Successfully Winterizing Your Outdoor Kitchen
We may receive a commission on purchases made from links.
Even if the bitter winters in your area mean that you're unlikely to get much use out of your outdoor kitchen, that doesn't mean that you shouldn't spend some time preparing it for the colder months. In fact, one could argue that an upcoming lack of use is even more of a reason to do it.
Winterizing your outdoor kitchen does two things. Firstly, you're preparing for the colder months by ensuring that the bitter temperatures and harsh weather patterns inflict the least possible amount of damage. Second, it ensures your equipment is in ship-shape condition to uncover and use right away just as soon as the spring sun shines.
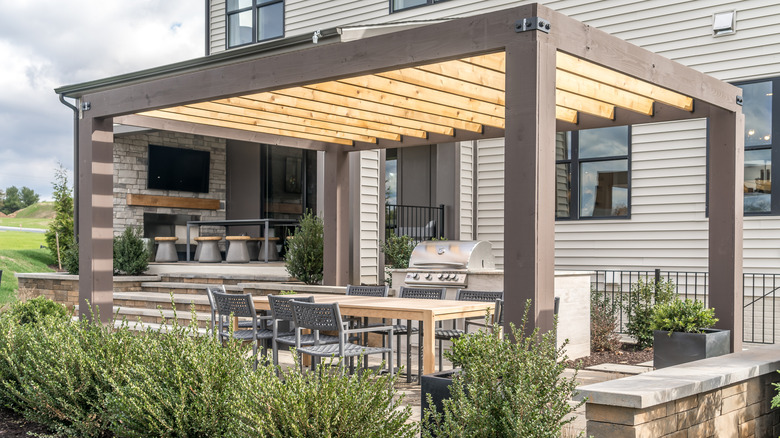
There are also ways to winterize your kitchen in order to extend the seasons in which you use it — even as the winter winds are blowing. Whether or not you want to spend time outside at such times is entirely up to you, but with a few simple ideas, you'll be surprised at just how easy it is to transform your sun-soaked kitchen of summer into a cozy winter haven.
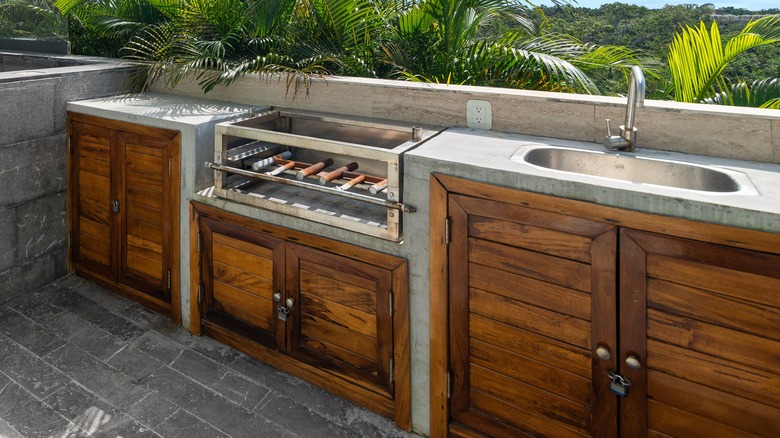
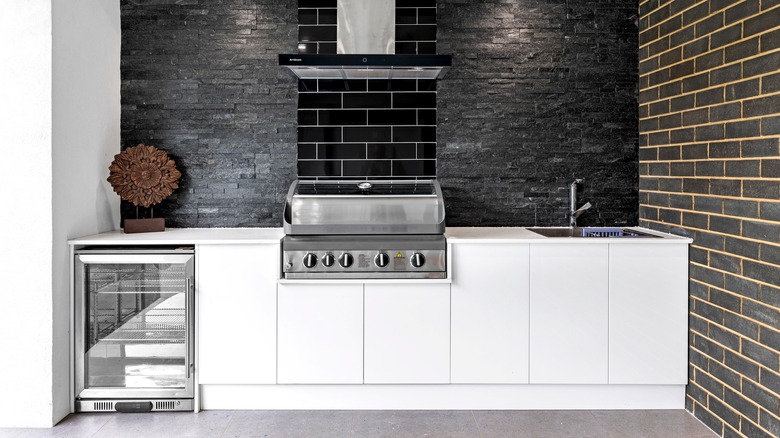
Clean out and seal your wooden cabinetry
The cost of an outdoor kitchen depends on a multitude of factors, including the appliances installed and the materials used to build it. Whatever the size of your investment, there is nothing more frustrating than watching it get torn to pieces by winter weather, especially when you could have taken a few simple steps to prevent such a disaster occurring.
This is especially the case with wooden cabinetry. While wood can be used to extraordinary effect in an outdoor kitchen to complement your garden's natural surroundings, it is far more prone to damage from the elements than other, hardier materials like stainless steel. With this in mind, wooden cabinets need careful treatment with sealant to prevent the ingress of water, which is perhaps nowhere more likely than in an outdoor kitchen. Sealant should be applied at least every two years. But before you break out the brushes, it's important to ensure that the wood is both clean and bone dry, to prevent locking in grime and moisture.
To clean your wooden cabinets, use mild soap and water, and while you're at it, check for signs of damage or degradation, like cracks, mildew, or areas where the finish is lifting away. These areas should be addressed and repaired before cleaning and applying sealant.
Ensure everything is dry
As well as ensuring your wooden cabinets are dry before applying fresh coats of sealant, you should also aim to make sure everything stored inside them is free from moisture. In the cold and dreary months of winter, damp items stowed away in the dark can easily begin to molder. Not only is this a pain to deal with when spring comes around and you're ready to start cooking outside again, but the spread of mold can also cause damage to your cupboards, especially if they're made from wood. Being porous, wood can soak up the moisture and provide an ideal environment for mold to continue spreading.
With this in mind, take the time to ensure everything you're stashing (dishes, decorations, placemats, candlesticks) is dry, and if you notice any signs of mold growth inside your cabinets, get ahead of it by cleaning it. Hydrogen peroxide can help here, as can bleach, and even distilled white vinegar.
Items that commonly get put away while still damp include cutlery, plates, cooking pots, and utensils, so if you intend to keep these in your wooden cupboards and drawers over the winter, make doubly sure that they're dry. Some metal utensils, even stainless steel, may be prone to rust as well, so fully drying and storing them in a dry environment is key.
Carefully switch off and store your gas
If you have a gas supply, be it to a grill or a built-in stove, it's important to disconnect your gas lines and store the equipment properly. First, switch off the gas tank, before carefully removing the tubes from the gas line. These should be covered and stored away from the weather. If the tubes are made from PVC or rubber, the harsh winter cold can cause them to stiffen and become brittle, rendering them unfit for purpose when the time comes to use them again. What's more, if uncovered and left out, you also risk tiny bugs making a cozy home for themselves inside the tubing, which can cause issues to the supply of gas, possibily even making it dangerous.
As for where to store the tank, do not store it indoors, nor in a shed or garage — the build-up of leaking gas in an enclosed space is a recipe for disaster. Store your tank upright and outdoors, covering the gas line with a plastic bag and electrician's tape. This helps prevent bugs and other critters from finding their way inside.
When spring comes around and you're ready to cook outside again, ensure that you follow the appropriate safety tips before firing up your grill. Check the integrity of your hoses to ensure they haven't disintegrated and that they won't leak. If you're unsure, rub some soapy water along the hoses and see if any patches bubble. If they do, you have a leak, and most likely need to replace the hose.
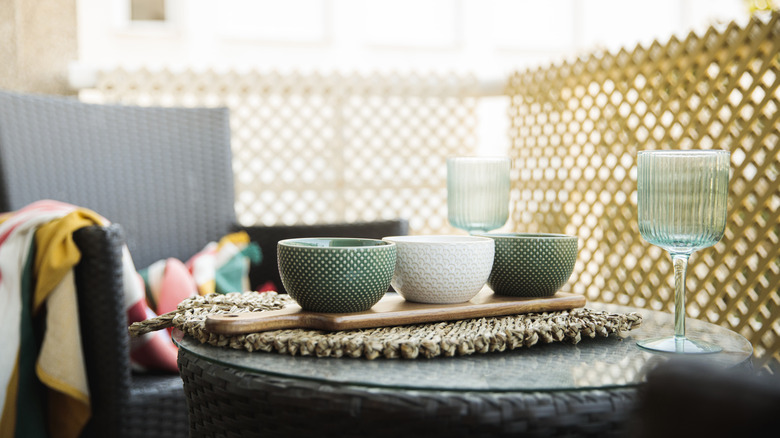
Stow away your outdoor furniture

This really depends on what your specific furniture is made from and whether or not you intend to use it during the colder months. There are some pieces that should definitely be stashed away, such as outdoor upholstery items like rugs and cushions. And while you can waterproof indoor pillows for outdoor use, they should also get stashed during the winter. Try to find a sheltered place for these, be that in your shed, garage, or even dedicated waterproof outdoor storage like the Takari 320-gallon lockable resin deck box.
As for the furniture itself, if it's made from rattan, it should definitely be stored away from the elements wherever possible. It's a good idea to clean rattan furniture first with mild dish soap and water, before allowing it to dry. And if you're unable to squeeze your garden set into your shed or garage, then use waterproof covers that fit over each piece completely, and which can be securely tied down against winter winds.
Synthetic rattan furniture is more able to withstand the harsh realities of winter than its natural counterpart, as is furniture made from teak (though it will lose its rich color over time) and rust-proof aluminum. However, it can still be a good idea to cover these types of furniture, especially if your area experiences high winds, as a good cover can help prevent any flying or falling debris from damaging it.
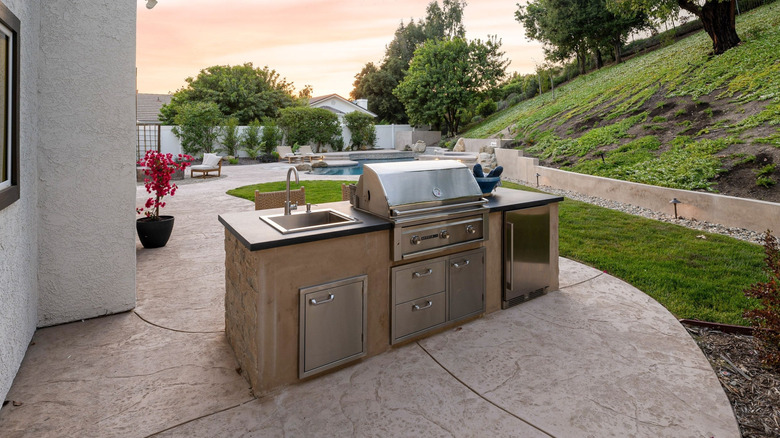
Empty and clean your outdoor fridge and freezer
These appliances are a godsend in the summer months, keeping perishable food fresh and on-hand when you're cooking away from your main kitchen, and ensuring that drinks for your summer soirées are kept cool. But if you're not planning to use your kitchen during the winter, then it's important to empty and clean them. This is for two reasons. First, by switching off energy-thirsty appliances like fridges and freezers, you'll save on utility costs through the winter months. The second reason is that by ensuring they're nice and clean, you can keep your appliances fresh through the winter, and less likely to attract pests in search of an easy meal, or opening the door to a musty-smelling fridge come spring.
Make sure to remove any perishable items from your fridge and freezer, and transfer them to appliances indoors. Once they're empty, allow your freezer to thaw, then clean both the fridge and freezer, being sure to dry them thoroughly once clean.
If your fridge has a water dispenser, turn off the water supply and drain the lines to ensure they don't freeze and crack, emptying any water already contained in the fridge's reservoir. A silicone-based lubricant or sealant can be applied to the rubber door seals to protect them from stiffening and cracking in the cold, while digital displays can be covered with waterproof tape. If your appliances are likely to be exposed to severe weather, you can cover them with specialized appliance covers — that is, those with built-in vents to allow air flow. You can further encourage good air flow by leaving the doors slightly ajar (though make sure everything is inaccessible to young children playing in the snow).
Clean and polish your stainless steel
The materials you use are one of the most important considerations to bear in mind when building your outdoor kitchen. Some, like wood, will require considerably more maintenance than stainless steel, which is much better suited, by design, to the rigors of a life outdoors. But that's not to say that it needs no maintenance. In fact, if not properly maintained — especially in damp and coastal climates — stainless steel can eventually become prone to corrosion and degradation.
If you have stainless steel cabinets and worktops in your outdoor kitchen, it's important to give them a thorough clean and polish. First, clear them of any food and water deposits using a microfibre cloth. Once that's done, go over the steel with a specially-made stainless steel cleaning solution, which will help to remove dried-on or cooked-on stains. Once it's clean and dry, polish the surfaces with something like Star Brite chrome & stainless steel polish.
Even if you don't have stainless steel worktops and cabinets, be sure to examine your appliances for smaller stainless steel components like knobs and handles. To keep these in ship shape, clean and dry them, before applying a thin layer of car wax, which should help protect them against moisture and prevent rust.
Store smaller appliances indoors
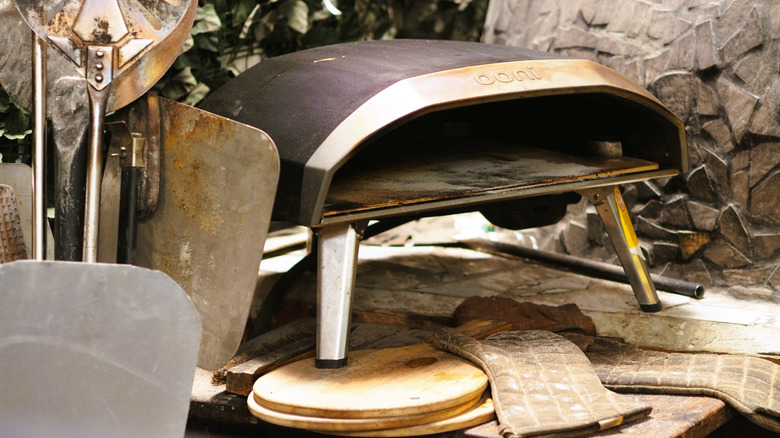
There are a few appliances commonly used in outdoor kitchens that can easily be stowed indoors once the weather starts to turn. Depending on how much shelter your kitchen provides and your appliance IP ratings (that is, how well their electrical components are protected against the ingress of dust and water), you may not strictly need to stash them. But it's fair to say that an appliance stored in a warm, dry garage or shed will almost certainly last longer than one that's left to fend for itself during the winter!
An ice maker is a good example of a small appliance that can easily be stored indoors. If you have one, unplug it and give it a chance to fully thaw. Empty it of water, give it a thorough clean, and ensure it's fully dry before storing it away either in your garage, shed, or even a kitchen cupboard.
Pizza ovens are often small enough to store inside, too. Some pizza ovens are built to withstand the worst the winter can throw at them, and most are supplied with a weatherproof cover. But that doesn't mean they're indestructible. Especially since appliances like ice machines and pizza ovens are easy enough to pick up and move, it can't hurt to store them inside once winter starts to set in.
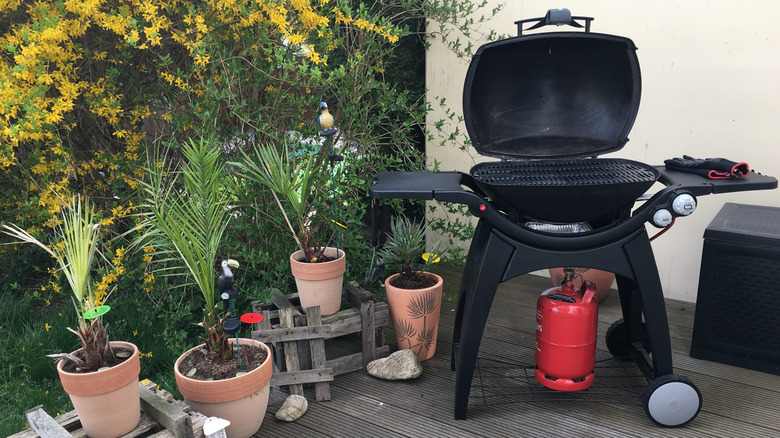
Clean and cover your grill
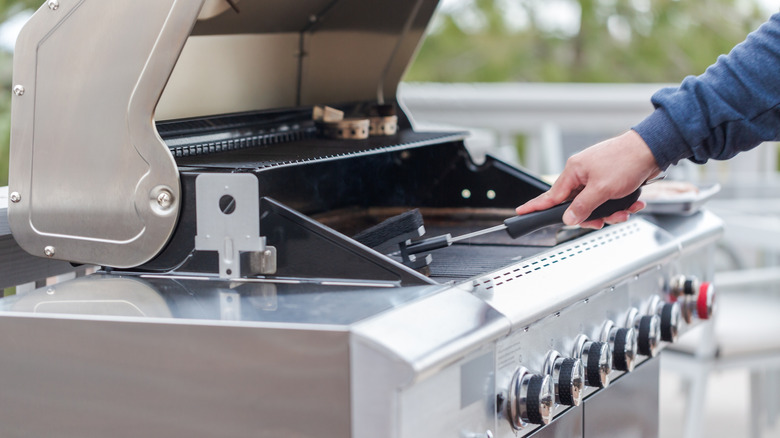
The best tips for cleaning your grill depend largely on its type and how dirty it is. For barbecues with small amounts of food or stuck-on grime, it's possible to use an onion to clean your grill. If you have particularly grimy grates, soak them before removing debris with a soft brush, and while they're soaking, check gas burners for blockages.
The body of steel barbecues can be easily cleaned with mild soap, water and a soft sponge, and should be polished to help them retain their beautiful finish. Wherever possible, try to store this type of barbecue inside during the winter months. And if you have no choice but to keep it outside, use a heavy-duty, weatherproof cover to protect it from the worst of the weather.
If yours is a ceramic egg-style barbecue, like a Kamado Joe Big Joe series III, these are generally considered to be self-cleaning. That said, ceramic, kamado-style barbecues are very good at trapping moisture. While this makes them an excellent choice for low-and-slow-style cooking, it also makes them prone to mold build-ups when not in use. And because ceramic is prone to cracking, any water you use risks freezing in cold conditions and causing the ceramic to crack.
Instead of cleaning with water, the best way to clean kamado-style barbecues is to burn off as much residue as possible by lighting charcoal in the firebox. Once the fire has burnt out, wipe any residue from the vents at the top and bottom, and use a dry, soft brush to clear excess ash or residue inside the grill. Once that's done, open the top and bottom vents to promote airflow, then secure it against the elements with a weather-proof cover.
Prepare your source of winter warmth
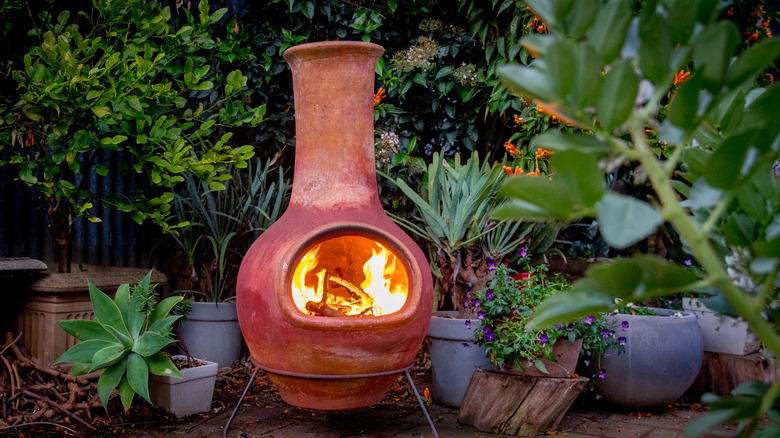
If your outdoor kitchen is your only outdoor seating area, then instead of resigning yourself to not using it for the next few months, why not make it more hospitable with the inclusion of a chiminea, or portable outdoor fireplace? Now, it's important to say here that enclosed spaces aren't suitable for lighting a fire, and nor are spaces close to flammable structures and furniture. But if you have a spot in your outdoor kitchen or the adjacent seating area where it's safe to light a chiminea, you can meaningfully extend the time in which you're able to enjoy your outdoor space.
Chiminea materials include clay, iron, and steel. For a rustic, traditional look, clay is a superb choice, however, it's important to note that clay chimineas can easily crack in the winter. Iron and steel chimineas, meanwhile, are generally longer-lasting and less prone to damage, with steel being the material of choice for anyone hoping to avoid problems with rust. And since they're made from metal, they tend to throw out more heat than traditional clay burners.
Whichever material you choose, ensure that you have a heavy-duty cover for when it's not in use, especially if it's made from iron or clay. While iron is unlikely to crack, it's more prone to rust than steel. And if you allow a clay chiminea to get wet ahead of a harsh frost, there's a very strong chance it'll crack.
Ensure your lighting is in peak condition
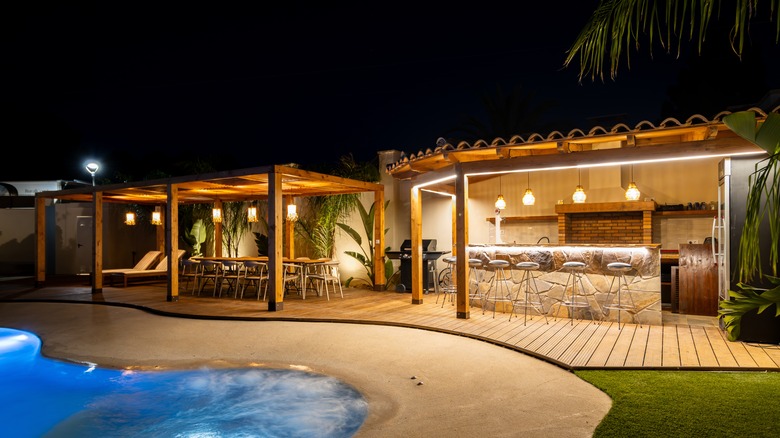
Preparing your outdoor kitchen for winter is as much about ensuring you get to savor the space during the cold months as it is about protecting your investment. Lighting is a big part of this, at any time of year, but especially in the winter when the limited hours of daylight might otherwise restrict how much you can use it.
Fortunately, there are lots of creative ways to light up your patio. In all cases, it's important to ensure that your lights have an appropriate IP rating for your climate. IP65 fixtures will keep out most adverse weather, but if the winters in your area are especially extreme, you may need to consider fixtures rated as high as IP68. You should always check any existing lighting for weather proofing before the winter sets in, and identify any stretches of cable that may have cracked or become damaged, giving yourself plenty of time to arrange a repair.
If you have solar lights, ensure that panels are aligned appropriately to harness as much winter sunshine as possible (since the sun's path shifts dramatically from summer). Finally, if you have plants or shrubs that have shot up in the warmer months and could therefore pose a risk to your cables as the winds of winter blow them around, consider pruning them back.