For Thriving Flowers And Vegetables, Try Out A Creative DIY Garden Trellis
In small yards and tight garden spaces, building a DIY trellis is a great way to maximize your outdoor garden space. Trellises provide support for vining and climbing plants, and a grid trellis is both the most traditional and perhaps the most straightforward version to build. They provide space for your plants to climb freely, allowing you to focus on their health and well being.
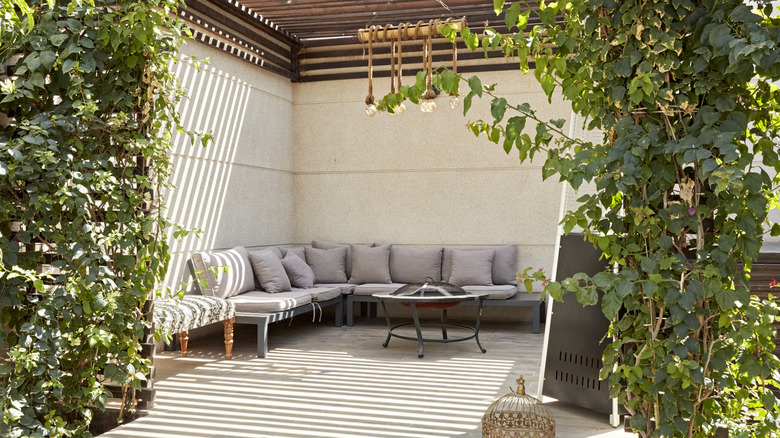
While there are a number of structures you can make on a budget, like repurposing a ladder into a trellis, or DIYing a beautiful wall-mounted trellis with these Dollar Tree items, sometimes a simple grid is the best approach. In addition to their benefits for vines, grid trellises can be a great way to fit more plants if you have a small garden. Not only can they be customized for tight spaces, but they also make those areas look more intentional and aesthetically pleasing. Once plants take over your trellis, it can also serve as a privacy barrier, depending on where you put it.
To build your grid trellis, you will first need to decide which materials to use. For a natural feel that blends in with the plants in your garden, consider wood trim, garden stakes, or bamboo canes. Other trellis designs may be made with metal, wire, or plastic. However, these may require special tools. If you choose to use wood stakes, you can do most of the construction with screws. However, if you use bamboo, dowels or other cylindrical stakes, it's better to purchase twine and learn the knots required to join the intersections securely.
Building your grid trellis
Before cutting or building anything, determine the size of your grid trellis. Not only does it need to fit your space, it needs to provide enough room for whatever plants you're growing. Building a trellis too small results in sprawling plants that have outgrown their trellis. If you are uncertain about the size, build the trellis larger than the estimated growth of your plants to be safe.
If you are mounting the grid trellis on a wall or fence, cut the vertical and horizontal pieces to size. For stakes attached to a wall, cut all ends square, but if you're staking the structure into the ground, leave the pointed stake ends alone on the vertical segments. During construction, you can build the whole thing on an open, flat surface (like a garage floor or concrete patio), or build it in place. The former is best if you're screwing or nailing everything together. The latter option works well when lashing pieces together with twine.
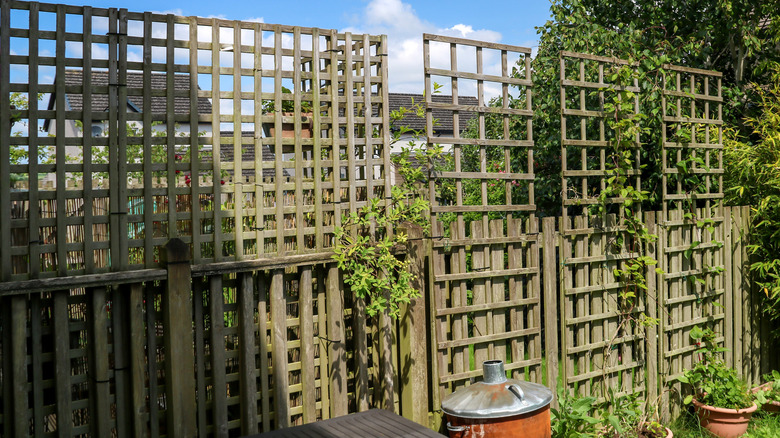
Begin by laying all the vertical pieces flat on the ground, spaced evenly to create squares or diamonds. Then, lay all the horizontal pieces on top, also spaced evenly, to create your grid. If you are using poles or bamboo cane, lash them with twine. Essentially, you'll wrap each junction with a loop, run twine around the sides of the vertical pole, then cinch or frap the cord underneath the horizontal pole for stability. For boards, stakes, or a cute DIY garden trellis made from leftover fencing, simply screw pieces together at each junction, and you have your assembled grid trellis. Finally, if you're mounting the trellis to plaster wall, use screw anchors or find studs to securely attach your grid, then caulk holes to waterproof them.