How To DIY A Clever Hummingbird Feeder That'll Refill Itself
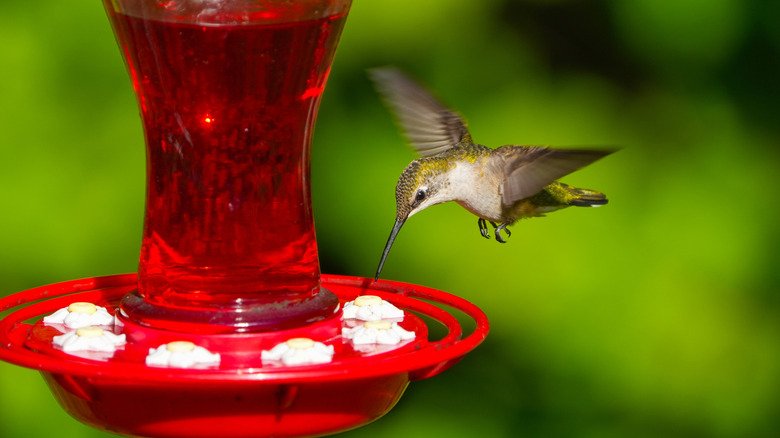
You know the blur of wings when a hummingbird zips past. They move so fast it can seem like they defy physics. That blur isn't just a showy flight; it's a full-body workout that requires an incredible amount of energy. A hummingbird's wings can beat up to 80 times per second, and its heart may race to 1,200 beats per minute. That kind of motion means they need the equivalent of more than 150,000 human calories a day, sourced from flower nectar, tiny insects, and sugar-water feeders. However, if you've ever hung one of those feeders, you know how quickly they empty or spoil on a hot day, leaving homeowners feeling like they're running a 24/7 buffet.
That's where a little backyard cleverness comes in. While keeping the feeder full and clean can help attract more birds, YouTuber Birdy Official came up with a simple, smart solution to help cut down on the constant refilling. It's a DIY feeder made from a plastic bottle and a container you likely already have at home. Not only does this design automatically refill itself as the nectar level drops, but it's also easy to make and even easier to maintain. It's a satisfying and functional upcycled garden project that saves frequent refills.
Steps to craft your own self-refilling hummingbird feeder
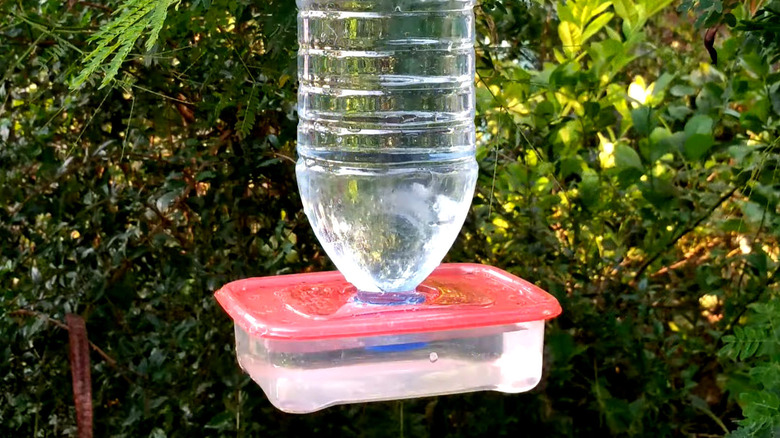
This little DIY hummingbird feeder requires only a recycled plastic bottle, a plastic container with a lid, and a little metal wire or strong cord. The setup works by using gravity, automatically releasing nectar into the base as it's needed — no daily refilling necessary. Start by making two small holes in your plastic bottle: one in the cap and one just beneath the neck support ring. Then cut a hole in your plastic container lid that's the same size as your bottle opening. Insert the bottle through the lid and glue it securely in place using hot glue or waterproof epoxy to create a tight seal. This ensures nectar flows only where intended and helps prevent leaks.
Next, wrap metal wire snugly around the body of the bottle and twist it tight with wire cutters to create a sturdy hanging hook. Add a second wire higher up around the bottle neck and connect it to the main hanger for extra stability. Now it's time to make the feeder more attractive to hummingbirds. Use a small screwdriver to poke a few tiny feeding holes in the lid of the container, spacing them around the outer edge. These holes are just right for hummingbirds, who use their needle-thin beaks and lightning-fast tongues that dart in and out up to 12 times per second to sip nectar.
Screw the bottle back into place and fill it with your own homemade hummingbird nectar (one part sugar to four parts water). Hang your new hummingbird feeder in a shady, visible spot to help keep nectar fresh and encourage visits. Then get ready for the show, these tiny birds can fly backwards, hover, and migrate thousands of miles every year.