The DIY Project That'll Turn Your Patio Into A Beautiful Screened-In Porch
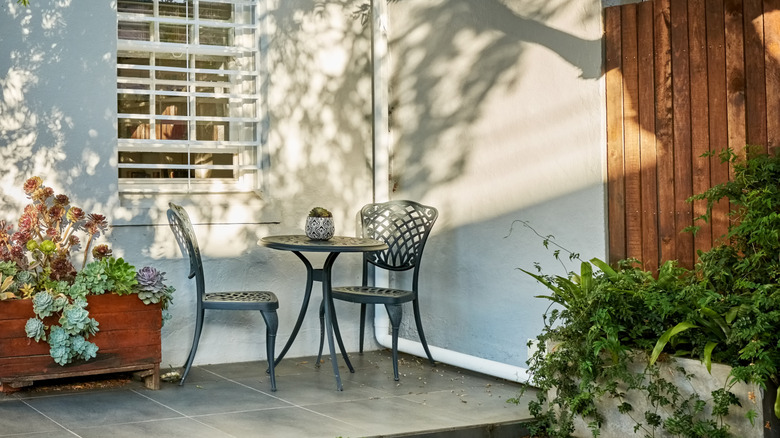
It's not that you don't like your neighbors. It's just that sometimes you need a little breathing room. While you can add a little style to your porch with a DIY wood privacy screen, an actual screened-in porch offers the perfect in-between space — a cozy outdoor retreat where you can enjoy your morning coffee, read a good book, or take a Zoom call without mosquitoes or nosy neighbors. Creating this kind of backyard sanctuary helps you step away from the constant buzz of daily life and reconnect with what matters: sunshine, birdsong, and a dose of peace and quiet. In addition to improving your quality of life, it adds functional square footage to your home, providing a shaded, bug-free extension of your indoor space that still feels connected to nature.
If you think transforming your porch into a screened-in haven sounds like something only the pros can tackle, think again. The team at Builders Blueprint on YouTube breaks the project down step-by-step in a way that feels doable — even if you don't consider yourself especially handy. From framing to screens to final touches, the process is approachable with the right tools and a few weekends of work. Plus, there's another bonus: screened-in porches can boost your home's resale value, with some estimates showing between a 50% and 100% return on investment. That means more relaxation for you now, and a potential payout later.
How to turn your DIY screened-in porch dreams into reality
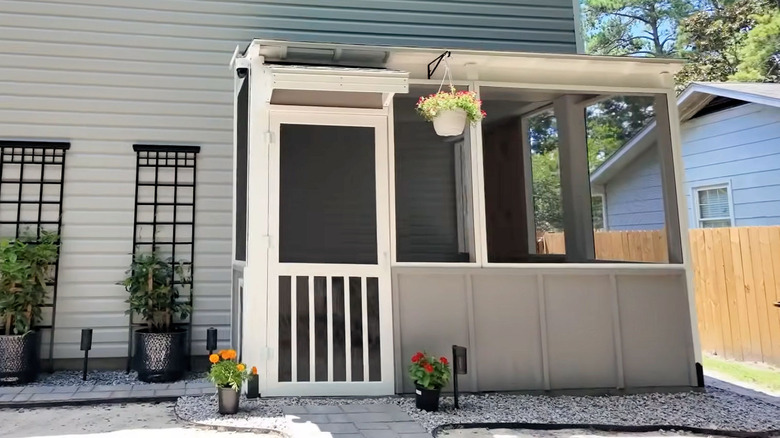
While privacy screens add comfort to any patio, building a full screened-in porch will give you far more seclusion and protection from bugs. Instead of hiring a professional — which can cost around $22,000 — you can save money by building your own screened-in porch. Start by extending your patio using a dry-pour method: pour bags of cement into a mold made from 2x4s, level the surface by hand, and lightly mist it with water to cure.
Next, drill holes for brackets and bolt them into the concrete. Use notched 4x4 posts and 2x6 beams to frame the roof. Prime and paint each piece for durability and that exposed-beam charm. You'll want to space rafters 16 inches on center, then add OSB sheathing, flashing, and shingles. To keep mosquitoes out, install blocking between rafters and seal gaps with caulk before adding the screens.
With the bones in place, move on to the screen system. Build the wall framing using pressure-treated 2x4s. Roll the mesh into custom screen tracks with a spline tool, secure it with clips, and trim the edges neatly. Add siding, board-and-batten trim, and a solid PVC screen door to make the space functional and polished. If you have pets, adding a dog door will help save the screens from curious paws. According to Builders Blueprint, the total project costs came in at roughly $5,600, which was a quarter of the original estimate, and included finishing touches like gravel borders, pavers, trellises, and even a solar-powered camera. These costs could be higher or lower, depending on your local rates and how many embellishments you wish to add. The result? A bug-free, breeze-filled retreat that looks custom-built and feels like home. After you've finished, make your own stylish hanging porch decor to match.