Illuminate Your Yard With A Clever Bird Feeder Repurposing Hack
A cluttered backyard can feel chaotic, especially when too many lights, feeders, or decorations hang from trees, poles, and decks. All too often, you'll find yourself hanging way too many lights, feeders, swings, or wind chimes, and you can end up being overwhelmed with everything that might be going on. Simplify your space by turning a single hummingbird feeder into a dual-purpose feature that feeds birds by day and lights your yard at night.
This hack is great because it allows you to attract and feed hummingbirds while also lighting your yard responsibly. This follows the outdoor lighting tips that'll reduce light pollution by producing a warmer, dimmer light that works in a single area, all while working off solar power. For best results, fill your feeder with homemade nectar and clean it regularly to keep it healthy and attractive to hummingbirds.
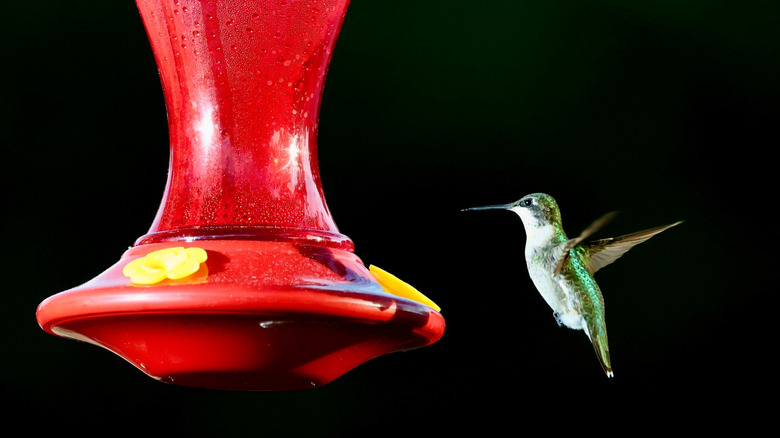
Start by finding a hummingbird feeder with a plastic lid and no built-in ant guard, as the extra attachment makes this DIY more challenging. Next, you will need a solar light that has the same or a similar diameter to the lid of the hummingbird feeder. Choose a solar light with a warm color temperature to minimize light pollution and create a soft glow. You'll also need electrical tape, baling wire, double-sided tape, and a lighter. Once you have all the necessary materials, you are ready to make an awesome addition to your yard.
Building a DIY hummingbird feeder light
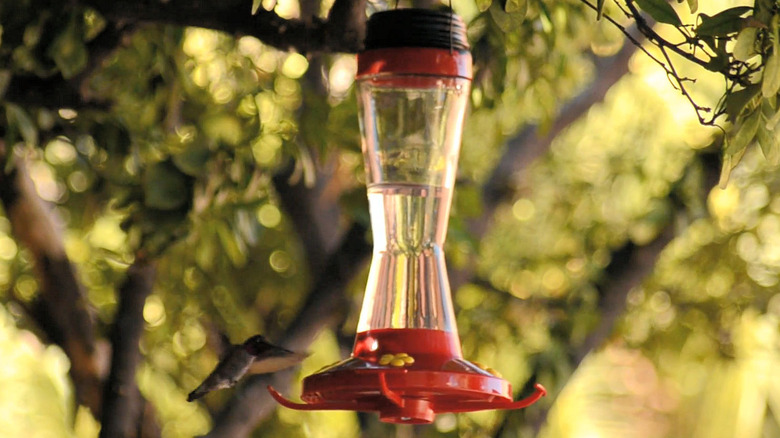
First, you will want to line up the solar light on top of the hummingbird feeder cap and mark where the LED light makes contact with the cap. On this spot, poke or drill a hole large enough for the LED light to fit through. Once the hole is made, place a small strip of double-sided tape on the LED light. Next, you will place the light back on the cap, aligned with the LED poking through, and press them together so the tape holds the two pieces together. At this point, they should be stuck together, but you will want to create a seal by wrapping a layer of electrical tape around the seam where the cap and solar light meet. This wrap should be tight, but not stretched out.
Next, cut a one-foot piece of baling wire for hanging. If you want a longer drop, adjust the wire length accordingly. This will be how you hang your hummingbird feeder light. If your feeder has a plastic cap, heat the end of the baling wire with a lighter and gently poke it through the side. You should make another hole on the opposite side of the cap, and then feed both ends of the baling wire into each side evenly. Fold the wire along the curvature of the cap's interior, and then bend the piece over the middle to form your hanger. Finally, screw the cap back on, fill the feeder with nectar, and hang your new solar-lit bird feeder in a sunny spot. To keep your new feeder light working through every season, you can also check out how heavy rain affects hummingbird feeders and learn an easy way to protect yours.