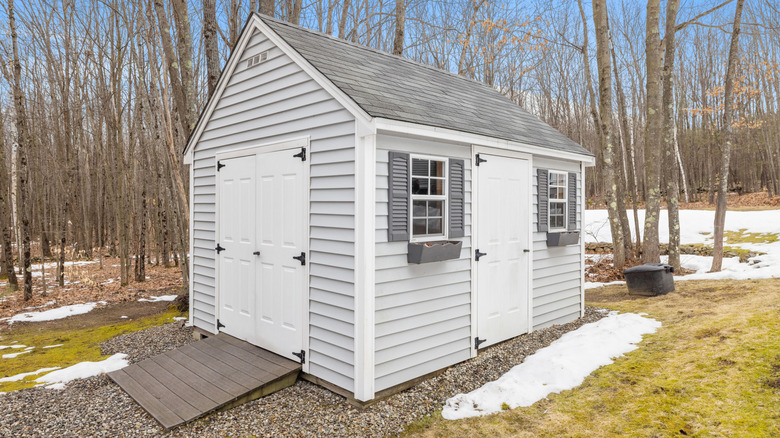
How To Prepare Your Shed For Harsh Winter Weather
We may receive a commission on purchases made from links.
When harsh winter weather is on the way, homeowners typically leap into action to prep their house, yard, and garden. Tasks such as insulating outdoor pipes, prepping roofs and driveways, and doing what is necessary to protect plants and trees from frost are usually high on the to-do list. Storage sheds, on the other hand, are often overlooked. Considering these structures are essentially miniature houses that are usually filled with valuable lawn and garden equipment, it is wise to prepare your shed for harsh winter weather utilizing many of the same steps you would for your home.
The first step to preparing your shed for harsh winter weather is to clean it out. This is a very broad task that involves cleaning, organizing, and decluttering. Anything that is broken or otherwise no longer of use to you should be donated or tossed. The remaining items should be organized and neatly stored on shelves, in storage containers, or hung. Larger items should be lined in a neat, organized manner on the floor along the walls. You should also clean and dust shelves, work benches, roof rafters, and the floor.
While you may be tempted to let all of this wait for your big spring cleaning, taking care of it before winter weather sets in does more than just make the space in your shed neater and more usable. Having a clutter-free, organized space will also improve air flow, reduce moisture, and lessen the likelihood of mold and mildew forming. It will also help prevent rodents and pests from taking up residence in your shed over the winter.
Keep winter weather out of your shed
Once your shed is cleaned and organized, it will also be easier to take care of the remaining winterization tasks. One of those is prepping the equipment that will be stored within. Prepare your lawn mower for winter storage, along with any other power implements. This involves changing the oil and either draining the gas from the tanks or adding a fuel stabilizer. Additionally, all unpainted metal surfaces on both power and manual tools should be wiped down with a rust inhibitor before they are stored for winter.
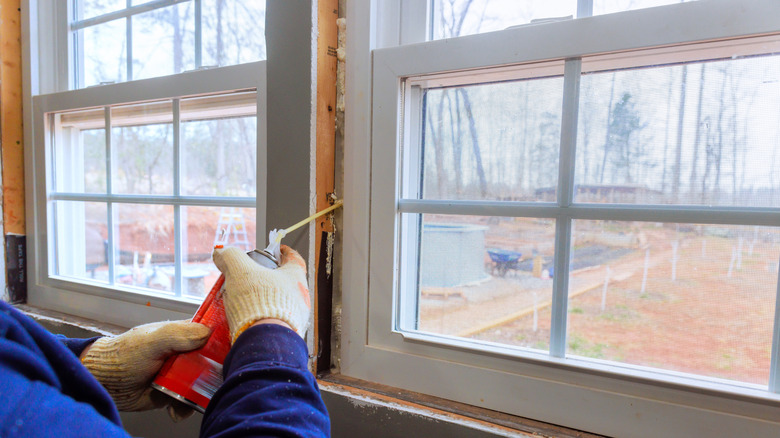
Next, inspect your shed, looking for cracks, gaps, damage, and rot. Make a list of repairs and begin replacing rotten board and missing shingles, patching holes, and sealing any cracks or gaps. Any exposed wood should also be painted or sealed. All-weather caulk can be used to seal most cracks or small openings. Weather stripping can be used around windows and doors. Another option for larger holes and gaps is a spray foam sealant such as Loctite Tite Foam Gaps & Cracks Spray Foam. Finally, make sure all doors and windows are secured with locks, latches, and solid hinges. If the windows are made of thin, single pane glass, you may want to consider adding a sheet of plastic behind them for added protection.
Back outside, be sure to trim any overhanging limbs or branches, as these can break and cause damage to the roof and windows of your shed during a winter storm. If your shed is fitted with gutters, clean them out, make sure they are securely attached, and check the direction of the downspout. To make sure you don't retain moisture around the foundation of your shed, be sure there are no leaves, grass clippings, or other debris piled up against it.