Everything You Need To Know About Your Favorite Hosta Plant
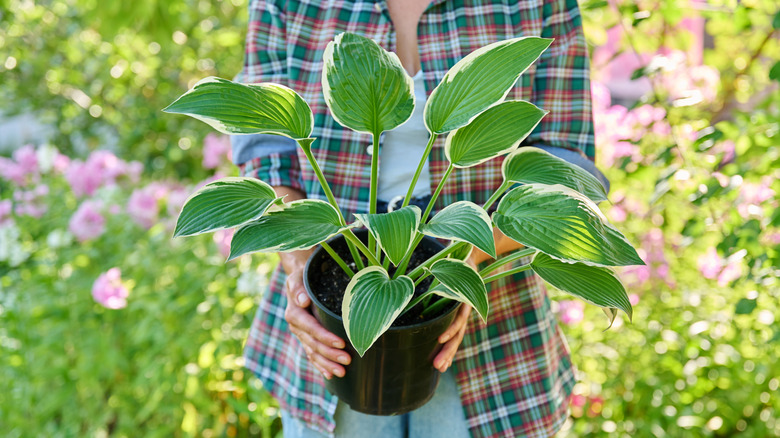
Available in a wide range of shades and sizes, hostas are best known for the luxuriant foliage they bring to shady spots in gardens — but they also bloom with beautiful, fragrant flowers. Certain types are rather diminutive in size, while others can grow to be absolutely enormous, making them a tempting prospect for those who want to fill larger spaces in their yards with the minimal amount of effort. They are also highly photogenic for those with a popular 'gram profile to maintain, and can be grown in an array of ways, be that in the ground or as part of a container garden.
Whatever reason you have to grow hostas, and however you intend to do so, this guide can help. We'll walk you through the types you can grow (based on your region and conditions), when and where to plant them, and how to care for them — including watering, feeding, pruning, and even pest-proofing tips. No stone will be left unturned in order to help you get the most out of these luscious leafy plants.
Types of hostas

Hostas can loosely be broken down into four types. Warm-weather varieties, as you'd expect, are those better suited to hot or temperate climes. Fragrant hostas are similarly easy to identify, bringing floral fragrance to gardens for those whose nostrils are in need of some nurturement. Blue-hued varieties, while actually green in color, have a heavy layer of wax that lends the leaves an almost-blue tinge, hence the name. Finally, slug-resistant varieties are ideal for gardens where these hungry molluscs wreak havoc on plantings that aren't prepared for their ravenings.
The type that you plant in your garden, to a certain extent, will depend on where you live, which makes understanding your hardiness zone crucial in your decision making. Blue-hued hostas, for example, fare pretty well in zones 3-9, which is typical of most hosta varieties. Unfortunately, if you live in much warmer zones, you're unlikely to be able to grow hostas outdoors at all. These plants need a period of winter dormancy, which in turn requires the kind of cooler winter climate that zones 10-13 rarely, if ever, experience.
Why plant hostas
As one of the top-selling perennials in the U.S., hostas owe their popularity to more than one thing. In fact, their appeal lies in multiple "likeable" traits. The humble hosta family really is more than the sum of its parts.
One reason that gardeners seem to love these plants is that they provide an abundance of life and interest to shady areas of gardens that would otherwise be devoid of color. Another is that, as you've already discovered, there are plenty of types, which represents an exciting opportunity for budding botanists to plant and nurture their own horticultural collection. Whether or not specific cultivar names like 'Guacamole,' 'Curly Fries,' 'Silly String,' and 'Big Daddy' have an impact on hosta sales is hard to say, but it certainly seems likely.
Hostas also offer a level of convenience that's difficult to resist. That is, they demand our attention during the spring and summer, when us humans are most inclined to venture outdoors. Through the colder months, they're quite happy to go dormant and wait for the winds of winter to blow over, especially when tucked in with a blanket of mulch.
When to plant hostas
Given that hostas tend to go dormant during the winter, that's typically the worst time to plant them in the ground. Ultimately, the goal when planting hostas in your garden is to allow enough time for the plant to settle and establish its root system, whether that's in preparation for a hot summer or a cold winter.
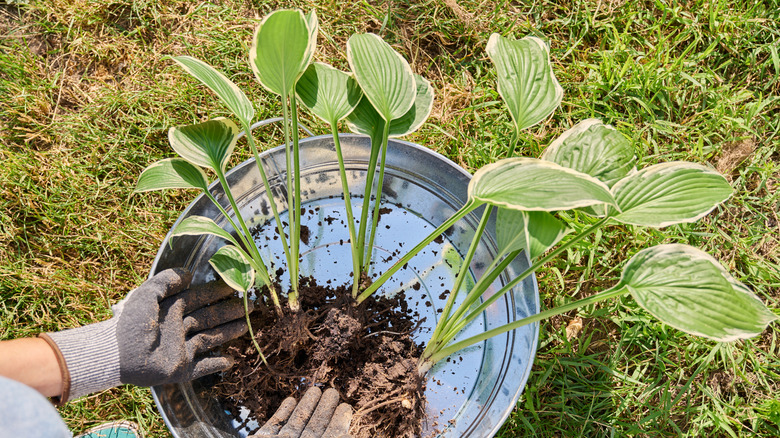
If you're buying plants that have already been grown from seed, then aim to plant your hostas either early in the spring, late in the summer, or early in the fall. Of course, if you have a hosta already established in your yard, then you may already know that it's possible to "divide" your plant. In fact, a large hosta clump can be divided into several new plants with nothing more than a spade and a good attitude.
This is reassuring for those who want an abundance of hostas but can't afford to shell out on multiple plants. Instead, just buy one, allow it to establish itself in your yard, and wait for spring to divide it up. We'll cover where and how to plant hostas later, but if you divide your plant, the new divisions should be potted and grown in either a cold frame or a spot with plenty of shelter.
Where to plant hostas
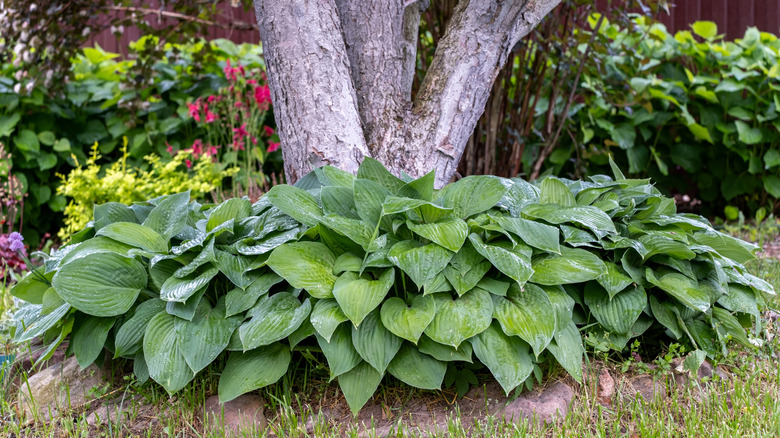
Try to find a nice, shady spot to plant your hostas. An area that receives some morning sunshine should be okay, however, anywhere that receives intense sun, particularly midday sun, risks scorching the leaves. Areas beneath natural canopies like trees or other, larger plants are usually a safe bet.
As for the substrate, fertile soil is best, and if you can give it a home that's somewhere between neutral and slightly acidic, with a soil pH of around 6.5, even better! Even if your garden has clay soil, planting is possible, although you will likely need to improve it with either compost or rotted manure. As long as it's fertile, and that you avoid planting it in soil that's likely to dry out too quickly, you should be fine. While there are certain varieties with thick, waxy leaves that are more tolerant to drought, they're not exactly drought-hardy, so ensuring your planting area can retain moisture is sure to help your plant thrive.
How to plant your chosen hosta
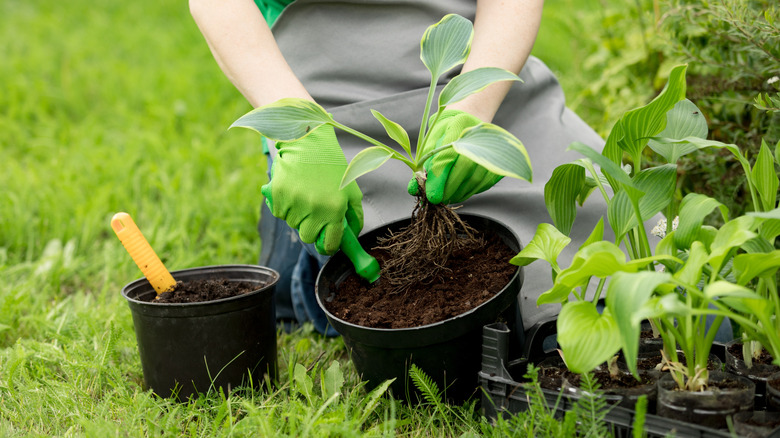
If you've timed your planting correctly, then the soil should be workable — certainly not frozen — which will make your job easy. Of course, soil workability won't be as much of a concern if you're planting in containers, although you should still follow the advice to plant at the right time of the year. Whether in the ground or in containers, those roots still need time to settle.
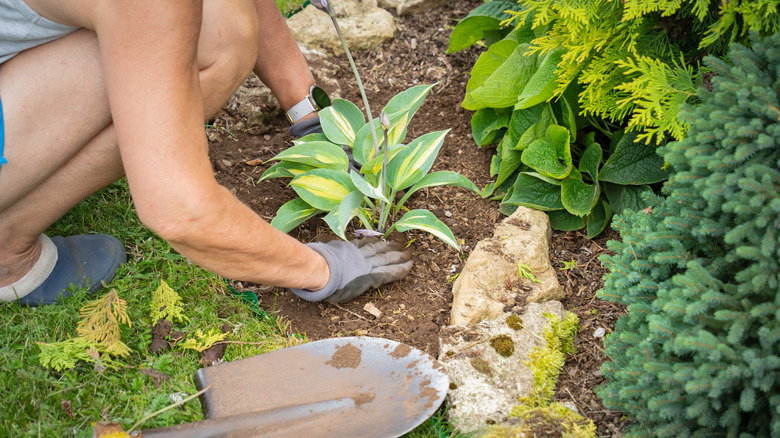
If planting in the ground, space your hostas about three feet apart.. Dig a wide hole around the same depth as the root ball, placing the plant's roots inside and firming the soil over the top with your fingers. Water the plant to help it settle, and ensure you keep an eye on it so that it doesn't dry out.
Containers for hostas should be between a foot and 18 inches in diameter, and should have plenty of holes to allow decent drainage. A loam-based potting compost will be fine, since it's usually pretty good at retaining moisture. To plant, dig a hole for the root ball as you would with borders, only this time, the root ball should sit almost level with the side of the container, with just a light layer of soil over the top.
Diversifying your hosta's home with companion plants

If you're new to the concept of companion planting, it's all about pairing plants that promise to play nicely together. Companion plants can benefit one another in an array of ways, including pest control and assistance with pollination, however, given that they're likely to be sitting in the same type of soil and receiving similar amounts of sunlight, it's important to ensure that your companion plants share the same requirements. This is why you should never plant hostas with zinnias; zinnias like full sun, whereas hostas thrive in the shade.
Instead, if you want to diversify your planting scheme, look for plants with which hostas are natural neighbors, like azaleas, foamflowers, and vascular plants, like ferns. Depending on what you want your bed to look like, and when you'd like your vision to come into effect, you could plant either spring or summer bloomers. In the spring, bleeding hearts and daphne are sure to bedazzle your botanical buddies whenever they visit. On the other hand, guests of your summer soirées will surely shower you with compliments if you choose to pair your hostas with foamflowers, false goat's beard, or lady's mantle.
When to fertilize your hosta plants
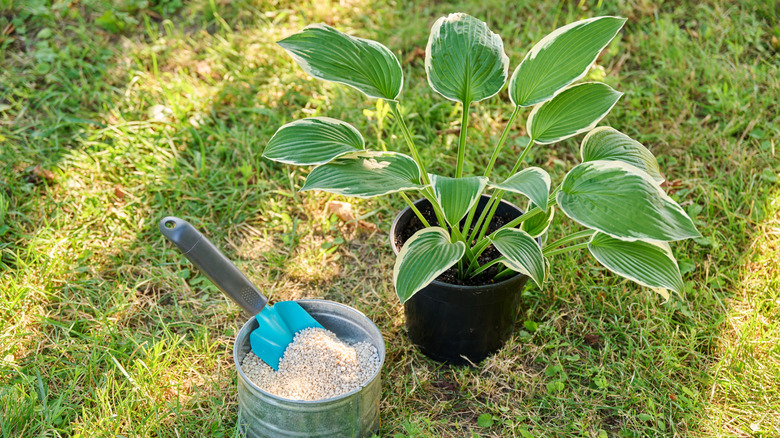
If your hosta's earthly home is already well fertilized, then feeding shouldn't be a big concern. If not, aim to feed your plants in the spring when new leaves begin to appear from the ground, shooting for once every four weeks, and stopping no later than midsummer.
Hostas undergo an annual phase of dormancy, which usually begins late summer and early in the fall. You'll probably notice that your plant begins to look a little tired, and in all fairness, so would you if you'd spent the summer ferociously shooting new leaves for the entertainment of your human. Just remember that such lackluster leaves are completely normal this late in the year, and that you should, under no circumstances, try to nurse it back to life by feeding it. Doing so late in the summer risks interfering with its natural dormancy phase; instead of shutting its systems down in preparation for the cold season, your hosta may push new growth, leaving itself vulnerable to the wicked ways of winter.
How often to water your hosta
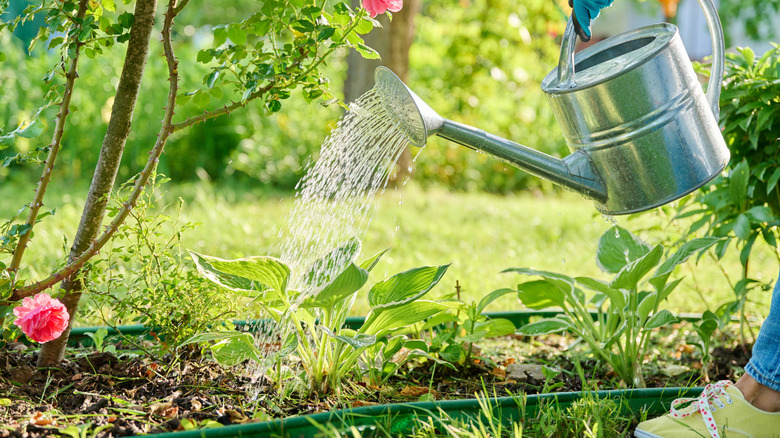
For around a month after planting your hosta, you should aim to water it twice a week. Once it's had a chance to establish its roots (and provided that you gave it a shady home in reasonably retentive soil), a good weekly watering should be enough to prevent it from drying out. During dry spells, you may need to up the ante somewhat, but avoid overdoing it. If you're unsure how much to water your hosta, then a good rule of thumb is to try and ensure the soil is damp to a depth of around six inches.
If you planted your hosta in a container, then know that these are likely to dry out more quickly than flower beds in the ground, meaning you'll probably need to water it more frequently. Again, try not to overdo it; hostas do not appreciate sitting in standing water. In fact, overwatering can lead to issues like crown rot — a fungal issue that sees the leaves yellow and brown, before eventually collapsing.
Once winter arrives, you can cease watering your plant altogether. Don't forget, your plant will be dormant in the winter, and most of its leaves will have died back. This, plus the fact that winter is likely to bring water of its own, means an additional soaking could cause the roots in the ground to rot.
Pruning your hosta plant
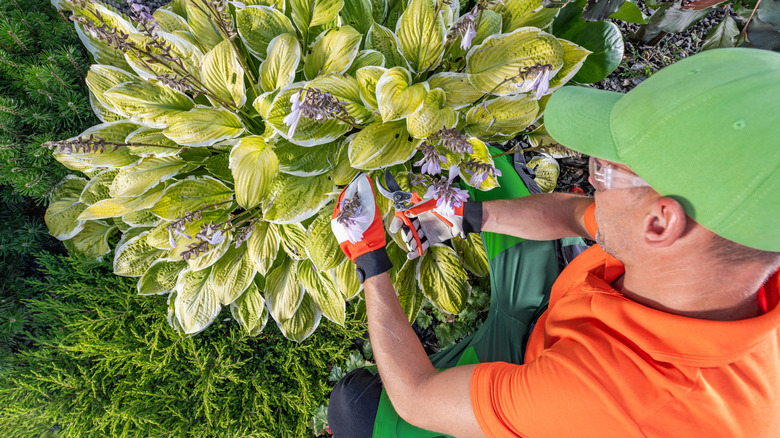
With their large leaves representing a tasty snack for various pests, hostas need a good prune in the fall to minimize winter damage and bounce back strong in spring. As for how to prune them, you should begin ahead of the first hard frost by removing leaves that are already beginning to brown or wilt. When the frost finally arrives, it's time to go hard; remove all of the leaves, and cut your plant right back down to the ground.
This level of savagery might seem harsh, especially if your plant has loyally spent the summer filling your shady spots with luscious, waxy foliage. It may even seem unfair. But rest assured that your plant will thank you for it. Don't forget, any leaves that are left in place are likely to be vulnerable to harsh winter conditions. What's more, as they inevitably die back through the cooler months, the decaying matter gathering around the base of your plant will attract pests like slugs and snails. However, if trimmed back to the ground and appropriately mulched, your hosta will spring back to life in the season of the same name, thanking you with another long, leafy spell of bountiful growth.
Pest-proofing your hosta plants
This is a tricky one to absolutely guarantee, but there are some things you can do to ward pests away from your hostas. Slugs and snails are fond of these plants, leaving unsightly holes in the leaves. Slug pellets can help, and wood ash is a surprisingly effective repellent against slugs and snails. You can also plant naturally slug-repellent plants and flowers.
If you've planted a hosta variety that can cope with a little sunshine, then it's likely that nasturtiums will work in the same spot. If that's the case, you can plant these near your hostas as a trap crop. Yes, the nasturtiums will get gobbled, but they may at least keep the slugs busy enough to leave your hostas alone. Alternatively, if shade is all you have to offer, then ferns might be your best bet. Ferns love similar conditions to hostas, and since slugs and snails don't like to eat them, they can work well as a barrier. Of course, you could always forego companion planting altogether and opt for a hosta that's naturally slug-resistant.
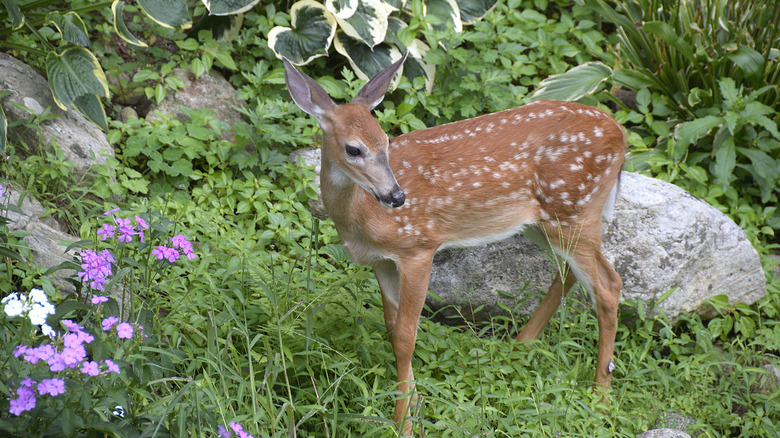
Provided that you followed best practices with planting, your hostas should have plenty of air flow, good soil drainage, and shelter from the sun, meaning that other diseases and fungal issues will be reasonably well mitigated against. The only other potential problem is deer, to whom these plants represent an exquisitely tasty meal. Fortunately, there are several ways to defend your hostas from deer, from fencing and motion-activated sprinklers to homemade deer-repellent spray.
Caring for your hosta in the winter
One reason many choose to plant hostas in their gardens is for their hardiness. However, it's important to know that they still require a little TLC during the colder months. As winter approaches, gradually reduce watering — once the first frost hits, you should stop altogether. This reduction of watering in the fall will help to let the plant know (along with falling temperatures) that it's time to prepare itself for dormancy.
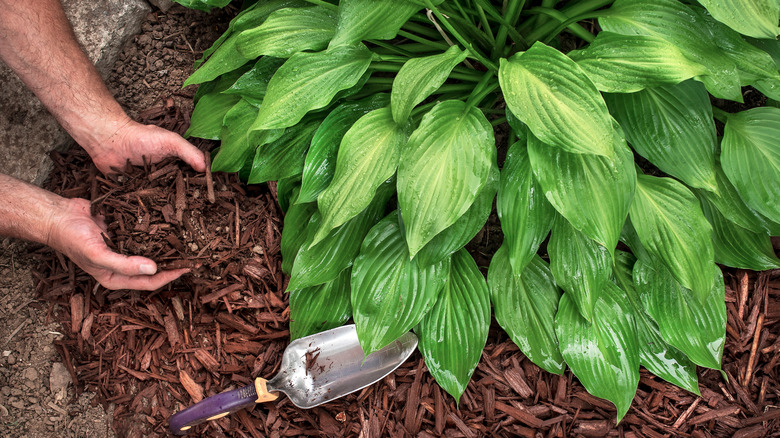
Ahead of your first frost, you should also add a layer of mulch around the base of your plant, effectively tucking it in with an insulative blanket. This will protect the roots against bitter cold and frost, and in the event of a dry winter, will also help the soil to retain more of its moisture. Just try not to overdo it with your mulch layer, as too much can invite pests, including unwanted bugs, rodents, and even snakes. It's also important that you choose the best type of mulch. Organic materials like compost or bark chippings are usually best for hostas, as these will naturally break down, releasing nutrients into the soil and setting up your plant for healthy growth come spring.