How To Turn Your Dollar Tree Flag Into Adorable Backyard Decor
Part of the joy of outdoor spaces in your yard is making them feel like your own. An outdoor space can reflect your sense of style, your interests, and any particular aesthetic you'd like to create for that perfect vibe. All of those stylistic accouterments could add up to a lot of cash if you bought decor that's ready to display — but where's the fun in that? Making your own decorative elements for the backyard can bring a sense of satisfaction, plus you get to have a little fun along the way. Many projects are also less expensive to make yourself, such as a wooden outdoor wall hanging made from a Dollar Tree garden flag, paint stir sticks, and some paint. The look of the piece is up to you, too, as you can paint the background any color you like, then pair it with a flag that reflects the sentiment of the season in your low-maintenance outdoor oasis. Dollar Tree also serves as a supply source for making DIY stylish hanging porch decor.
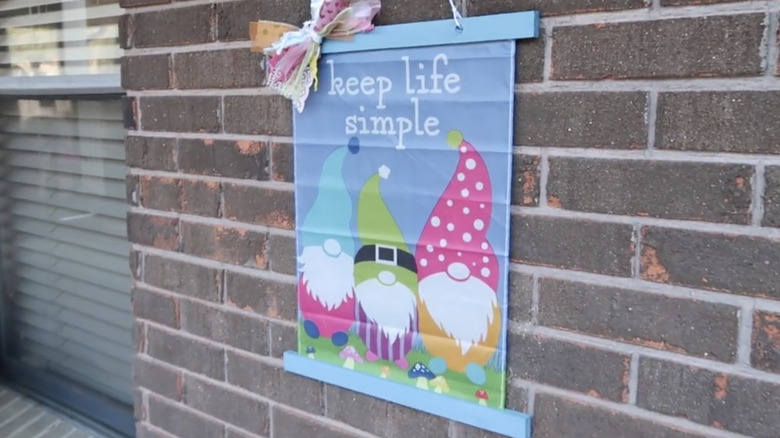
Choose a garden flag of your liking for this project. The solid part of your DIY sign decor is made from eight 5-gallon wooden paint stir sticks, held together with craft sticks and wood glue. This larger-than-average stir-stick size is necessary because the garden flags are typically 18 inches long, and the wood part needs to be larger than the flag; feel free to adjust the design elements based on the garden flag you have on hand. Choose charcoal gray or another shade for the background color, depending on the color scheme that fits in with your outdoor decor and pairs well with the flag.
Turning the Dollar Tree flag into a wooden outdoor wall hanging
To begin, arrange all paint stir sticks side-by-side on a table, handles aligned at the top. Apply wood glue to a large craft stick and set it horizontally across the stir sticks to act as a brace. Repeat this with additional craft sticks until the entire structure is stable and connected like a solid board. Alternatively, use three or four shorter paint stir sticks instead of the craft sticks for bracing.
Once the glue has dried, flip the structure over. Apply acrylic paint (e.g., charcoal gray) to a rag and rub it all over the wood to create a weather-worn appearance. For a multi-layered look, repeat this process with a contrasting color after the first coat dries. Set your flag on the table, place the dried wood structure on top, and trace and trim the flag's edges so it fits neatly onto the wood.
Apply Mod Podge Craft Adhesive — also available at Dollar Tree — over the entire front surface of the wood. Once dry, center the flag on the structure and cover it with parchment paper. Use an iron on a low setting over the parchment paper to reactivate the Mod Podge, adhering the flag firmly to the wood. Remove the parchment. Use standard paint stir sticks to test-fit a top and bottom frame over the flag's edges. Remove these frame pieces, paint them to match the sign's weathered look, and adhere them in place with wood glue. Display your finished sign, or add adhesive strips to the back for wall mounting. You can also use leftover Mod Podge for other projects, such as repurposing books to jazz up a plain birdhouse.