DIY A Unique Birdbath By Repurposing Plastic Nursery Pots
We may receive a commission on purchases made from links.
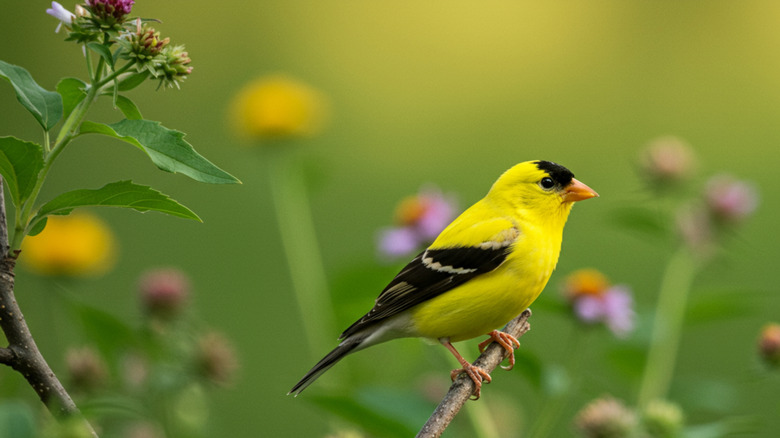
A birdbath can be a beautiful and welcome addition to any backyard. It can provide a decorative element and offer a cool retreat for your feathered friends when it's hot or dry outside. Making one can be a fun DIY project that gets your creative juices flowing and gives new life to items you may already have on hand.
You'll need just two to four plastic flower pots (depending on their size and how tall you'd like your birdbath to be) and one plastic saucer. Either reuse nursery pots you already have or pick up a few budget-friendly planters. You'll be stacking the pots to form the base of your birdbath, using one saucer as the basin of your new water feature. Shallow depth is something to look for when building a birdbath. If you have a bunch of empty pots on hand, you may want to experiment with various configurations to see which setup is sturdiest.
You may want to think twice before putting your birdbath in direct sunlight. Choose a lightly shaded location to help keep its water cool, inhibit algae growth, and slow water evaporation. A few flat stones in the basin can give smaller birds and pollinators a safer drinking spot. These thoughtful touches can attract more beautiful wildlife to your backyard. Adding elements like a birdhouse or feeders filled with birdseed nearby can create a lively, inviting habitat that attracts a wider variety of birds.
How to build and decorate your birdbath
Start by placing your first pot upright on level ground. If you like, you use a piece of scrap wood or a paver to create a steadier base for your birdbath. To anchor your creation, fill this pot with a few inches of rocks. If you're working with similarly sized pots, try alternating them right-side up and upside down for both balance and charm. For pots of different sizes, stack them largest to smallest for added stability. Top your tier with the saucer placed facing upward so it can serve as the birdbath's basin. To keep everything extra securely in place, be sure to use a heat-resistant adhesive like Original Gorilla Glue to bond the components together. Otherwise, outdoor conditions may cause the pieces to shift, tip, or fall apart over time.
Once the glue is dry and fully set, you could paint the exterior of your birdbath any color you like, or glue on mosaic elements like miniature glass tiles. One thing you should know before painting your birdbath is that you shouldn't paint the inside of the basin, as it could flake or be toxic for the birds. As a precaution, use a water-based acrylic or latex paint for your project.
Other fun and useful options include adding something like this SZMP solar-powered fountain to attract birds' attention and help circulate the water to keep the water fresh. Once everything is set, all that's left to do is fill the birdbath with fresh water and wait for birds to arrive — chirping, splashing, and turning your backyard into a birdwatcher's oasis.