5 Ways To DIY A Budget-Friendly Compost Bin For Your Garden
Compost is an asset to your garden as well as your budget. It prevents soil loss from erosion. It fortifies your garden soil with all kinds of nutrients and plant-supporting microorganisms. It also enhances the soil's structure and porosity, improving both water retention and drainage, and helping air reach developing plant roots. Many composters cost next to nothing to build. Plus making your own compost can save you money by producing free natural fertilizer for your garden. In other words, there's never been time to build a compost bin in your yard.
If you're on the fence about building a bin, remember that the benefits of composting extend to others as well. For example, finished compost can help remove contaminants from soil and absorb stormwater runoff that can compromise the safety of drinking water. Compost piles also keep food scraps out of landfills, where they're likely to emit harmful greenhouse gases. Consider adding other biodegradable items to your bin as well. You can reuse dead flowers by composting them to help your garden grow, or put leftover wine corks in the compost pile to raise its carbon level.
Trash can composters may cost nothing to make

A trash can made of metal or heavy-duty plastic is a suitable home for compost, and it's likely to be a cost-effective choice. If you're buying a new trash can for this purpose, make sure it has a tight-fitting lid. Also, be sure to add holes in the sides and bottom so air can circulate with ease. The holes will also help excess liquid escape. Your compost pile should release some liquid, which is known as leachate. In fact, you may need to water your compost periodically to help the microbes inside of it flourish. It's also important to stir your pile regularly to give the contents in the center plenty of oxygen.
Consider setting up your composter in a way that helps you capture the leachate. This byproduct is essentially a DIY fertilizer tea and can be used for giving your plants a nutrient boost. First, drill four holes close together in the middle of the can's base. Next, find a PVC pipe that's about the same height as the can. Drill small holes in it, placing them 2 to 3 inches apart. Then, cut a hole in the can's base that's about the same diameter and circumference as the pipe. Insert the pipe in the hole and put your new compost bin atop a set of bricks or cinder blocks to further promote airflow and drainage. Also place a leachate-catching container where the pipe exits the bin, underneath it.
Bucket-based compost bins for small spaces
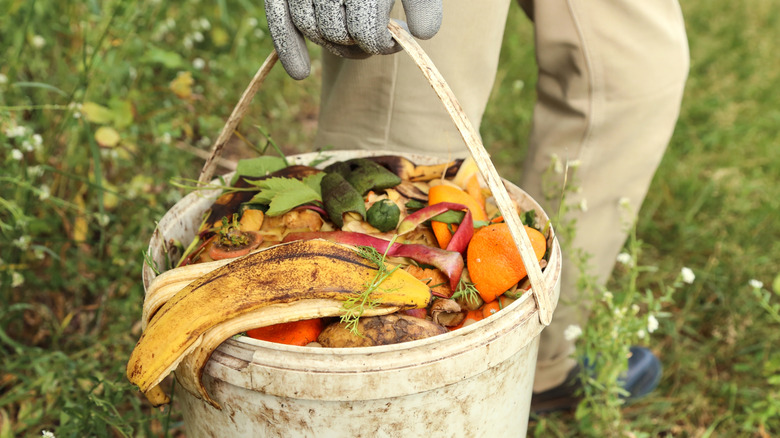
You don't need a giant container to start composting food scraps, grass clippings, and dried leaves. One solution is digging compost trenches in your garden if you're short on time or space. However, you may want easier access to the finished product. If this is the case, grab a 5-gallon bucket. If you don't have one, see if a local bakery or sandwich shop will leftover donate a bucket to your composting project. Or, search for this type of container at a local swap meet.
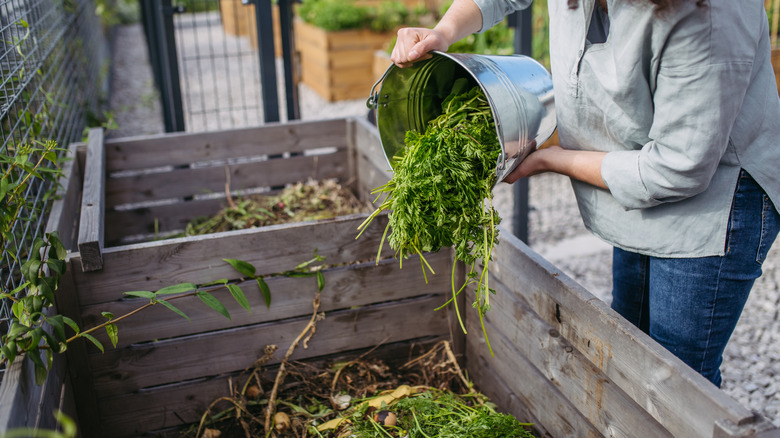
Once you've secured a large bucket, drill holes in its bottom to promote airflow. Then, create alternating layers of carbon-rich materials — known as "browns" in composting lingo — and nitrogen-containing materials, aka "greens." Browns are items such as newspaper, dried leaves, and sawdust. Greens include fruit and vegetable peels, coffee grounds, and grass clippings. You can even nourish your garden by composting old feather pillows. Feathers are considered a green material. As with the contents of a trash can composter, make sure to turn bucket-based compost every few days to prevent it from developing a smell. Keep your little bin outdoors if you can, and consider depositing its contents into a larger compost pile from time to time.
A brick compost bin is easy to dismantle
Do you have bricks or cinder blocks left over from a landscaping project? Turn them into a sturdy compost bin without tools or messy mortar. Just arrange these building blocks in an overlapping bond that incorporates gaps to let air enter and escape. This style of bin is ideal if you find you'll need to relocate the compost pile in the future. In addition to being easy to deconstruct, moving it to a new location (piece by piece) isn't hard. This type of bin also ideal if you want to experiment with different shapes and designs.
Consider making an attractive cylindrical "chimney" enclosure for your compost. A 3-foot-tall version will take fewer than 100 bricks, but you could always make it as big as you like. First, form a square platform with a dozen or so bricks. This will be your compost bin's base. Next, form a circle on top of the base by placing bricks at angles. Layer additional brick circles on top of the first one until the structure reaches a suitable height. Then, fill it with a mix of green and brown compostable materials. Aim for 2 parts of browns for ever 1 part of greens, and remember to avoid diseased plants and other items you should never attempt to compost.
Chicken wire makes for a rodent-proof bin
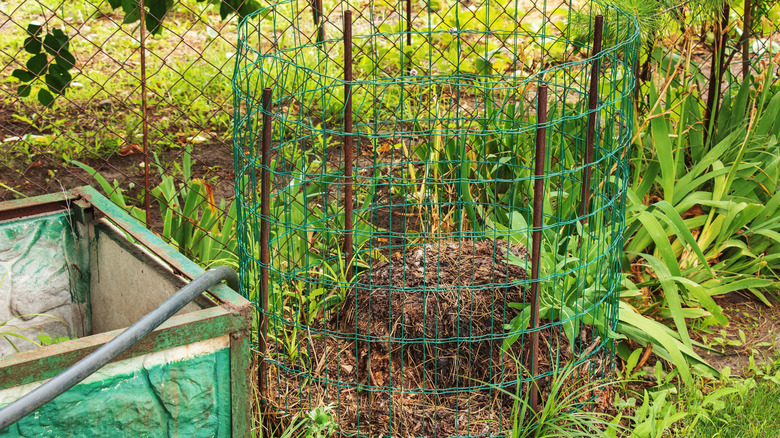
Skunks, raccoons, and other scavengers are sometimes drawn to compost piles rich in food scraps. You may be able to keep such pests out of your yard with vinegar, especially if you encircle your compost pile with it. A two-pronged solution is preferable, though. Consider incorporating a wire barrier to repel scavengers from your compost pile while welcoming air into it. When air flows through the pile, it feeds oxygen to the aerobic microbes that break down the compostable materials you've contributed. Air circulation also keeps the pile from getting smelly and helps it reach the internal temperature needed to kill a variety of pathogens.
Chicken wire is one inexpensive option for this barrier. It's flexible, relatively durable, and easy to source. Pair it with sturdy metal stakes to form an enclosure for your compost pile. Pound four stakes into the ground, making each one a corner of a square. Wrap a sheet of chicken wire around the stakes so it forms a square or circular wall, and secure it with zip ties or baling wire. After that, you can fill your new bin with vegetable skins, coffee grounds, and other organic matter that will contribute nutrients to the finished compost.
Composters made of natural materials can come from anywhere
If you have access to several bales of straw, you've got another easy way to create a composter in your yard. Rectangular bales can be used like giant bricks. Push them together to construct a lid-free box. Since straw is porous, it allows some air to circulate, but you may need to turn the compost frequently to deliver even more oxygen to the middle of the pile. Straw helps insulate the pile, too, which can help the microbes stay active during cold weather. This carbon-rich material will eventually decompose, becoming part of the finished compost (replace them with new bales).
You can make compost bins out of other natural materials as well. Have a bunch of willow rods or bendy grapevines? You can turn them into an oversized basket for making compost. Use robust stakes or poles to delineate the perimeter, much as you'd do when making a compost enclosure with chicken wire. After that, weave the rods or vines together to form walls around the stakes. Start at ground level and work your way up, choosing the longest pieces you can find to make the walls as stable as possible. The finished product will look a bit like a bird's nest. Consider adding a lid to discourage critters from fishing for kitchen scraps in the pile and contain fumes, moisture, and heat.