

Use These Dollar Tree Items To DIY A Mushroom Solar Light Lamp
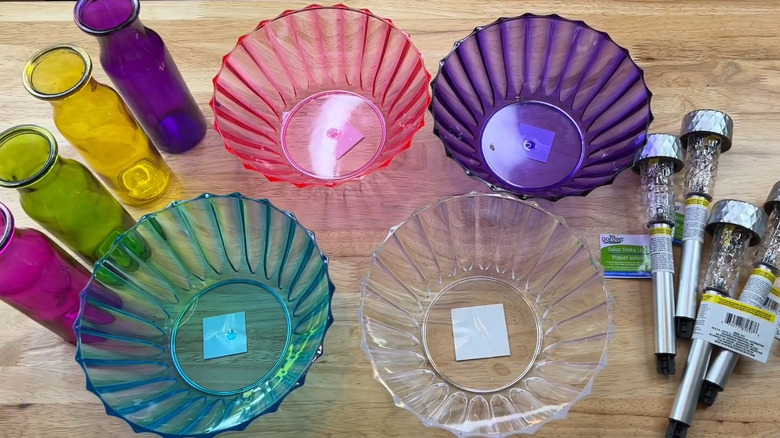
A quick scan down the Home Depot page for outdoor lighting will show you that things can get expensive really fast. Even simple solar post lanterns can exceed $100. So, is it any wonder DIYers across the internet are deciding to craft outdoor lights using Dollar Tree items? For very little money you can construct a whimsical mushroom solar lamp light just using materials purchased from Dollar Tree.
A mushroom solar lamp brings a fun touch of fantasy charm, and could make a great DIY centerpiece for your patio table. Several DIYers have made these mushroom lamps using a combination of Dollar Tree plastic bowls, a glass vase, solar column lights, and some paint.
All of these components are not going to run you a lot of money. The bowl, vase, and solar column trio will cost $6.50, and if you need acrylic paint and brushes, that'll only be $2.50 at Dollar Tree. So, for a grand total of $9, you have yourself the makings of a wicked cute light. The only other items you might need are some glue and glass gems or pebbles to fill the stem of the lamp.
How to make a fun mushroom solar lamp
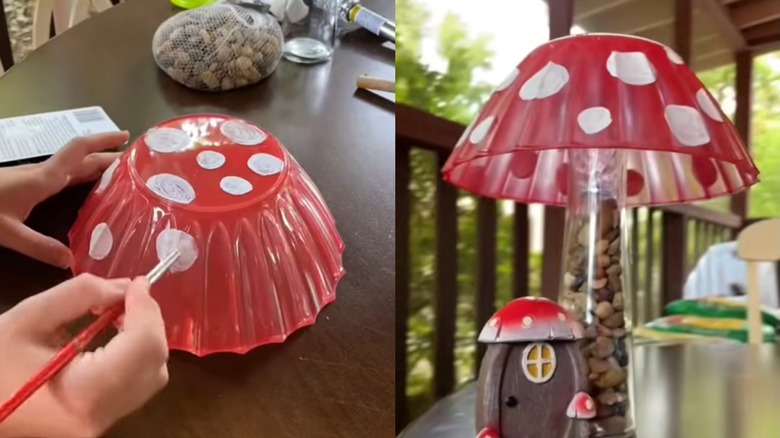
This DIY begins with choosing a bowl. The wavy Dollar Tree plastic catering bowls come in a wide variety of colors, including blue, red, pink, purple, and plain clear plastic. Once you've got your bowl, add some dots using a sponge dabber or brush and some white acrylic paint. Doing this on the outside will make the dots more prominent, but you can also add them on the inside to protect the paint from the elements.
Next, set up the solar light and vase. Remove the long stake so the light will fit into the column of your vase. To hold the solar lamp in place and weigh down the vase, you can either fill it with decorative stones or glass gems– or use some hot glue to connect the solar lamp to the inner base of the bowl. The inverted bowl can be attached to the vase with a strong adhesive like E6000, but something like hot glue or glue dots will make it easier to remove should you need to replace the solar lights at some point.
If you have a shady yard and are worried that the solar panel of the light won't charge up fully underneath the tinted bowl, you can opt to cut out a small rectangle of plastic from the bottom of the bowl with a Dremel. This will expose the top of the solar light to more sunlight.
How to decorate with your mushroom solar lamps
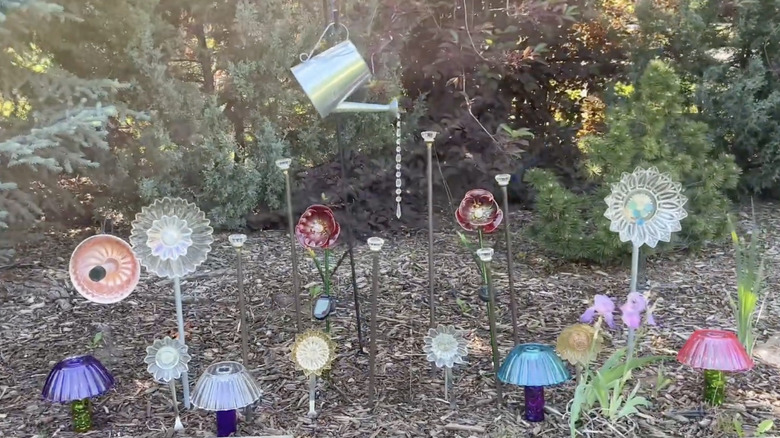
The great thing about this DIY is that it is affordable enough for you to make multiple mushroom lights for the price of one prefabricated outdoor light from Home Depot or Lowes. If you want to save even more money, you can use repurposed jars or vases you already have for the base.
If you've made a gaggle of mushroom lamps, it could be fun to create a small assembly of them in a bare spot in a flower bed. For added whimsy, you can place the lamps alongside gnomes or frogs. A fairy door or two would not go amiss either.
Alternatively, if you've only made one or two mushroom lamps, keeping them as accents on your porch or patio could bring added charm to the space. Choosing to use a colored bowl will add a special glow when the lights are on. If you have them on a covered porch, make sure you place the lamps in a sunny spot during the day to charge the battery so they shine in the evening. Really into mushroom motifs? Check out this guide on how to make mushroom garden stools.