

DIYer Transforms Old Wood Pallets Into A Colorful Backyard Deck
Dreaming of having a backyard deck, but don't want to lay out a couple grand? Various intrepid DIYers have shared on social media how they've built attractive decks using pallets for just a few hundred dollars. YouTuber Shanitra Neal shared a particularly good design that includes concrete cinder blocks to raise the pallets off of the ground. Her project came together over a couple of weekends, leaving her with a sizable, colorful detached deck — that none would guess is built using pallets.
If you can score the pallets for free like this creator did, you'll only need to lay out money for lumber to cap them, cinder blocks, and some deck paint or stain. Facebook Marketplace and Craigslist often have free listings, and sometimes stores have pallets they need to get rid of. Besides being budget-friendly, using pallets to create the base of a deck is also less daunting than having to build the whole thing from scratch. It feels a little bit more like giant Lego, with some cutting, nailing, and painting thrown in — and less like a project best left for HGTV's Mike Holmes.
The simple steps to creating a beautiful DIY deck for your backyard
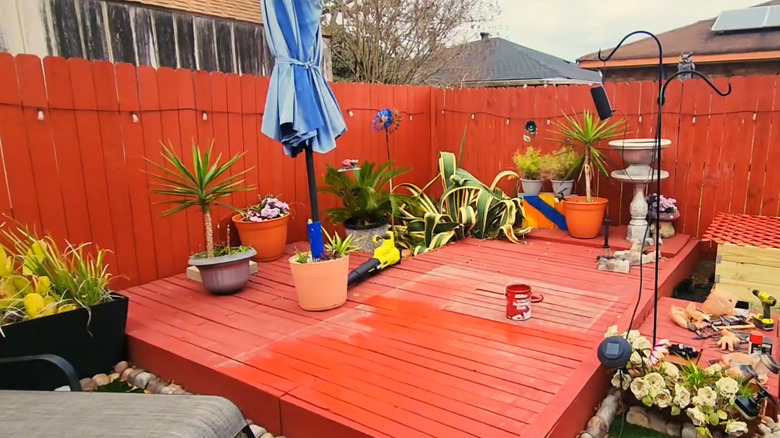
The first step to this pallet deck is laying down cinder blocks at each spot where the corners of the pallets will meet. The cinder blocks are an important component, as they keep the pallets off the ground. Direct contact with the ground is a recipe for rot and decay, so if you want your repurposed pallet deck to hold up, don't skip this step. If you feel like the cinder blocks will add too much height to the deck, pavers could also work. As you're placing the blocks or pavers, you'll want to check that they are all level. If the ground is uneven, leveling it out first will help ensure that the surface of the deck doesn't slope or dip.
After placing the pallets onto the cinder blocks it's time to top them with 2-by-4 planks. Shanitra Neal opted for pressure-treated ones in 10- and 8- foot lengths from Home Depot. She also employed a smart method for cutting wood down to size: Screwing down the planks with a bit of an overhang, and then trimming down the edge to create a flush finish. She used a reciprocating saw, which certainly does the job — but a circular saw will probably yield cleaner, easier cuts. After this, use wider boards to seal off the sides. This hides the pallets and the cut edges of the planks, creating a seamless, pro-looking finish.
The last step is weatherproofing. Shanitra Neal opted to protect the wood with paint in a terracotta shade. Paired with her plants and colorful outdoor decor, this gave the whole DIY a bright, tropical feel. But of course, if you want to keep the natural look of the wood, you could also use deck stain. To speed up this last step, there's a deck-painting hack that can save your knees.
Get more mileage out of this DIY deck with hardwood pallets
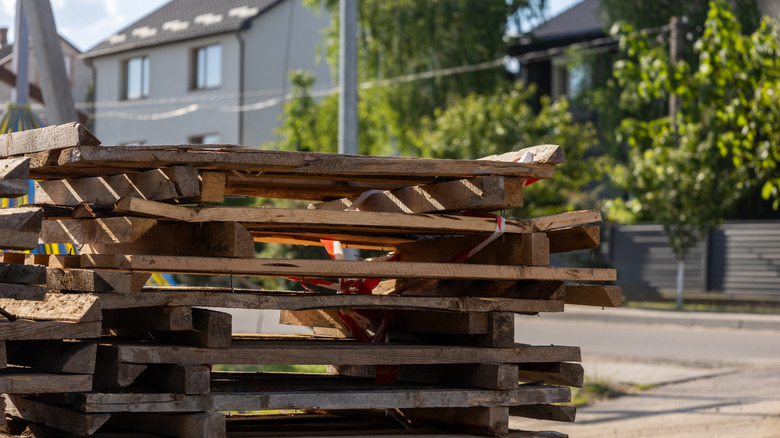
The elephant in the room when it comes to using pallets for a DIY floating deck is, of course, longevity. A deck made of pallets is almost certainly not going to last as long as something professionally built. But Shanitra Neal's deck seems to be holding up just fine after two years — and there are a few measures you can take to preserve the lifespan of both the pallets and planks on top.
Firstly, try to source hardwood pallets (they're usually heavier than pine or other softwood pallets). Pallets made from maple, oak, or birchwood are more durable and can hold more weight. Avoid very old, beat-up pallets with rusty nails, as they're likely to fall apart faster than ones in good condition — and be sure to check the stamps. What you want to see is "HT." This stands for heat-treated, which means the wood is stronger and more resistant to decay than untreated pallets, but doesn't contain substances like methyl bromide.
Second, consider sealing or painting the pallets before laying them onto the cinder blocks. This will further protect the wood from rot, moisture damage, and decay. Painting or sealing the underside of the decking planks before screwing them down can also extend the lifespan of the structure.