

Don't Throw Out Leftover Tuna Cans — Reuse Them To Make Charming DIY Outdoor Lights
We may receive a commission on purchases made from links.
While recycling is an effective, responsible way to dispose of food cans, it's also nice to be able to repurpose them into attractive decor. Rather than spending even a few dollars on candleholders, why not upcycle empty tuna cans into charming patio or garden torches? After all, tuna cans work well as clever DIY fire starter containers, so candles are kind of a no-brainer. It's a popular craft on social media for good reason: It requires only the leftover cans, a little paint, and a dowel, and it actually looks really nice!
There are a number of variations on the theme, but essentially, you're cleaning and painting empty cans, securing them to a pole, sticking them in a large planter, along walkways, or on a garden path, and popping votive or smaller pillar candles in for gentle accent lighting. But it's also a craft you can customize endlessly. The low, round tuna cans work nicely because they can hold a variety of candle sizes and show off the flame, while the smooth, matte exterior takes paint well. But feel free to use what you have, like cat food tins or even the tins that store fancy nuts. While soup cans work better for an adorable DIY vertical garden, even they can work with the right pillar candles. As long as your food tins are clean and fireproof, you're all set to begin.
Painting a tuna can transforms it seamlessly into decor
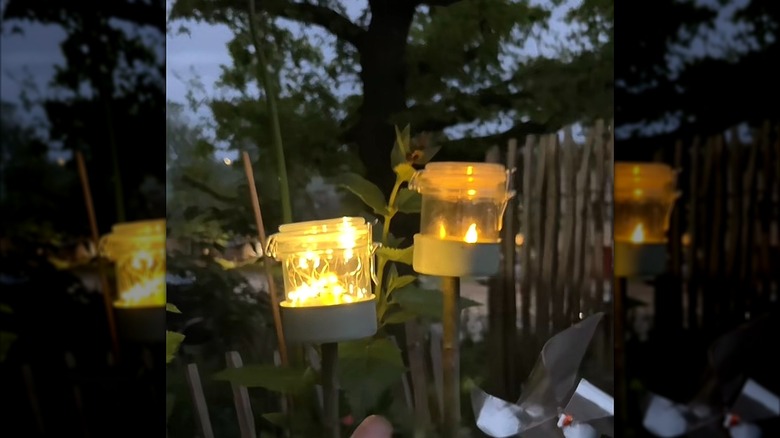
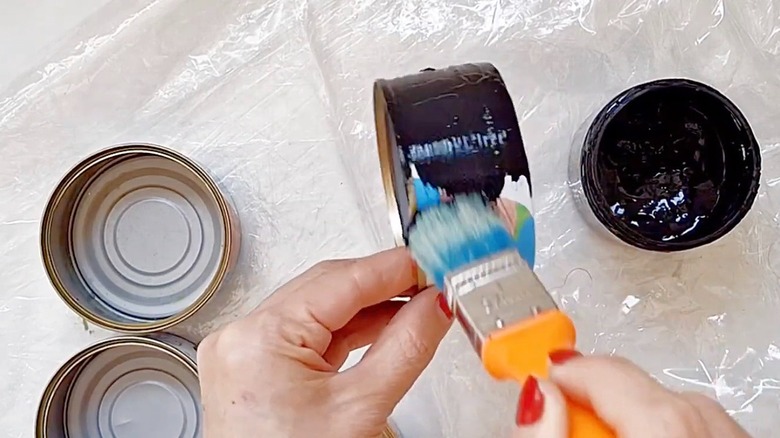
To begin, remove any paper labels from the can and wash it thoroughly, allowing it to dry. Paint it inside and out in a solid finish for an elegant look. You can use spray paint or apply it with a paintbrush, but use an exterior paint that stands up to both heat and weather. You could even apply the paint with a stipple or sponge brush for added texture. Next, attach it to its base. This could be a tapered wood dowel, a metal rod with a platform, or even sturdy sticks. If it's wood, drill through the can and dowel, securing the can in place with a wood screw. Otherwise, a waterproof adhesive from Loctite or E6000 works. You can leave the support as is, or paint it to match or complement your candleholder. Set the post securely inside a planter or in the ground and place the candle inside.
Safety is always paramount when dealing with open flames: Make certain there are no flammable materials near the candle and never leave a burning candle unattended. If you'd rather not use real candles outdoors, there are solar-powered versions available, such as the waterproof SoulBay Solar Tea Lights from Amazon.
For a more creative design, apply letters or images using stencils, cutouts, or gold foil, or wrap the whole thing in decorative border paper, secured with ModgePodge. Rather than setting a pre-made candle in your new holder, you can fill the can with liquid soy wax, adding a wick to create your own custom-fit candle. Or, if your cans are large enough and you want a different look, use Babineto mini solar lanterns to create an illuminated walkway. To really make your backyard shine, pair your new design with DIY Dollar Tree string lights for warm glows above and below.