DIY A Charming Patio Lantern From A Tin Can
Canned goods are a staple in most household pantries and camping cook boxes. However, although tin cans are a great method for preserving food, they also pile up quickly. Recycling is one way to reduce the number of tin cans heading to landfills. Repurposing these household staples for garden decor, camping, or even emergencies is another tactic. One easy decorative and functional option is to DIY a patio lantern from a tin can.
There are actually a number of ways to repurpose tin cans into attractive accessories. You can use rusty cans as fall porch decor by turning them into plant containers. Empty cans are also used to create a bird feeder. Once it is complete, your tin can lanterns provides soft mood lighting on your patio or porch. It can also add a bit of quaint charm to your campsite. If necessary, a tin can lantern can also be hastily fashioned if you find yourself in an emergency situation whether off-roading it, or during a power outage at home.
In addition to reducing your carbon footprint ever so slightly, one of the best things about creating a DIY tin can lantern is it requires relatively little skill and few supplies. You can use just about any size can. The basic tools you will need are a hammer and nails or an awl. Additional helpful supplies include gloves, markers, ruler, pliers, wire cutters, wire or string, beads, and stencils. You will also need a tea light or electric candle to place inside. Make several and use them as luminaria-style lanterns or suspend them like string lights across your deck or balcony.
Making a tin can lantern

There are a couple of ways to go about creating a DIY tin can lantern, depending on how much time you have and how creative you want to be. The first few steps are the same for each method. To start, completely remove the lid and soak off any labels and label glue. Finally, thoroughly wash and dry the cans. If you are making a lantern during an emergency, aesthetics aren't important: Simply punch several holes in it with the hammer and nails and set a candle inside. This acts as a windbreak, controlls melted wax, and helps diffuse the light.
Assuming the lantern is a planned project, fill the can with water and place it in the freezer until frozen solid. This will help prevent the can from bending or denting while punching in holes. Once the water is frozen, lay the can sideways on a surface that will hold it in place and prevent it from rolling while you're working. One way is to create a small wooden cradle. A simpler method is to use a stack of towels.
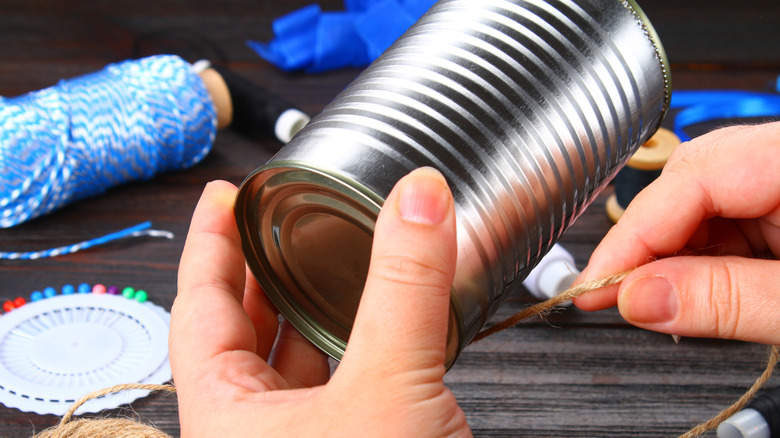
Next, use a marker to draw your design on the can. This can be done with or without a stencil. Then begin punching holes along the lines of the design using the hammer and nail or awl. If you intend to add a handle, punch two holes near the top of the can, opposite one another. Once the design is punched out, use hot water to melt the ice. Dump the water and add creative touches, such as a wire handle, decorated with beads. If you find you missed a spot in the design, simply freeze more water and touch things up.