How To Transform Your Empty Pet Food Bags Into Garden Grow Bags
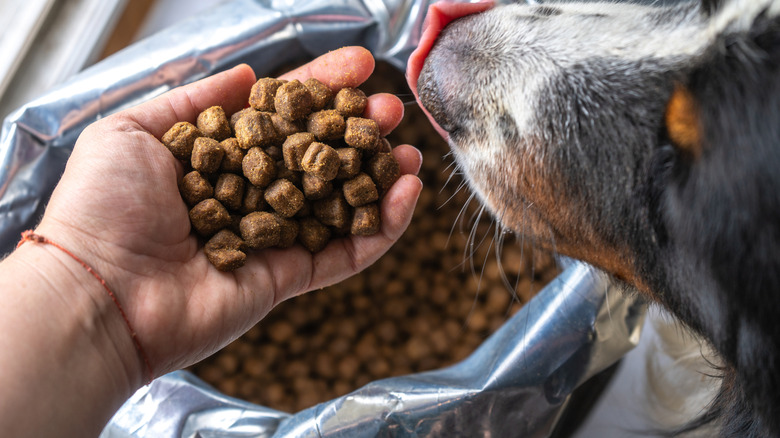
Pet food bags are durable, as they're designed to keep contents fresh, to protect the bag from grease stains, and to withstand the arduous journey from the manufacturer all the way to your home. This tearproof trait also makes the average multi-material pet food or animal feed bag difficult to recycle. With 99% of the 300 million pounds of plastic pet food bags produced annually going into the landfill, it seems like there ought to be a better way to use them. They've already proven their durability, which makes them an ideal alternative to store-bought grow bags for the garden. Both the hefty, large pet food bags and their smaller counterparts work well for growing your own produce, herbs, or annual plants, even if you don't have room for a garden plot.
While the larger bags work best as outdoor grow bags for plants like potatoes, tomatoes, or eggplants, the smaller bags are great for growing flowers or herbs on patios, decks, and balconies. Depending on the graphics, pet food bags have a decorative advantage over repurposing Dollar Tree laundry items into DIY grow bags. With some of the smaller, colorful bags on the specialty pet food market, if you spend a little time on social media, you can find intriguing origami-style techniques to convert bag panels into small decorative pots for flowers and herbs. Rinse out pet food bags before use to ensure there are no crumbs or other debris. And it might worth seeing if the bag is listed as having been made from food-grade plastic if you're concerned about growing veggies.
How to make a pet food grow bag
Find a level surface in a sunny area of your garden the patio to start your grow-bag garden, as the larger pet food bags could be awkward to move once they're full of damp soil. Trim off any remaining pull strips or irregular material hanging from the top of the bags to tidy them up a bit. One disadvantage over breathable fabric grow bags — or upcycled fabric storage bin grow bags — is there's nowhere for excess water to go. Snip a few holes just above the bottom of each bag to allow excess moisture to drain out. Try as get as close to the bottom of the bag as you can, and snip on either side of the seam.
Roll down the top several inches so the bags stay open on their own. You can always roll it up if you need to add more soil as plants grow. Fill each bag about two-thirds of the way with a mixture of equal parts soil, compost, and either vermiculite, sand, or perlite for a blend that's suited to grow bags of any sort. Regular topsoil, garden soil, and compost are a bit too heavy for grow bags. You can set several grow bags on a growing table, a genius solution for making any container garden easier to work in.
Then it's just a matter of adding your favorite seeds or starter plants to your grow bags. Plants such as lettuce, carrots, and greens do well even in fairly small pet food bags, while larger plants such as tomatoes and cucumbers benefit from larger sized bags. For plants such as tomatoes that need a little extra support, add a tall stake or two to support the plant as it grows.