How To Build A Beautiful Stone Birdbath For Your Yard
We may receive a commission on purchases made from links.
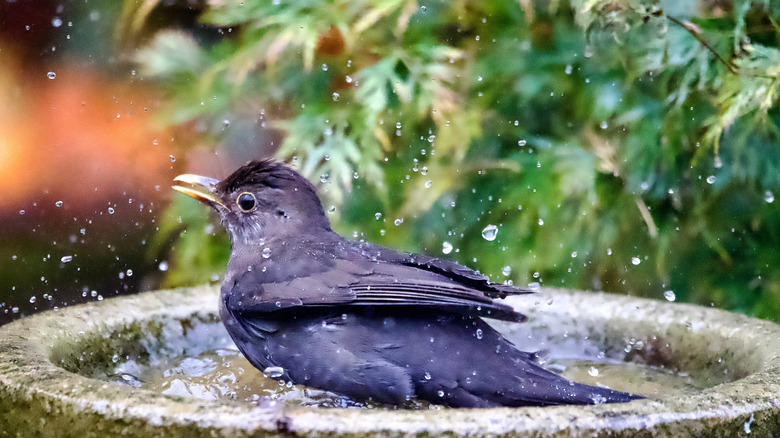
Just about any type of birdbath might entice flocks of birds to your yard. While there are plenty of quick birdbath DIYs, why not carve a beautiful bath from real stone? Unlike concrete, a stone birdbath isn't likely to crack or break in winter. It's also a stylish choice when your outdoor aesthetic reflects an earthy, natural vibe. Make your own stone birdbath from two boulders, available at stone yards or landscaping stores. One stone serves as the pedestal or base, the other is the basin. Look for compatible stones in roughly the contours you want.
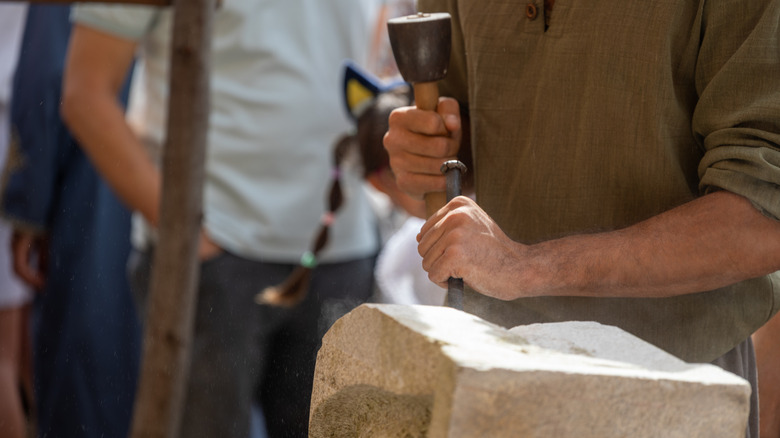
If you're wondering if any stone carving or chiseling is involved in this project, the answer is yes. It wouldn't hurt to spend some time online brushing up on your stone knapping, but the beauty is, this isn't a precise job. An angle grinder or a circular saw with a diamond blade makes it easier to chunk out a rough basin. Use a HEPA dust extractor with whichever power tool you use, but it's still a good idea to wear a respirator or dust mask while you're working. And of course, always wear eye protection when carving, cutting, or grinding stone as well.
The base or pedestal stone should be more vertical than horizontal. The top of the pedestal should have a flat enough spot to securely hold the basin stone. You can fine-tune this platform with a hammer and a stone chisel. The basin stone should be at least 3 inches thick so you have room to chisel out an impression for the bath. Its top should be flat or even better, already have a slight impression. When you're ready, set up your birdbath out of direct sun, in the shade, where algae won't grow as fast, and the water will stay a tad cooler on hot days.
Forming the stone birdbath
Set the base piece atop a sandbag — this helps provide stability while you work. Test-fit the basin piece atop the base to find a position that seems as level as possible. Look beneath the basin stone to see if there are any high spots that need to be chipped away. Remove the stone and use a chisel and hammer to chip any high spots off the base piece, as needed. Set the basin stone back on top to ensure the fit, adjusting again if necessary.
When you're ready to carve the basin, set it atop the sandbag. Draw a rough circle on the stone to mark where the inside of the bowl or basin will be. Use something like the Ivy Classic 12-inch point chisel and a hammer to define the center of the basin with a 1-inch deep and 3-inch wide indentation. With safety equipment on, use a circular saw or angle grinder with a diamond bit to carve relief lines in a 2- or 3-inch grid inside the circle. Knock out these defined squares with a chisel and hammer.
Repeat the entire process as needed to make the basin about an inch or two deep, sloping gradually toward the center. Use the grinder to smooth things out, but not entirely smooth. A textured birdbath basin is more comfortable for birds because they'll have better footing and feel safer. Use a bit of caulking on the bottom of the basin to mark a center point where you'll drill a hole and insert a steel pin in the pedestal, securing it with caulking putty. Drill a matching hole in the bottom of the basin, but don't add adhesive, so you can remove the top stone as needed.