How To Create A Glossy Paver Walkway For Instant Curb Appeal
We may receive a commission on purchases made from links.
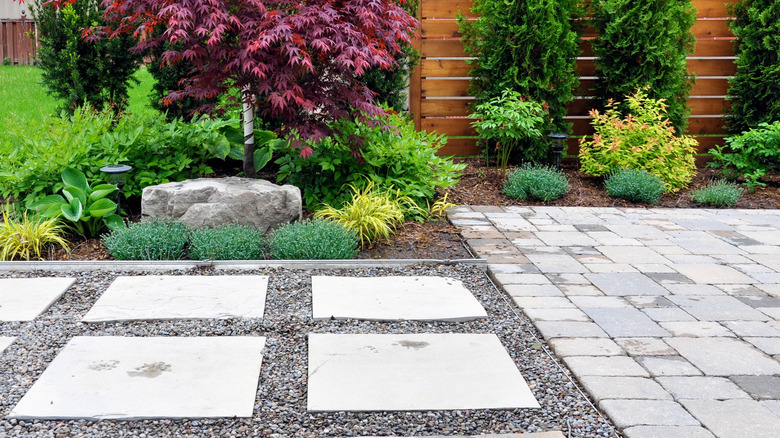
If you're wondering whether to redo your backyard or front yard first, the answer lies in what your goals are. To increase the curb appeal of your home, redo the front yard first and consider adding a walkway featuring high-gloss pavers for an elegant pathway. You will already take your landscaping to the next level by adding any of these DIY paver projects to your yard. Adding a glossy sealer to pavers, rather than a matte version, gives them a stylish "wet look" all the time. Not only will sealing your pavers make them look fantastic, it protects them from moisture, dirt, stains, and the sun's UV rays.
Other benefits to sealing pavers include resisting fading, enhancing the color, and easier cleaning. Plan on reapplying sealer every three to five years to maintain the condition. The two most common types of sealers are solvent based, and water based. Solvent-based sealers produce a higher gloss finish. Be aware that, when creating a high-gloss finish, there is a risk the pavers may be more slippery in wet weather than with matte finishes — in part because it requires multiple coats and creates a smooth, non-textured surface, eliminating the porosity found in most pavers. Water-based sealers give a matte or lower-gloss finish. The low VOCs (volatile organic compounds) make water-based sealers a little easier to work with and don't have the strong chemical odor that solvent-based sealers have.
Apply multiple coats for maximum shine
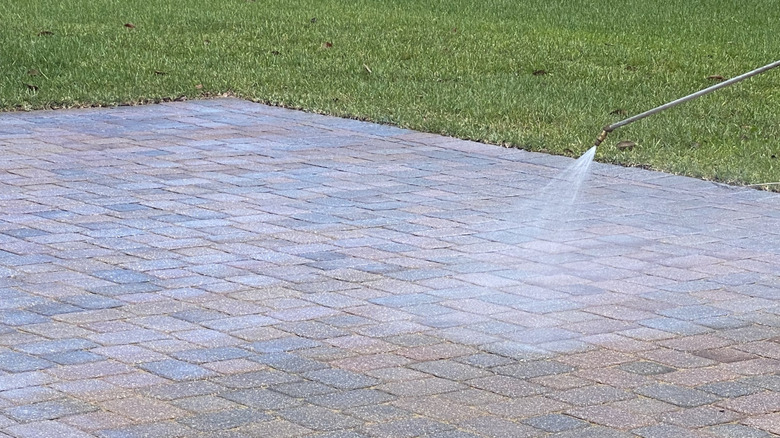
You'll need a few tools to create your glossy paver walkway. Make sure you have sealer, a stiff bristled broom, hose or pressure washer, a pump sprayer (like the one you might use to spray weed killer), and a paint roller. Because pavers — especially concrete pavers — are porous, you are probably going to need multiple coats to create a glossy surface. While you can achieve the effect with a water-based sealer, a solvent-based one — like the Armor AR500 solvent-based high-gloss acrylic sealer — will work better. Note that you'll be sacrificing the benefits of porosity, including water drainage as ice forms and melts in winter. If this is your first time applying sealer, it's worth practicing on a test paver to see if you have the right product and technique.
Clean pavers before sealing, using a stiff bristled broom or pressure washer. Let the pavers dry at least 24 hours before sealing. You should only apply sealer when the weather is dry. Using a low-pressure sprayer set at its lowest temperature (if it has one), spray the sealer onto the pavers, being careful to avoid spraying onto other surfaces. Run a dry paint roller over them to soak up any excess. Let the sealed pavers cure for at least 24 hours before adding a second or third coat (as needed), and before allowing anyone to walk on them. Whether your pavers are in a row like a sidewalk or you elevate your yard by building a rounded paver patio, sealing the pavers will give them a nice shine and an elegant, finished look for instant curb appeal.