Add Privacy To Your Yard With A Stylish DIY Movable Screen
We may receive a commission on purchases made from links.
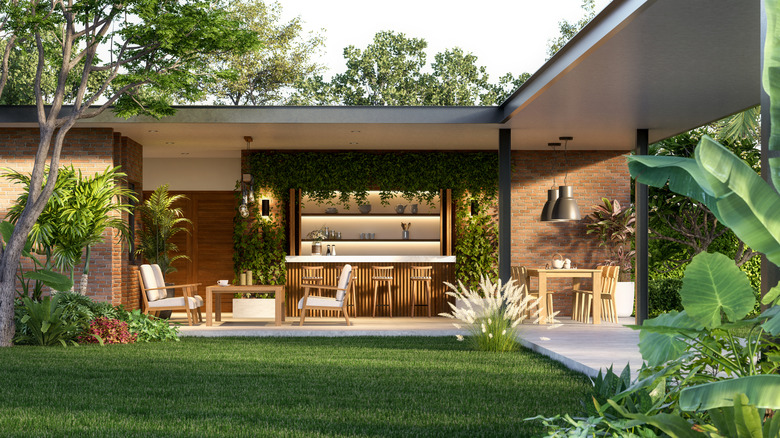
Many outdoor spaces, such as patios, decks, and apartment balconies lack the kind of built-in privacy you might be looking for when fashioning your ideal cozy retreat. Building a permanent fence around an outdoor area can be costly, restrictive, and even a violation of lease guidelines, leaving many feeling stuck with an imperfect view. Luckily, there are options for those seeking privacy that won't break the bank or permanently alter a space. One easy DIY project that adds extra privacy employs the use of a few wooden trellis panels, which serve as a framework to hang potted plants or other decor. You're essentially creating both a vertical garden and an attractive, easily moved privacy wall at the same time.
This outdoor screen DIY adds privacy to your deck without blocking all the sunlight, by letting the greenery of hanging plants do the work. You can customize the screen to your space, and tailor the look to suit your vibe with decorative flourishes. You can also change up the potted herbs, flowers, and plants to match the season, making this the perfect outdoor accent wall year-round.
The best part is, this trellis screen can be picked up, put to the side, or folded up and packed away when not in use. That way you get a little extra room when hosting guests, and it's ideal for renters who haven't found their forever home. With just a few framed wood lattice panels, door hinges, and a paint job, you'll be ready to create a small, private oasis in style.
Extend your privacy screen as far as you like
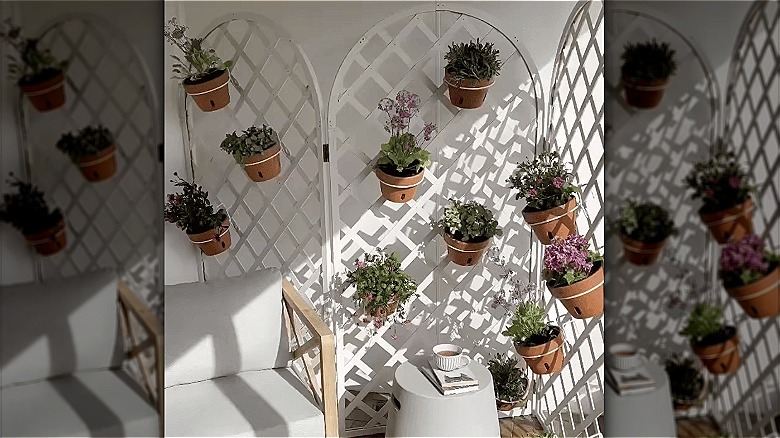
Though it may sound like quite the undertaking, this trellis screen DIY is actually pretty beginner-friendly. Gather up the necessary materials, including your lattice panels, outdoor-rated hinges, screws, and weatherproof paint. You can also frame out your own panels if you have unframed lattice sitting around. Any sturdy, flat trellis or lattice panels will work, though arched panels look particularly nice. You want wood frames, rather than metal or vinyl, in order to screw in the hinges. Two or three panels will allow the structure to stand on its own, like a classic room divider. But of course you can extend it with more panels.
Paint or stain your screen materials whatever color you'd like, so it fits the outdoor aesthetic of your home. From there, screw the arches together with hinges (make sure everything is level and even), allowing you to collapse the screen when not in use. You'll want the hinges on the inside of each panel, so the whole thing can fold properly.
Once your outdoor screen is ready to set up, start hanging your plants. The lattice design serves as the perfect anchor for HowRU Iron Art hanging basket flower pot holders, letting you drop in potted plants along the entire facade. Think of it like building a stunning vertical plant wall in miniature. Aim for lighter-weight plants, using minimal potting soil, especially for those placed higher up the screen. Sprawling, bushy plants will provide the most coverage and privacy, while smaller pieces such as succulents can be used as cute visual highlights. You can add decorative touches like holiday wreaths and fairy lights, matching your outdoor vibe or the changing seasons.