Raking Snow Off The Roof: Here's What To Know About Proper Safety & Technique
We may receive a commission on purchases made from links.
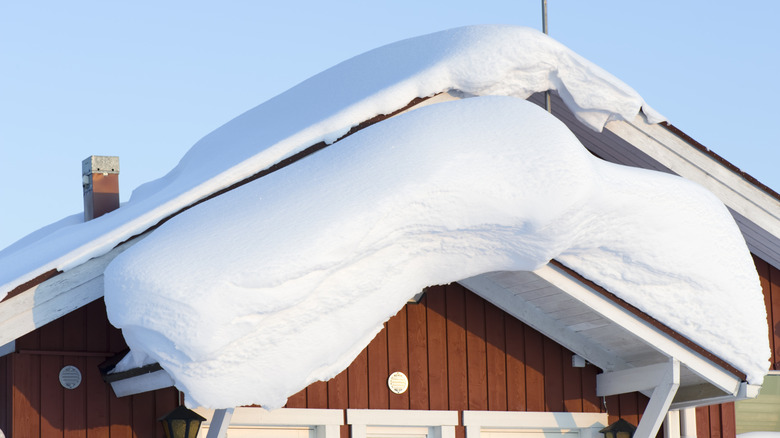
Clearing snow is on the list of winter chores if you live where there's a fair amount of snowfall expected each year. But it can involve more than just brushing off your car and shoveling your driveway. Snow piled on the roof adds a lot of weight, and could lead to buckling or ice dams caused by melting snow and freezing water around the lower edges of the roof. Climbing up on the roof is dangerous. Instead, a roof rake offers the opportunity to clear the lower perimeter of your roofline while you stand safely on the ground. In fact, a roof rake is one of those tools that makes clearing snow easier than ever.
As with most tools, however, there are ways to handle a roof rake safely. Using the proper technique and standing safely out of the snow's path as it drops will ensure it doesn't land on you, and that you won't accidentally damage your roof. If you're concerned about the ice dams that form on your roof and gutters, clearing snow whenever it gets to 6 inches deep or so is a good general guideline. Wet snow weighs up to six times as much as fluffy snow, so keep that mind also, when deciding it's time to start raking.
Always work from the bottom of the roof when getting started, so you're not straining yourself or bringing down a mountain of snow all at once. Avoid dinging gutters as much as possible, and be gentle on the roof itself. If you're dealing with a tall, peaked roof that's difficult to completely rake, using rope to remove snow may be worth your effort.
Draw the snow towards you and stand clear
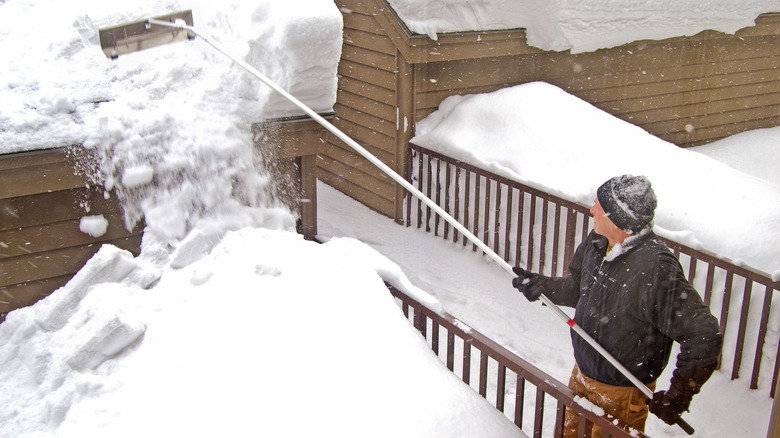
A roof rake, such as the Snow Joe roof rake, is different than a traditional version in that it doesn't have tines. It has a longer handle and a wide head to drag snow off the roof. Some feature small rollers on the bottom blade to help prevent shingle damage. As you drag the device towards you, it easily pulls snow down with it.
To safely use a roof rake, extend the handle as far as it goes, allowing you to stand back from the eaves and the dropping snow. Position the rake head a couple of feet up from the lower edge of the roof. Walk backwards a bit or, better yet, pull the rake towards you. Keep doing this, overlapping the areas you've worked previously; it's a bit like working a giant squeegee. Clear off flashing and seals around chimneys, but avoid fragile skylights, vents, and similar areas. Instead, scrape the snow from either side of these objects. Clearing around bathroom vents helps moisture escape and could cut down on ice dams forming. Finally be extremely careful around power lines: You're holding a long metal pole, after all!
Use a light touch when clearing any area of the roof. The goal is to remove just enough snow and not necessarily scrape off every last bit: You don't want to damage the shingles or remove their protective granules. Keep working as high up as you can reach (but you don't have to get all the way to the top if it's not safe). When you're finished with the roof, you may want to go back and clear out the snow that piled from your hard work, so it's not melting against your house.