How To Turn Your Old Deck Railing Into A Rustic Birdhouse Stand
A well-designed and visually appealing deck is one outdoor upgrade that can add value to your home. So if your current deck feels a bit lackluster, you may find yourself renovating your outdoor hangout spot — which can mean an abundance of leftover wood planks and railing. Thankfully, this DIY birdhouse stand can help you cut down on renovation trash while adding charm to your yard.
Deck railing balustrades made from high-quality wood are designed to withstand most elements, and with the proper care and maintenance, they can last for several years. Because of this, if your deck railing is in good condition with years left, a resourceful DIY can be a great way to save on expenses and cut down on some of the hassle associated with mounting and setting up a birdhouse.
To recreate this project in your own yard, you'll need a wood railing baluster with a flat top, as well as a birdhouse and a shovel. You'll also need a strong outdoor adhesive that will hold up to the elements. If you feel like your baluster needs a little TLC before starting its new life as a birdhouse stand, then you may also want to pick up a paint or stain for exterior use.
Creating a birdhouse stand from an old deck railing baluster
Before diving into this fun project, there's a bit of elbow grease to get out of the way first: cleaning. While your deck railing may end up dirty again once it's buried in the yard and exposed to the elements, a clean surface can help your adhesive stick better. Once your baluster is clean, this is a great time to apply paint or stain if you desire.
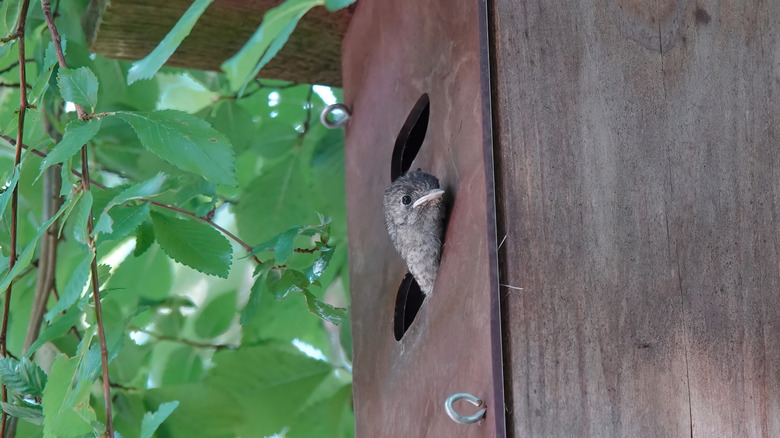
Choosing the right birdhouse is essential for this project. You want an option that fits well on the surface provided by the baluster, which means you may want to opt for something smaller. Since you're going to use the adhesive to permanently attach the birdhouse, you may also want to think about birdhouse features that'll make maintenance easier, like a hinged side door or roof panel to clean the interior. It's also important to take time and brush up on important birdhouse cleaning tips. This way, you can provide birds a safe, tidy home they'll want to nest in. Once you have the right birdhouse for your baluster, attach it using the outdoor adhesive.
And just like that, you've completed this easy, beginner-friendly DIY project. The last step is to the best place and direction to set up your birdhouse. If you're working with a smaller baluster, you can stake it directly into the ground or in a large planter. With larger posts, use a shovel to dig a deep enough hole to ensure stability.