Add Some Height To Your Garden Solar Light With The Help Of A Bathroom Staple

Solar lights are perhaps the fastest, easiest way to create an illuminated pathway in your yard or add a dash of ambiance to your flowerbeds. There's no need for wiring, so they're easy to pop in and out of the ground. They're also a key component of DIY garden lighting to add elegant charm to a pathway. The one downside to solar landscaping lights is they often have fairly short stakes. That makes sense if you're using them to illuminate a footpath, but if you'd like to highlight higher garden features, their light often won't reach it. There's no need to settle for short solar light stakes any longer, though. A simple DIY project gives them a boost. Replacing the stakes with wooden toilet-plunger handles makes the solar lights taller, putting them at a nice height to highlight some of the taller plants you may have in your garden. A quick stake makeover with paint customizes them to any color scheme you may have in your yard. Are you ready to take the plunge?
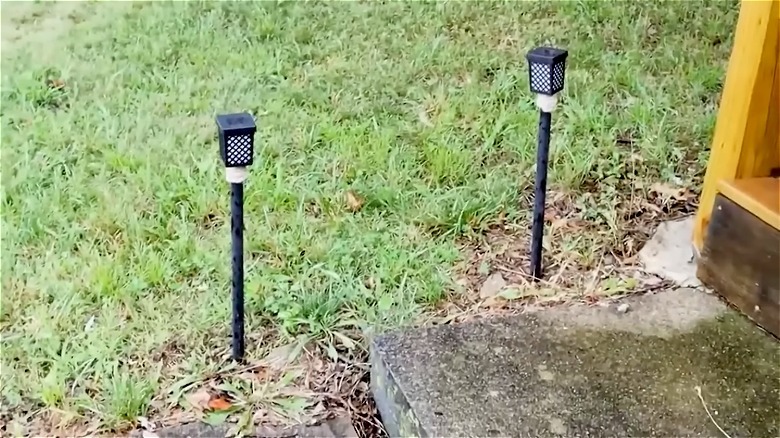
One nice thing about solar light modification is that neither the lights nor the stakes need to be pricey. Repurpose dollar store-variety solar lights and plungers to make budget-worthy, height-boosted ambient lighting for your garden. The handles from the 19-inch thermoplastic toilet plungers at Dollar Tree, for example, would add a fair amount of extra height to your lighting compared to the typical plastic light stakes that are in the 8- to 12-inch range. If you have an extra solar light, upgrade a DIY birdbath with it for a display after dark.
How to boost the height of solar lights with plunger handles
To make the transformation, first remove the stakes from the solar lights. Take the plungers outdoors and set them on a thick sheet of cardboard or a tarp set over a table. Push the plunger end down onto the surface, then spray paint each plunger handle the color that coordinates with your solar lighting. The plunger end makes it convenient to paint all the way around the handles. When the paint dries, remove the handles from the plungers, then test-fit to see if the screw end on a handle fits into the port on the bottom of the solar light. If not, sand, shave, or chip that tapered end down a bit until it fits inside the light. Repeat the process with each handle, paint the tapered ends on each, then let the paint dry.
Set the solar lights upside down on a flat surface. Place a dab of hot glue inside the port on the bottom of each solar light, push a handle into it, then let the assemblage dry. Wrap jute around the area where the light and handle meet, then glue it in place for added strength. Once the glue is dry, the lights are ready to place in the yard. Since the new stakes aren't tapered at the end, start a hole for each one with a screwdriver or other narrow tool, or take the time to taper the ground-facing end to make it easier to use. For a more playful aesthetic, repurpose colorful wine bottles into DIY garden edging that'll look gorgeous when light hits the glass.