Repurpose Old Milk Jugs For A Clever DIY Vertical Garden
Pre-made vertical garden structures can be downright expensive, but as with any type of garden, there's no need to use a prefab structure. There is a lot to be said for creating something yourself, especially if you can do it by repurposing items that might otherwise be destined for the trash or recycle bin. Milk jugs — and any similar plastic jugs with a sturdy handle — are handy for so many garden-related uses, from using them as seed-starting pots to the genius reason gardeners keep empty milk jugs to protect plants from frost. Another way to get a lot of bang for virtually no bucks is to use empty milk jugs as plant pots for a vertical garden.
You'll cut the tops off the jugs to create open planters. By running a board through a series of jug handles, you've already got one row set up for your vertical garden. Add more rows above or below the first by attaching each board to a structure, such as between two fenceposts, or make a DIY stand.
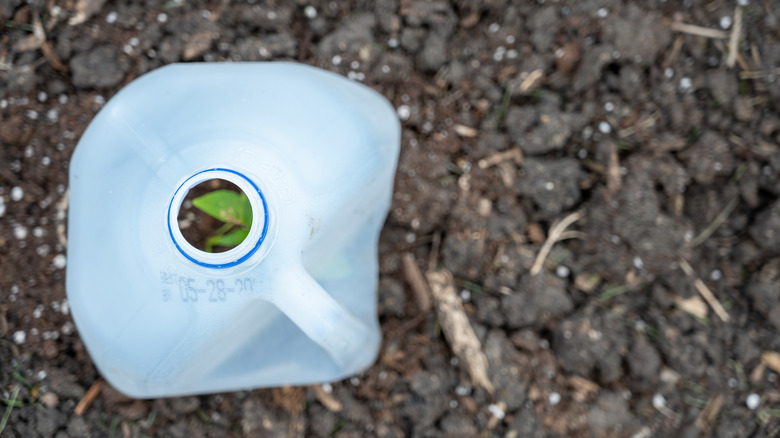
Before you repurpose any of the jugs, wash them out thoroughly and remove the labels. The jugs for your DIY vertical garden can be used right side up or upside down — you just need to cut enough of the top or bottom off to fill the vessel with soil and plants. If you use the jugs upside down, small holes poked in the lid can serve as drainage for excess water. Either gallon and half-gallon jugs work and could be used in your garden setup. Even with a six-foot wide structure, you could fit five to 10 jugs on each cross-rail, giving you a good 30 or more planters in a slender, vertical space with just three rails.
Making a vertical garden from milk jugs
If you use the containers upside down, they hold more soil since you only need to cut the base off, and thus the usable part of the jug is deeper. For easy-access, shallower pots that are shielded on the back side, use them upright. How you cut each jug to make a planter varies for each method, too; the upside-down way is easiest, since you'll only need to cut the base off. A utility knife or craft knife does this well, or you can start it with one of those and finish with a pair of scissors. For the right-side-up version, cut down from the front panel, opposite the handle, removing some of the front face of the jug. Cut across that front panel about 4 inches from the bottom, meeting the vertical line. You've essentially got a low plant pot with a high backside where the handle is. Poke drainage holes in the bottom to avoid soggy soil and root rot.
Run a board, stick, or even a broomstick through the handles of as many jugs will fit for each row of the garden. How you create the vertical portion of the garden is up to you; you could use two posts with slots routed out to insert the board or stick at each end. You could nail the cross boards onto vertical 2-inch by 4-inch boards. You could lash everything together. Fill each jug plant pot with potting mix, then add seeds or young plants. You could plant a charming, budget-friendly herb garden, using milk-jug containers instead of mini-buckets. Then enjoy — your new vertical garden is one way to transform a narrow backyard into a useful space, allowing more room for you to relax and enjoy the view.