A DIY Picnic Blanket Idea That'll Make Use Of Your Old IKEA Bags

Whether you want to take advantage of the quiet DIY privacy nook in your backyard or soak up your local nature site, with pleasant weather comes the desire to picnic. However, as fun as picnicking can be, the joy can quickly dwindle when you're left with a damp, grass-stained blanket. Don't give up on your dreams of a relaxing afternoon watching clouds just yet, though — if you have a few spare IKEA bags lying around, then this DIY is the perfect solution for you.
This clever DIY picnic blanket uses the FRAKTA bag from IKEA to create a water-resistant and durable layer on the underside of your blanket, saving the time and hassle usually associated with cleaning your picnic blanket. These bags are made of polypropylene, which is inherently resistant to water. They are also lightweight, which makes them flexible and easy to use. With just a few extra tools, you can transform old IKEA bags into a water-resistant backing that makes picnicking simple and stress-free.
If you want to try out this DIY yourself, you'll need to have quite a few FRAKTA bags on hand. The exact number depends on the size of your blanket. You'll also need a blanket you don't mind designating for outdoor use. Gather sewing materials for either hand or machine stitching, plus a seam ripper and scissors.
Repurposing IKEA bags into picnic blanket backing
The first step in this DIY picnic blanket is to use the seam ripper to carefully remove the handles from your IKEA bag. You'll reuse the handles later, so be sure to set them aside. Next, using your scissors, cut open the FRAKTA bags so that they lay flat, then cut them into even squares. Stitch the bags together to form a layer equal to the size of your blanket.
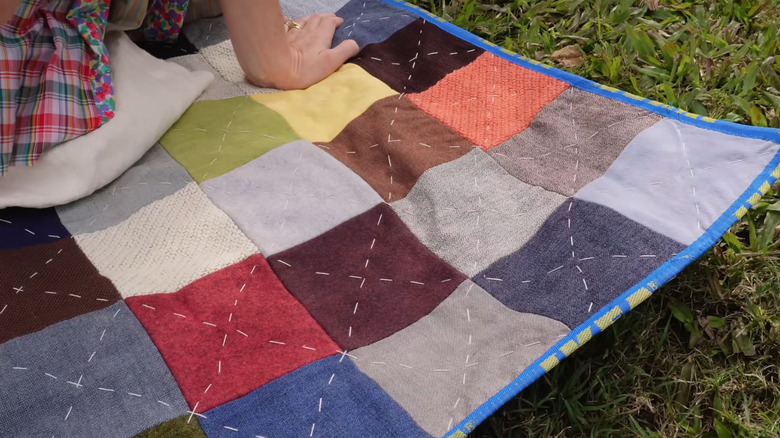
If you've ever made a multi-layer blanket before, completing this DIY may be a familiar process for you. Using your handy sewing skills, attach the backing to what you want to be the underside of your blanket. The bag backing will face the ground when in use, as well as cover up any details or designs on the other side. Trim any excess material if your bag layer extends beyond the blanket's edges. Finally, use the leftover IKEA handles to create a neat seam along the blanket's edge. For a clean line, you may need to iron your handles flat first.
Picnics can be a great way to reconnect with nature and unwind in the sunshine. Even if you're picnicking in your backyard, remember to stay safe from hidden garden hazards like excessive sun exposure. This blanket project isn't the only DIY you can use with IKEA materials, either. You can also transform a few IKEA storage containers into a mini trellis for your outdoor space.