Tips For Building A Wooden Retaining Wall In Your Garden
A retaining wall is a functional landscaping feature that holds back soil and reshapes a slope, helping to prevent erosion and reclaim usable space. These walls are often used to create level garden beds, walkways, patios, or play areas on sloped land. You can build a stone retaining wall in your garden on a budget with these tips. However, wood is a popular choice for retaining walls thanks to its affordability, warmth, and ease of installation. And yes, building one can absolutely be a DIY job. Here's a tip to get you started: use pressure-treated wood rated for ground contact and apply a preservative to any cut ends on-site to prevent rot.
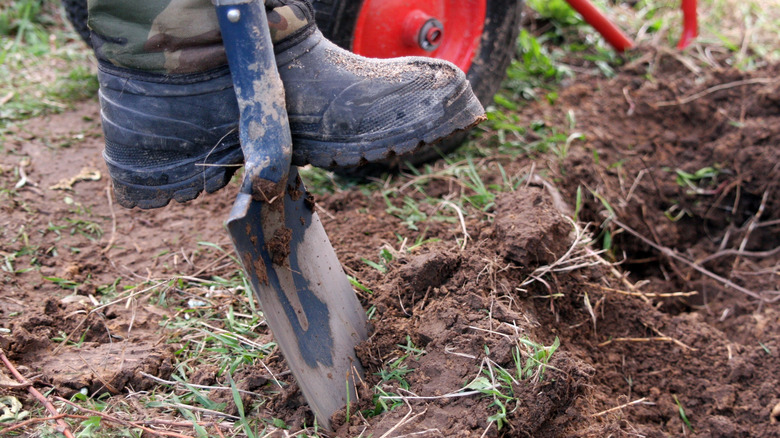
Before grabbing that shovel, it's worth scoping out the area carefully. Think about why you need the wall in the first place. Are you trying to stop soil erosion or create a terrace — or both? Sketch out your slope and identify where the pressure is coming from. Keep in mind that even a simple wall requires organization, digging, and hauling materials. Starting small is smart. A straight 16-foot wall is manageable for most homeowners over a weekend, especially if you give yourself enough time and don't rush through the setup. To achieve the results you want, the process takes planning and patience.
What to consider before building a wooden retaining wall
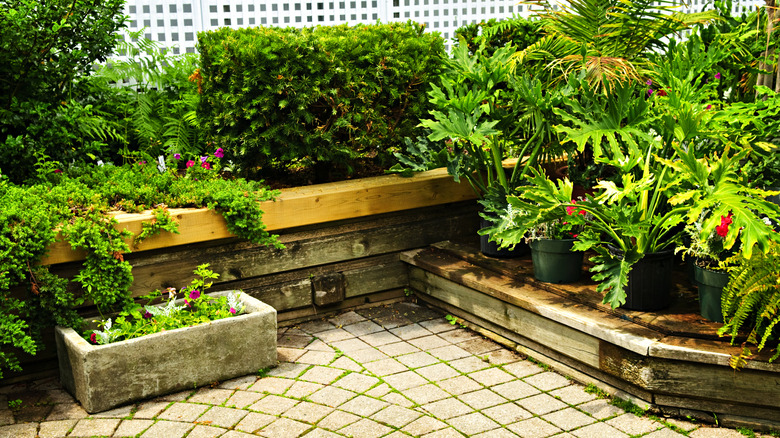
Small retaining walls are attainable and easy enough to do yourself. You can incorporate one into a stylish DIY patio paver seat that will add comfort to your outdoor space. Before stacking boards or digging trenches, step back and assess the landscape. The right time to build is when the ground is dry and stable, usually late spring and early fall in most regions. Avoid wet or frozen conditions; you'll thank yourself later when you're not battling the elements. Timing your project to coincide with fair weather also gives concrete and preservative treatments the best chance to cure properly.
The wall's placement matters as much as its construction. Look for signs of erosion like exposed roots or bare, compacted soil. These are the areas that most require reinforcement. You'll also want to avoid blocking natural drainage paths or building too close to structures, trees, or property lines. And don't forget underground utilities — call 811 or your local utility marking service before you dig. It's free and could save you from a costly mistake.
Check in with your local building office about permits and codes, especially if your wall exceeds 48 inches in height. Anything taller may require a permit, a structural plan, or even professional help. It's also worth considering how the wall fits into your long-term landscaping goals. Will it support a new patio, a vegetable garden, or something else entirely? A little foresight now can prevent rework down the road.
More tips for a successful retaining wall project
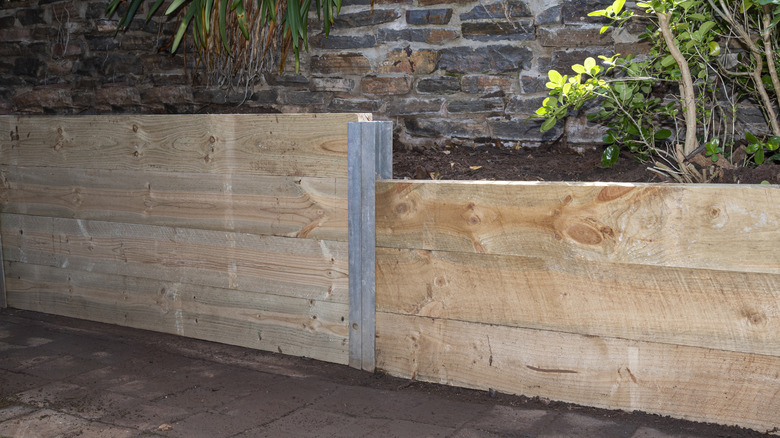
A successful retaining wall project starts with the right tools and materials. At a minimum, you'll need a shovel, level, post hole digger or auger, circular saw, hammer, and measuring tape. Pressure-treated lumber (2x6s or 2x8s) rated for ground contact is your go-to material, and you'll need galvanized nails, quick-set concrete, and gravel for drainage. Not all aggregates are created equal, though, so avoid these common mistakes when using gravel in your landscaping. Don't forget a good wood preservative for freshly cut ends. If you're building on a slope, a laser level or string line will help keep things aligned and even.
Not every wall is a DIY job, though. If your wall will be holding back more than 48 inches of soil, or if the slope is steep, it might be time to call a pro. Taller walls must withstand far more pressure and require deeper posts, stronger anchors, and often a drainage plan that includes perforated pipe and gravel backfill.
One last tip: if you're unsure whether your wall needs deadmen, tiebacks, or other reinforcements, it's better to ask for help now than suffer the time and money costs of repair later. A well-built retaining wall can last upwards of 20 years or more with proper drainage and maintenance. Shortcuts, however, can turn into sagging boards, failed posts, or worse in only a few seasons.