Stressed Out Over Hanging Outdoor Christmas Lights? Try This Clever TikTok Hack
We may receive a commission on purchases made from links.
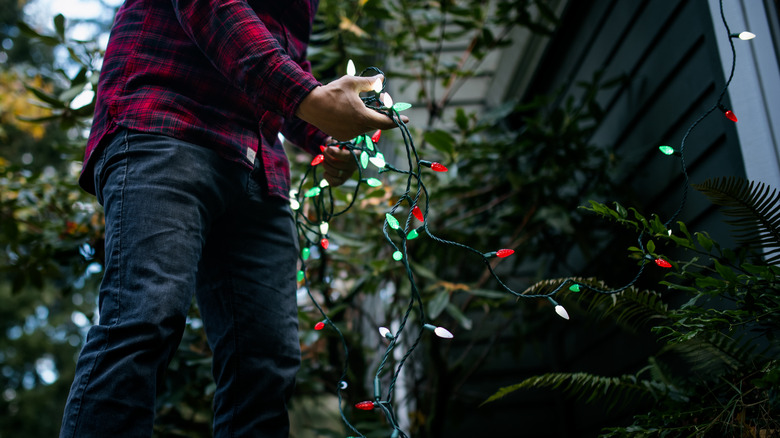
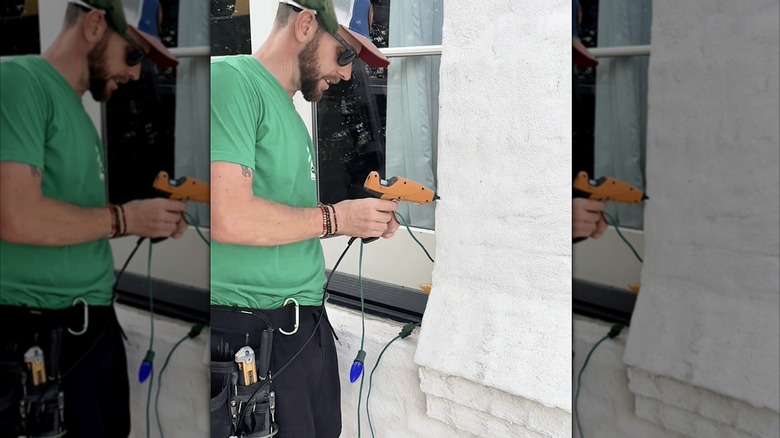
If you're thinking about decorating your home's exterior with Christmas lights, you've probably already considered how to hang them so they stay up. This is especially important when you're trying to take some holiday front porch decorating cues from celebrity homes. Various hooks and clips are available, but picking the right clips for the job depend upon where you're hanging the lights, and they don't always stay put. Clips also tend to not work well with brick or stucco. Skip the confusion — and clips — with a tool you might already have on hand: A hot glue gun. Dabs of hot glue set on the back of each socket hold those lights up whether you're working on painted surfaces, stucco, or even brick. Christmas light installation business owner Nick Glassett even uses hot glue to hang the lights on window arches.
One fun part of this project is that you don't even need to have a cordless glue gun. In Glassett's TikTok video outlining the process, he plugs a regular, corded glue gun into one end of the light strand; the other end of the strand is plugged into an outlet (or an extension cord plugged into an outlet). Doing it this way is also keeps the unhung portion of the light strand well within reach. You'll want to make sure you're choosing the right kind of outdoor lighting for your home. After that, it's just a case of adding a little glue to the base of each light and pressing it against the window trim, eaves, or porch columns.You could also make your own light-up giant Christmas ornaments for the porch with a simple Dollar Tree hack that turns hanging planters into illuminated orbs.
A little glue will do the trick
Before you hot glue a single light to anything, a little prep work will save multiple trips later. Test each light strand and replace faulty bulbs (or entire strands as needed) ahead of time. It's also useful to wipe down any dirty, dusty areas to ensure the glue adheres, and make sure surfaces are dry. Once you decide where to hang the lights, plug them in to a nearby outlet to ensure the strands reach the desired destination. Also, use high-quality glue sticks such as Surebonder acrylic high-strength sticks so the glue stays put where you want it.
With the lights plugged in and the ladder in place, run a healthy dot of hot glue on the base or side of the first socket (depending on how you want to orient them), as in the socket closest to the outlet. Press it into the desired position on the window frame, brick, or even the gutter, then hold it for a few seconds to ensure it stays put. Do the same with the next socket. With larger, "retro" style lights especially, hang the flare of each socket over edges and corners, so they sit flush against the wall.
If you do this with no slack in the light strand, it'll create a clean, straight line that looks stunning when lit. If you're working with heavier light strands, you may want to remove the bulbs during installation and may need an extra dab of glue somewhere along the cord between lights for support. It's easy to take hot-glued lights down, too: Just spray a little rubbing alcohol over the glue on each socket to loosen its grip. If a little residue is left behind, that will just make things simpler to set up next year, as now you have a guide!