Add Character To Your Porch Columns With A Simple Upgrade
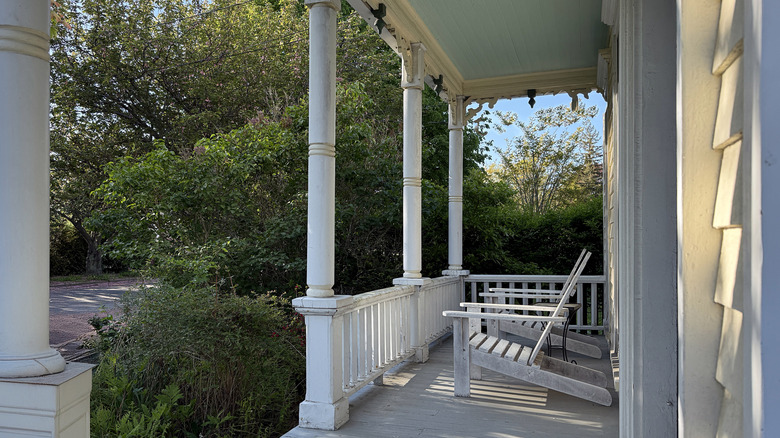
If your porch is looking a little dated and it's time for a change, you may be wondering how much you can even do without hiring a full construction crew. You might give it a coat of paint or try a DIY project like making this rustic porch decor out of an old cooler. But if you want to change the way your porch looks on a more foundational level, you don't need to tear it down and start from scratch. Instead, look to column wraps: These simple upgrades can give your porch an entirely new aesthetic without damaging the columns themselves. The great thing is, you can buy them ready-made at a home improvement store or online, or DIY your own.
Column wraps are exactly what they sound like — an extra layer that fits around your existing porch columns, giving them a fresh look. They can be made from a few different materials: Popular options include PVC, faux wood, and vinyl, but you can also find real wood and stone wraps. Real wood and stone are more expensive and may require professional installation. However, if you've been dreaming of gorgeous wood or stone porch columns then they're probably worth the cost. PVC, faux wood, and vinyl are lighter and more affordable, but they also come with downsides. While they're easier to clean and generally durable, they can become discolored with sun exposure. Vinyl and wood are also both vulnerable to mold and rot if left exposed to the elements and not properly maintained.
How to install porch column wraps
Installing porch column wraps is typically fairly simple, but it's important to pay attention to a few key details. Firstly, any structural elements of your porch, such as railings, should be connected directly to the column, not the wrap. You should also wear protective gear while cutting, trimming, and during installation. There may be sharp edges, and you may need to cut trimboards and molding to the right lengths, so wear work gloves and eye protection. Finally, ensure you have all the supplies you need before beginning. You'll need a saw to cut the wrap as well as weather-resistant screws or finishing nails, a drill, and the correct adhesive for the material you chose. If you aren't sure how to affix your specific wraps, check the manufacturer's website for recommendations.
Check that your trimboards are the correct height, cutting them to match your porch columns using a circular saw. Wraps often come in two pieces, with one larger piece making up three sides of the column, and the second piece forming the final side of it. Alternatively, they may consist of two L-shaped pieces that fit around the columns.
Fit the larger piece around a porch column, making any final adjustments to the size as needed. Attach the larger piece with screws, then fit the final side into place. Secure it to the rest of the wrap using the adhesive and finishing nails, then use screws to attach it to the column. Finally, attach any molding or trim to mimic bases and capitals of the columns, add decorative molding, and paint or stain as desired. Of course, if you feel like this is an outdoor renovation you shouldn't do yourself, there's no shame in contacting a professional for help.
Personalizing your column wraps
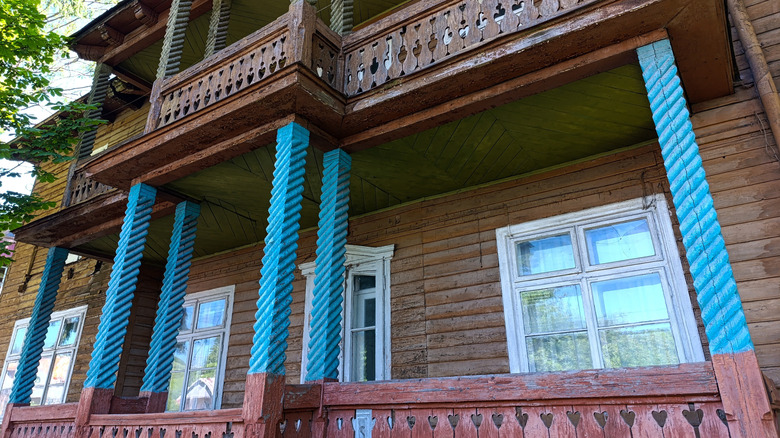
If you choose a wrap that already has color or texture to it, you might be all set. For homeowners that seek a little more flair, there are ways you can decorate or personalize the wraps. Pick a plain, solid colored column wrap in a shape or design you love, then paint over it. Get as creative as you like with colors and patterns (check with your HOA first as needed). If you're getting a plastic wrap, such as vinyl or PVC, sand the surface lightly or use a manufacturer-recommended primer before painting. This gives the paint something to hold on to and stop it from slipping off. Use a paint sprayer, like the Wagner Flexio 5000 stationary HVLP paint sprayer, for smooth, even coverage.
If you have a wooden column wrap and want something a little more elegant, choose a nice wood stain. Consider it a step in protecting your wood patio from ice, rain, and snow. To create a cohesive aesthetic, consider making a DIY wooden chair to take your outdoor space to the next level, then staining or painting it to complement your new porch columns.
There's no need to stop at paint or stain. Consider adding texture with cord, molding, or other materials. You can even cover the columns with vibrant wallpaper. Believe it or not, there are weather-resistant wallpaper designs made for outdoor use. You can also use regular wallpaper, but be sure to add a protective clear coat of decorators varnish, waterproofing the paper so it won't get damaged by rain.