The Best Method For Bringing Your Damaged Planter Boxes Back To Life
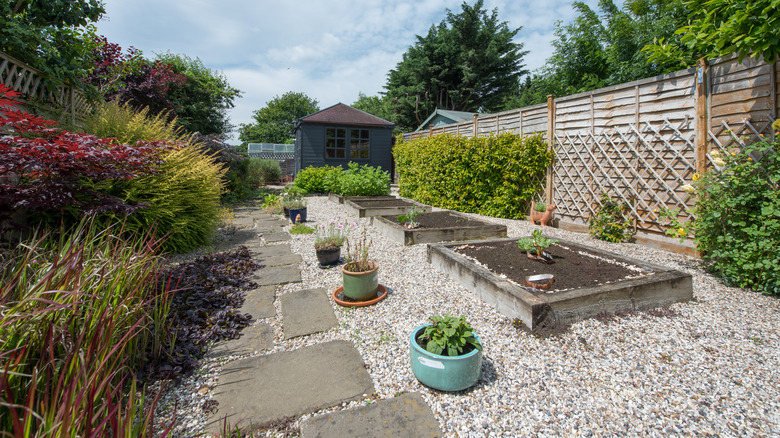
Are your planter boxes looking a little under the weather? Building your own DIY raised garden bed is a fun experience for gardeners of all skill levels, making gardening more accessible. This means more opportunities to reap the many health benefits of gardening. However, after so much time of being exposed to the elements, all that sunshine, rain, and wind may end up taking a toll on your planter, especially without proper drainage or irrigation. Fortunately, even rotten boards and damaged planters don't have to end your gardening journey. With a few simple steps, you can restore your boxes and keep enjoying the hobby you love.
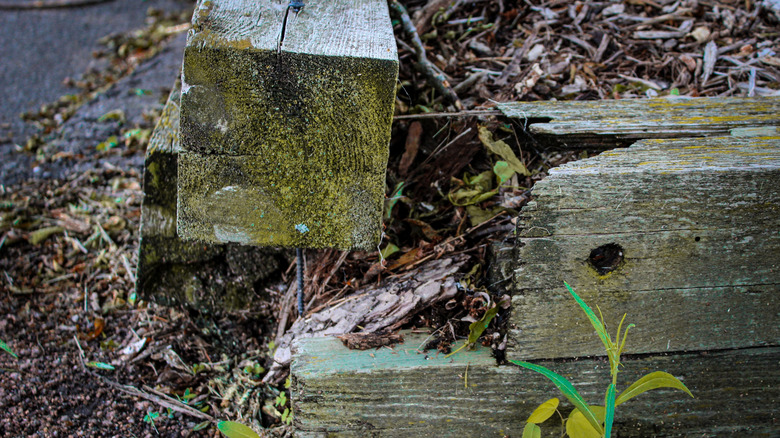
Before diving into repairing your planter boxes, you need to identify what caused the damage in the first place. Regular wear and tear is common, especially for boxes you've used repeatedly, but noticeable rot or water damage may result from poor drainage or a missing liner. Taking time to identify the root of your planter box's damage can help you properly repair the problem — and keep it from happening again. To bring your damaged planter boxes back to life, you'll need a few tools and supplies. This includes extra boards if needed, sandpaper or a sander, a garden-safe sealant or stain, and a new bed liner.
How to repair damaged planter boxes
If you want to repair and restore your planters, the first step is cleaning. Not only does taking the time to thoroughly clean your planters remove any grime from previous seasons, but it also provides a fresh slate where you can easily identify any problem areas. Once your planters are clean, you can begin restoring them.
For any boards with extreme damage or rot, you'll likely want to replace those altogether. However, this may not be possible with store-bought ones rather than a DIY wooden planter you built yourself. In this case, you may need to replace the entire planter. If you're able to replace damaged boards, you can then touch up any minor damage with a sander. This will also smooth out the wood for reapplying your stain. Use medium-grit sandpaper and move with the grain of the wood. After sanding, clean the surface to remove dust and debris, then apply your preferred garden-safe outdoor stain. Allow your sealant or stain to dry completely before refilling the bed. This process may vary based on your chosen product, so make sure to follow any included instructions for your specific sealant.
After you've finished repairing the planter itself, consider ways to extend its lifespan. One of the best ways to do this is by adding a liner. Plastic or landscaping fabric liners protect your planter without harming your plants. Because each type of liner has its own pros and cons, research which works best for your planter and whether it requires additional drainage.