How To DIY A Lawn Mower Shed For Extra Backyard Storage
We may receive a commission on purchases made from links.
Maybe your garage can barely fit your vehicle, or perhaps it's already packed with too many other things. If you struggle to find adequate storage for all your tools, you might need to dream up a DIY solution. A basic lawn mower storage shed can be assembled quickly with the help of some tools and a little elbow grease. This customizable, compact shed sits out of sight behind your home, where you can also keep a DIY storage rack that'll keep your firewood dry. If you need extra space in your backyard to store your lawn mower during summer or over the winter, this shed is a practical option.
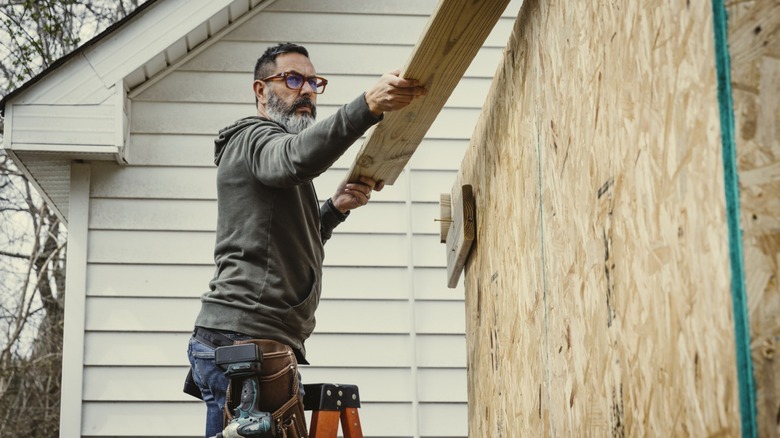
Instead of starting from square one, consider using YouTuber Woodshop Mike's plans. The shed sits on a concrete pad and is made out of sturdy wood posts. First, make sure you know how to choose a durable wood for your outdoor shed. Make sure you have enough wood, cut to the correct dimensions. You'll need sheathing for the outside of the shed, trim boards to create a durable exterior, and paint to add the finishing touch. You will also need screws, nails, caulk, and various saw tools. Completing this DIY project from start to finish requires a little know-how when it comes to cutting boards and creating frames. If you are a little new to this type of project, it's a great time to ask for help from a friend or find resources online or at your local library.
How to add a simple lean-to shed to your home
Depending on your level of experience, this lawn mower shed is designed to be a fairly quick and easy build. First, create a simple square concrete pad. Dig a hole, fill it with gravel, and set a wooden frame to pour in concrete for a sturdy base. Afterwards, begin to frame the shed by cutting boards to size. Build each of the four sides, securing it all with screws and nails. After building the walls, bring them out to the concrete slab and begin putting it all together. Next, assemble the elements that make up the roof and anchor the walls securely to the slab.
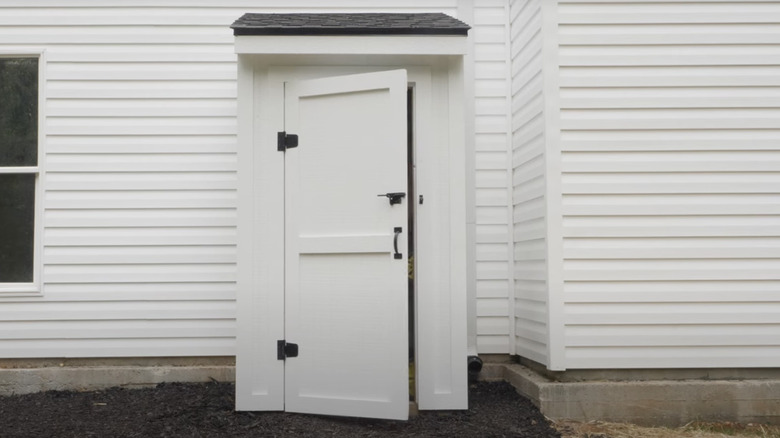
After you have the bare bones of your shed, you still have some work to do. Cut your sheathing to size and attach it to the walls and roof. Be conscious of your work and check to ensure that everything is level as you go. Once the entire shed is covered in sheath boards, you can move on to trimming, which will make the whole shed more durable. Attach trim boards at the corners, but leave a small gap between them. This gap can be filled with caulk, which is better able to expand in areas where the temperatures fall and rise dramatically. Using more wooden boards, build a door to match your shed, finishing it with sheathing and trim board. Finish the shed by installing a drip edge on the slanted roof to direct water away from the shed and your mower.
Ways to customize a lawn mower shed
In his version of the lean-to mower shed, Woodshop Mike paints it to match his home. You can opt for a paint color to match your home, too, or you can source siding to match. If you are using paint, remember to select a durable, exterior paint. Add hardware that complements your home's exterior, such as a modern black handle or door hinge. You can also install exterior lighting, such as Philips Solar LED 1-Pack Geri UltraEfficient Outdoor Wall Light, which is solar-powered and motion-sensored. Location is an important decision as well. This lean-to design looks nice, constructed close to your house, but it can also be placed further back since it's freestanding.
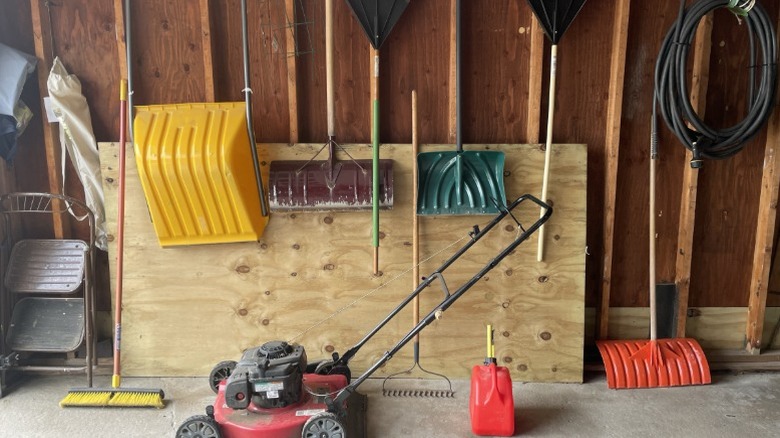
With a little technical know-how, you can adjust the plan for anything from a small push mower to a large riding mower. You can even store other seasonal tools in this backyard shed to keep your main garage space neat and tidy. Once you have your new shed finished the way you want it, the last thing you need to do is prepare your lawn mower for winter storage. By having a dedicated storage shed, you can keep the tools that matter the most safe and always ready to use.