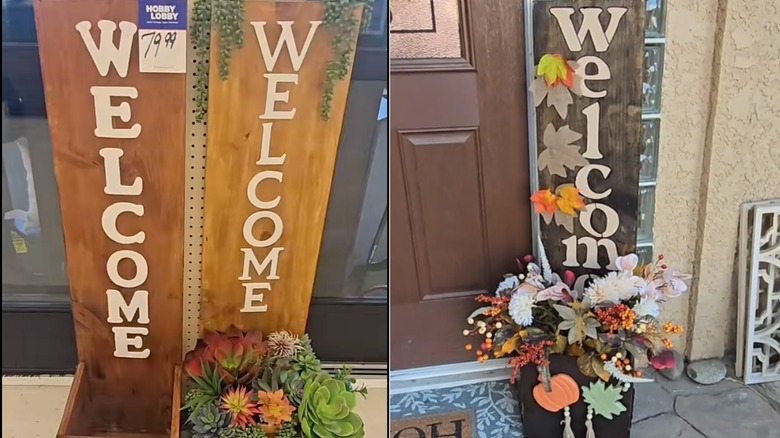
A Creative DIY Idea That'll Help You Recreate Hobby Lobby's Fall Planter Box
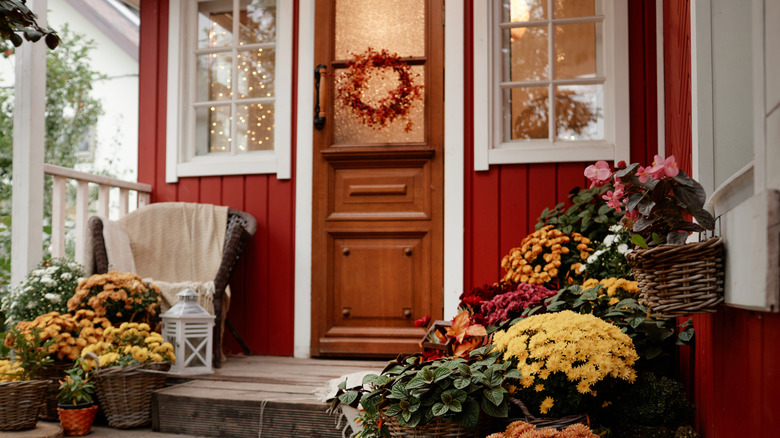
Fall is in the air, and what better way to celebrate than by changing up your exterior décor? For many, Hobby Lobby is a popular place to check out the latest seasonal décor, shopping for the trends that help you create a unique and personalized outdoor space. However, some may find that picking the perfect patio statement piece comes with a hefty price tag, like the darling planter pictured below. Fortunately, if you've fallen in love with this Hobby Lobby's planter box, there's a DIY for you.
This DIY is beginner-friendly, and it can be completed in just a few hours. It also offers a high degree of customization, allowing you to select the wood stain and the contents of the planter, and to swap the "welcome" sign that comes on Hobby Lobby's design with a message of your own. You can even decorate your wood planter box with your home's numbers for a year-round piece, made festive by swapping out the plants.
To recreate the look yourself, you'll need a trip to the hardware store to pick up some wood. You can either buy wood pieces individually to create the planter box and statement slab, or you can buy a single piece of lumber and cut it down to size. You'll need wood glue to build the planter box, and we also recommend picking up some wood stain or sealant to protect the wood from the elements. If you plan on growing edible plants, opt for a food-safe sealant instead, like linseed oil.
How to create a DIY fall planter box
Before you construct your Hobby Lobby-inspired planter box, you'll want to prepare your pieces beforehand. This means not only cutting down your lumber if needed but sealing and staining your wood. Using wood glue, assemble your planter box. This can take some time to dry, so you may want to pick up wood clamps to ensure everything stays in place. Add the longer backing, which will contain your message, last — you want to ensure that your box is stable and has the right shape first. Once everything is dry, you can take the extra steps to add trim to the edge of your message board if desired.
When your planter box is assembled, you can add your message. There are two ways to do this, and your choice determines the supplies you'll need. For the first option, you can recreate the process done by TikTok content creator @sallynatour6, who uses painter's tape, stencils, and paint to create their message. However, if painting isn't your favorite activity or you don't have the steadiest of hands, you may instead opt to use pre-cut wood letters or numbers to complete your fall planter box DIY.
Once the paint or wood glue for your lettering is dry, all that's left is to add your plants. If this is going on your covered patio or deck, then you may want to opt for shade-loving flowers that thrive in containers. There's also an eye-catching solution for those who don't want to try out their green thumb: faux flowers. Using a floral foam block instead of soil, you can easily create an arrangement of fake flowers that can be swapped out each season. Add some extra autumnal charm to your porch with this pool noodle fall garland DIY.