How To DIY Seed Bombs For An Easy Way To Incorporate Flowers Into Your Garden
We may receive a commission on purchases made from links.
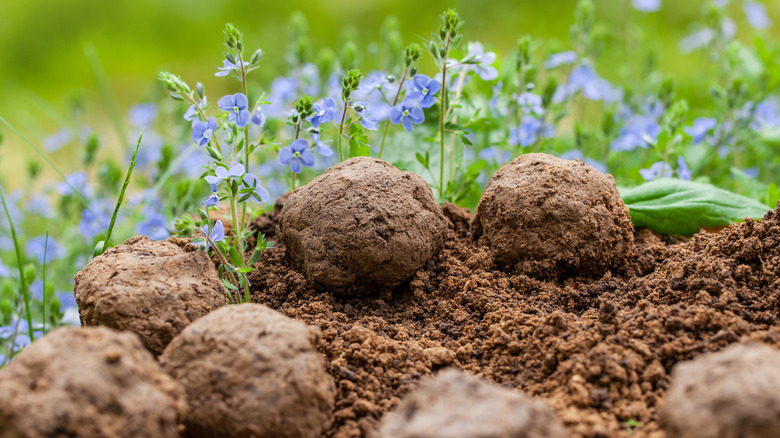
Seed bombs are best known as a way to fill roadside ditches, abandoned lots, and other dilapidated spaces with native plants and flowers that attract pollinators. They're also a convenient way to plant wildflowers and aromatic herbs in hard-to-reach corners of your garden. Plus, you get to throw them at the site you're targeting, which is more exciting than how you'd normally direct sow seeds in a flower bed. Made of nutrient-rich compost and clay that melts away in the rain, seed bombs are nice gifts for fellow gardeners, and what's more, they're fun to make with kids and other folks who like to get their hands dirty. And if you're wanting to DIY your own flower-packed seed bombs, we've got you covered.
When selecting seeds for this project, opt for varieties that don't need much watering beyond what Mother Nature provides. Also make sure to choose species likely to thrive in your USDA hardiness zone. Avoid plants that spread aggressively when using seed bombs in your yard, or you may create a lot of weeding work for yourself down the line. If you don't have access to finished compost, use potting soil instead. Air-dry clay such as Crayola natural air-dry modeling clay makes a good binder but isn't terribly messy. You'll also need water to assemble your seed bombs. To keep your workspace orderly, place each ingredient in its own bowl, form the seed bombs over a tray that will catch falling compost and other debris, and place the finished balls on a clean tray.
A simple method of making seed bombs
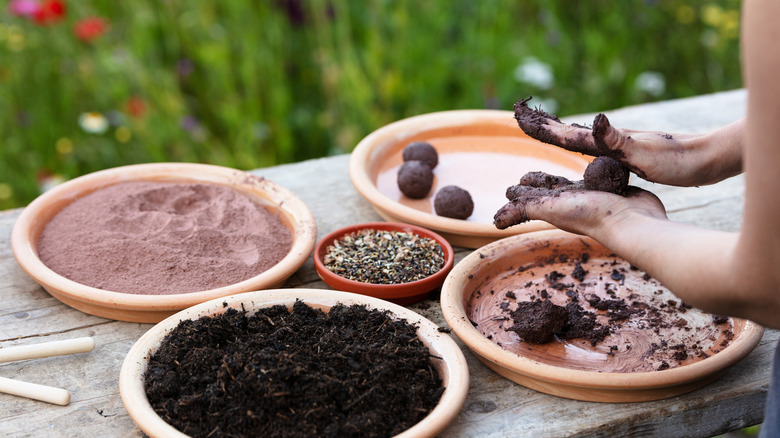
One simple way to craft seed bombs involves making tiny pinch pots from the clay. Pots that are roughly 1½ inches in diameter will work for many types of seeds. Sprinkle a few seeds in the center of each pot, and then, blanket them with compost. The seeds should be completely covered, but leave a little empty space above the compost so the pots are easy to turn into balls. Aim for about 70% clay and 30% compost and seeds.
Next, fold the edges of each pot inward, forming a closed container around the compost and seeds. Then, roll each container between your hands to create a dense ball. Some gardeners like to add a few drops of water to the compost before forming the balls, which makes it slightly sticky. This consistency can help the seeds embed themselves in the clay-and-compost mixture. Finally, dampen the exterior of each truffle-like ball and dredge it with compost before setting it aside to dry for a couple of days.
If your seeds require cold stratification before going in the garden, place them in the fridge or another chilling space for the appropriate amount of time before lobbing them into your flower beds. Be sure to introduce them to your garden at the proper time too. For many flower seeds, this is soon after frost is out of the picture in your growing zone. A few of the seed bombs may not sprout, as is the case with traditionally sown seeds, so plant more than you need to ensure that your garden looks lush and inviting.