DIY A Mini-Greenhouse With The Help Of A Rotisserie Chicken Container
We may receive a commission on purchases made from links.
Starting your own seeds comes with a variety of benefits, including a greater selection of plants to choose from and more control over the entire growing process. As a result, if you're ready to take your green thumb to the next level, you may be considering starting your seeds indoors for the first time. However, if you haven't grown plants from seeds before, you may need to pick up additional supplies, such as a seed starting tray. Depending on how many seeds you plan to grow, this can get pricey, especially when you opt for low-maintenance trays that offer all the bells and whistles you need for hassle-free seed starting. Thankfully, there's an easy way to start your seeds on a budget — and the solution may be in your trash can right now.
Rotisserie chicken containers make the perfect alternative to store-bought seed starting trays. Plus, they already come with a transparent dome that allows light in, manages humidity, and keeps temperatures warm, saving you an additional purchase. Because you don't need to make any adjustments or changes to the container, it is an easy project that gardeners and DIYers of all skill levels can enjoy. All you need is the container itself, seeds of your choice, and the right potting medium, such as the Miracle-Gro Seed Starting Potting Mix.
How to start seeds in a rotisserie chicken container
Before you can dive into seed starting, you'll want to wash your rotisserie chicken container thoroughly. You can use warm, soapy water here to remove any leftover grime or grease, then follow up with diluted vinegar to remove any possible bacterias. Once you're finished cleaning your container, allow it to dry before moving on to the fun part of this project — starting the seeds themselves.
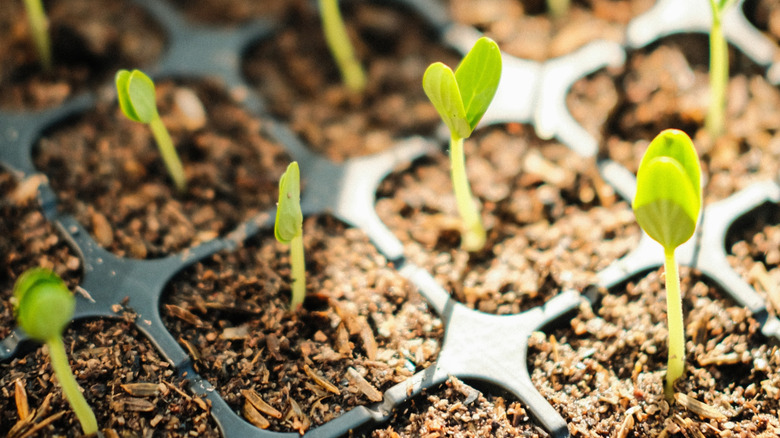
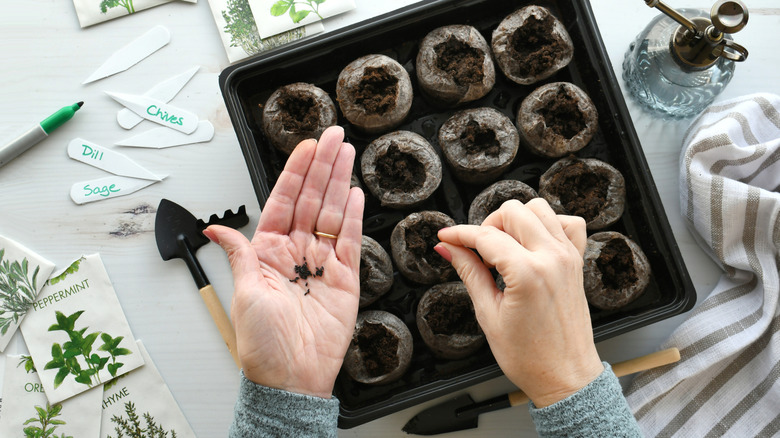
There are two ways you can approach growing your seeds in a rotisserie chicken container. First, you can take the simple route of pouring your potting mix directly into the tray of the container. This saves you from needing any extra supplies or time. However, this can make transplanting a bit more difficult as you'll need to remove each seedling individually from the tray. To avoid this, you can make your own DIY biodegradable seed starting pots and place them into the container. This gives you the best of both worlds: easily transplantable seedlings and the greenhouse benefits of the rotisserie container.
Whichever route you choose, the final step is to effectively plant your seeds. Some seeds may need to be buried deeper than others or have other unique needs, so it's important to research the seed you're using. When it comes to creating the divots to drop the seeds into, you can use this clever pencil eraser hack for easier planting. After your seeds are sown, pop the lid back onto your tray, place it in a sunny location, and wait for your seeds to grow.