Refresh Your Gravel Landscaping With A Must-Try Solution
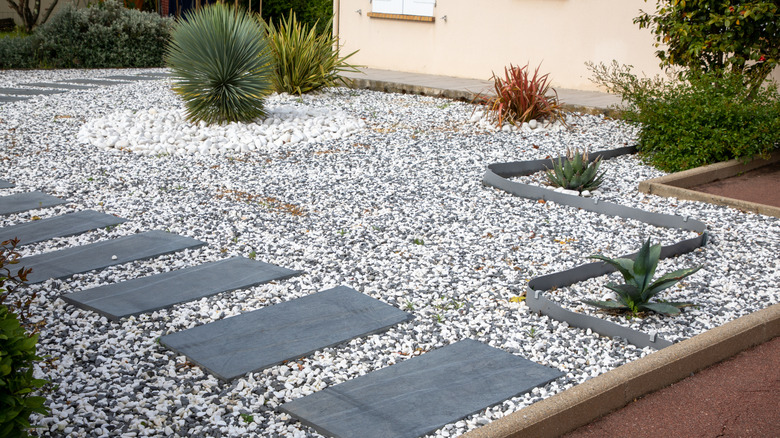
Gravel is one of those clever, cost-effective landscaping materials that can make a big impact with minimal effort. It's inexpensive, easy to install, and adds an earthy, organic texture that works with everything from minimalist modern yards to rustic cottage gardens. Whether you're using it to create winding garden paths, define seating areas, or replace high-maintenance mulch in planting beds, gravel brings both function and visual interest. As long as you avoid common gravel mistakes in landscaping, like using the wrong type or neglecting drainage, it can stay beautiful for years. But, like anything in your landscape, time and weather can take a toll. What once felt fresh and clean can start to look tired, faded, or even downright dingy. Fortunately, there's a surprising refresh trend gaining traction among creative gardeners: painting or dyeing your existing gravel.
While gravel is low-maintenance compared to some materials, it's not completely fuss-free. Over time, it can accumulate leaves, twigs, and dirt, especially in shady or high-traffic areas. Weeds can sneak in even when you try and follow simple tips and tricks to keep your gravel areas weed-free, and foot traffic can cause your carefully placed stones to scatter. And if you've had the same gravel down for years, you might find yourself craving something new, but the thought of digging it all up is enough to put the project on permanent pause. That's why painting or dyeing your gravel might be the back-saving solution you need to refresh your outdoor space.
How to paint gravel for a polished look
Start by cleaning your gravel thoroughly. Use a power washer or stiff brush to remove dirt, moss, and debris, then let the rocks dry completely. Then, lay out your stones on a large tarp or drop cloth in a well-ventilated area. Or spray them in place, like This Little Life did on YouTube. Spray cans can work for covering small or medium-sized gravel, but for more control, you can use a paint sprayer for larger rocks. Apply paint in thin, even coats and let it dry between applications to avoid clumping or dripping. For full, vibrant coverage, two to three coats are typically ideal. Be sure to use outdoor-safe, waterproof exterior grade acrylic or masonry paint to ensure your freshly painted rocks can withstand the elements.
Once dry, take the look up a notch with a glossy, wet finish that brings out the color and adds shine. In YouTube videos by Bell's Ideas and Faber – Tile & Stone Care, the creators restore faded rocks by applying wet-look sealers or color-enhancing impregnators, which enhance natural hues and create glossy finishes. The rocks go from dull and gray to gleaming with rich tones of brown, orange, and deep gray. If you're aiming for that show-stopping shine, a clear sealer or a lacquer finish is key. Just spray it on after the paint is fully dry and watch the transformation. Whether you're refreshing old gravel or creating a bold new feature, this long-lasting mulch alternative benefits from a finishing touch that keeps it looking polished and professionally done.