How To Prepare Your Birdhouse For The Cooler Months
When autumn gets closer and temperatures begin to dip, many birds species head south in search of warmer climates. But not all migrate. Songbirds like chickadees, nuthatches, and titmice often stay through the winter, braving cold nights and frosty mornings. While they can fluff their feathers to trap body heat or huddle together in trees or shrubs for warmth, you can provide additonal TLC to help protect them from the season's frigid temps.
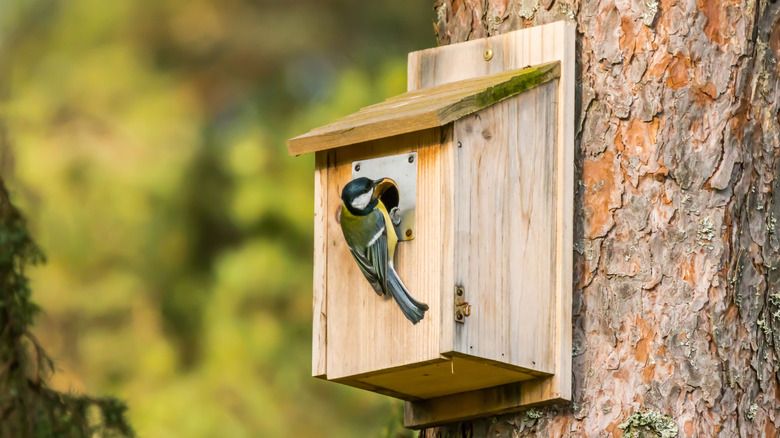
Just as finding the best winter coat for your next adventure helps you more comfortably endure winter, birds can benefit from external sources of insulation, too. One simple way to support your feathered neighbors is by converting your current birdhouse or nesting box into a winter roost box — a protected, snug space where they can huddle together, sharing and conserving body heat. Wooden birdhouses are ideal for this purpose, as they can hold up well in harsh weather and insulate guests from the cold. These structures are a better choice than delicate houses made from clay, plastic, or gourds, which can be too fragile for winter use since they may weaken or crack from the snow and ice.
If you don't already have a suitable structure you can use, it's easy to DIY a cute wooden birdhouse for your backyard from online plans for the season. Converting or crafting one doesn't require advanced skills — you can even do it in an afternoon. Adding a roost box to your yard won't just help the birds; it can also bring a burst of life and color to your balcony or yard as you watch them flit in and out of the shelter.
How to create a winter roost box for birds
To convert your birdhouse into a warm haven, first open it up — you may want to partially or fully disassemble it to best clean and prepare it. Next, clean and empty the birdhouse of any leftover nesting contents or bird droppings, to prevent disease. Use a spray bottle with a solution of one part bleach and nine parts water inside and out; you can use a scrub brush or sponge to ensure everything is well cleaned. Let the mixture sit for about 5 to 10 minutes, then thoroughly rinse everything with fresh water. Allow the birdhouse to fully dry in the sunshine to avoid mold and mildew from developing.
Before putting your birdhouse back together, add some drainage holes to your birdhouse in the floor with a drill to keep its interior dry. Drilling four holes, ⅜- to ½-inch wide, should suffice. You could also add a perch (or two) inside the house to allow more birds to congregate. Drill a hole in one side of the birdhouse, slide a slim dowel all the way in, and secure it from the outside with a wood screw.
When reassembling the house, flip its front piece so the entrance hole is at the bottom; having the door on the bottom (instead of at the top) allows less warm air to escape (however, since bluebirds sleep in a pile on the floor, make sure the hole isn't right at the very bottom). Stuff some (but not all) ventilation holes with foam to seal drafts. Finally, pile a healthy layer of insulating materials such as grass, moss, or wood chips on the floor of your new roosting box so the birds can snuggle in it to stay dry and toasty all winter.