How To DIY A Floating Wood Deck For A Stylish Backyard Upgrade
It's nice to have a space in your backyard that's dedicated to grilling. Some folks use their deck, porch, or balcony, while others use a patio (it's a narrow distinction between a patio and a deck, but there is a difference). Whatever you're working with, it's ideal to have a firm, somewhat elevated surface to work and relax on. Otherwise, the space around a grill can become muddy, or your lawn will get worn just from you spending so much time there. If you don't have a porch or patio, consider building your own floating deck. This process takes a little bit of time and a couple trips to the hardware store, but you'll definitely save some money doing it yourself. There are a number of advantages to floating decks: They don't require complicated in-ground concrete piers and generally don't require building or HOA permits.
It's helpful to have a design for the finished product before you start working. The deck's floorboards will be screwed down to a wooden frame supported by concrete deck blocks. For this project you will need stainless steel screws, 2x6-inch boards, 2x8-inch boards, a measuring tape, a shovel, five concrete deck blocks, a power drill, a circular saw, and wood stain. The number of boards you need is dependent on how large you want your deck to be. If you want a 10-foot by 10-foot structure, you'll need about nine 2x6-inch boards for the base and nine 2x8-inch boards to cover it. While the wood is the most expensive part of the project, it is the best material for putting in a deck on a tight budget.
Floating decks are a perfect backyard build
Diyhuntress on Instagram demonstrates a compact version this popular idea, perfect for small spaces and isolated activity areas. Assembling the frame is probably be the hardest part because it requires precision. Find a flat surface like the floor of your garage. Take two 2x6-inch boards and align them so the end of one board overlaps the other at a 90-degree angle. Fasten the boards together with two screws. Repeat the process with two additional boards with the same dimensions, connecting the sections to form a square.
The next step is to set the concrete blocks where you want your deck to be. Measure the dimensions of the deck and mark where you want the corners. Dig shallow holes and place the blocks in them so they're level with one another. Then drop your frame on top of the blocks so the indentations in the blocks line up with interior edges of the frame. Reinforce your frame using the additional 2x6-inch boards. Slide each board into the frame and screw them in alternating placements for support and strength.
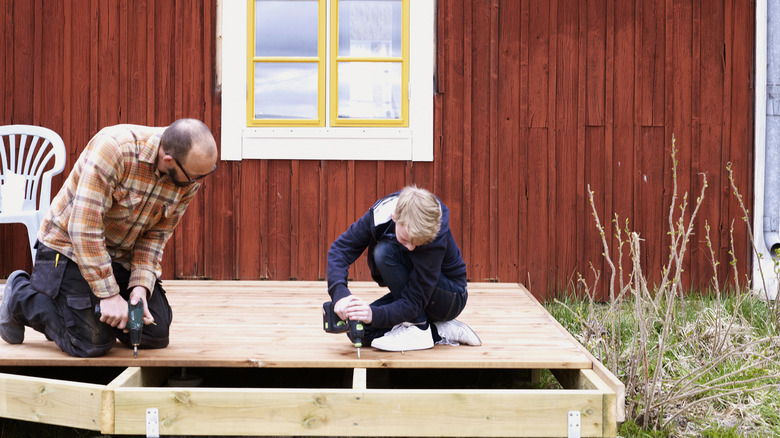
Now that you have your frame, it's time to screw down the 2x8-inch floorboards. Each board should run crosswise to the planks supporting the outer structure of the frame. If these boards hang over the edge of the frame, cut them flush using a circular saw. Once you've completed those steps, varnish the structure with a couple coatings of exterior wood stain to guard against the elements. With this, your floating deck should be ready to grill on. You can also add some shelf space and a little style to your deck with a DIY wood privacy screen.