The Terracotta Pot DIY That'll Help Organize Your Garden Setup
We may receive a commission on purchases made from links.
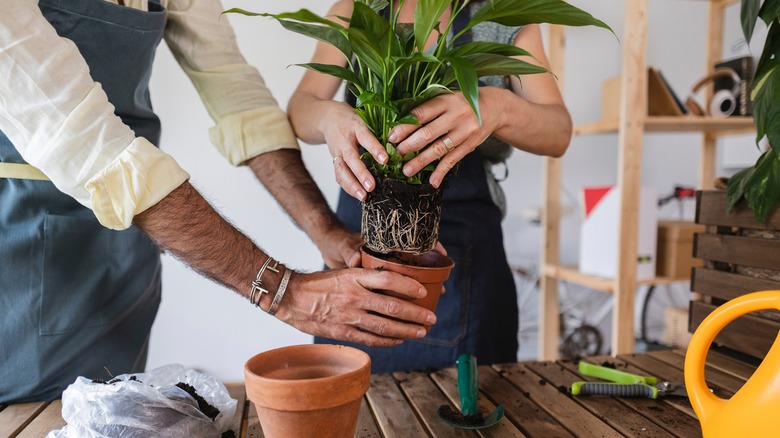
When you're growing a variety of plants from seeds, things can get a little chaotic. Even if you transplant seedlings into a planter from a DIY biodegradable pot, you may find yourself unable to tell one herb from another until it reaches full maturity. Additionally, you may also prefer to keep your herbs indoors at arm's reach but need tidy, organized planters that blend seamlessly into your home's aesthetic. Whatever the reasoning behind your urge to get your gardening organized, this simple DIY is a great place to start — and, best of all, you only need a handful of supplies to recreate this project yourself.
To get started with making your own chalkboard planters, you'll need terracotta pots with saucers, chalkboard paint, and painter's tape. Then, for completing this project and creating a tidy herb garden, you'll also need to pick your soil of choice and your favorite fuss-free plants to add in there once the paint is dry. Once you're finished, you'll be able to write on your planters with chalk and erase them as needed using a duster or paper towel, ultimately giving you the ability to switch up your garden while maintaining a picture-perfect level of organization.
Using chalkboard spray to create a tidy herb garden
The first step for making these clever chalkboard planters is to use painter's tape and mark off the areas you don't want covered in paint on your planter. This varies based on your personal taste, with the content creator above opting to do only the rim of the pot. Another interesting idea is to leave only a square uncovered for the chalkboard paint and use DIY appliques to upgrade your planter further and decorate the rest. Once you're satisfied with the area covered by the tape, you can begin the painting process.
Now, depending on the type of paint you bought, this process may look a little different. For spray paint, simply spray the uncovered surface with a smooth, even coat. If you're using traditional paint and brushes, you'll want to create the same writable surface. However, it may take longer to create a smooth coating of paint using a brush. After this step, make sure to pull off the painter's tape before the paint is fully dry on your terracotta pot to keep the crisp lines you created.
And just like that, you've created your very own chalkboard planters! All that's left after these steps is to add your soil, plants, and choose how you want to label each of your pots. If you're feeling extra creative, colorful chalk like this Amazon Basics 24-pack with eraser will allow you to create fun designs and vibrant labels that will help your newly-organized planters become a statement piece wherever you choose to display them.