How To Help Your DIY Wood Planter Last Longer
We may receive a commission on purchases made from links.
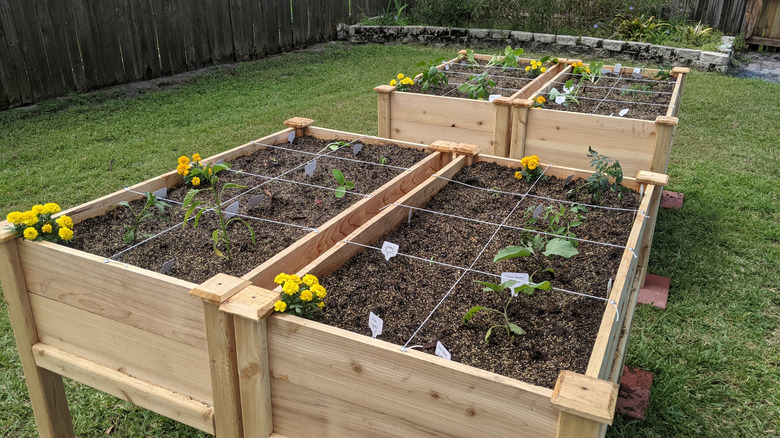
If you have old wooden boxes lying around your property, maybe from a past move or even a long-ago peach harvest, there's no need to throw them away. Consider embracing the "reduce, reuse, recycle" mindset and repurposing them to make a rustic planter for your garden.
Before you get started, there are several things you'll need to keep in mind if you want your new garden box to last. For starters, check to make sure that the container has holes at the bottom for water drainage. If it doesn't, you can easily drill them on your own with a power tool. Somewhere between three and six holes should do the trick, depending on the size of your box. If you're worried about soil falling through, first cover the holes with a layer of netting or mesh, which you'll be able to find at your local hardware store or online.
Given what happens when you don't seal your wood deck, it's also important to give your wooden planter the same treatment. That way it will last through the rainy spring, hot dry summer, and for years to come. Although sealing a deck often requires synthetic stain, you'll want to avoid potentially toxic chemicals for this project. Instead, look for an organic alternative like Garden Box Armor sealer from Seal It Green, which is FDA-approved for food contact. It also works well for bird houses, dog houses, chicken coops, and raised garden beds built on a budget using this DIY hack.
How to tell if wood contains potentially toxic chemicals
When prepping your new garden box, one of the most important things to be on the lookout for is toxic chemicals. Some wooden containers are pressure-treated, a process that can leave a trace of toxic chemicals (arsenic or creosote) in wood treated before 2003 in the U.S. If that's the case, your future harvest could potentially be toxic as well. These days, most pressure treated wood uses ACQ (Alkaline Copper Quaternary), a copper-based solution. Since copper is helpful for plants and only toxic in very large amounts, it poses less of a risk. Still, you may decide it's not worth any risk.
If the wood has a green or slightly blue-ish hue or a chemical smell, it has probably been treated. You can also look for stamps on the wood that indicate the treatment company. You can even test the wood for lead using swabs, like the lead test kits from Comfort Hub. If you aren't sure if the wood (especially old wood) has been treated, don't risk using it for a vegetable planter. You can still repurpose this wood for fences, mailboxes, or railings.
Once you're sure your boxes aren't treated with toxic chemicals, you're ready to apply your organic sealant. First, wipe off any dust or dirt that could stick to the sealant. If the wood is too splintery, smooth it out with a 180-to-220 grit sandpaper, which can also be used for projects like upcycling your used coffee containers into adorable birdhouses. Then you should wet a rag or brush and cover the entire box inside or out. Once it dries, consider applying a second coat. After that, you can add a plastic liner to protect the wood further. At last, you're ready to add your soil and plants.