

Transform Your Run-Down Concrete Patio With A Practical DIY Project
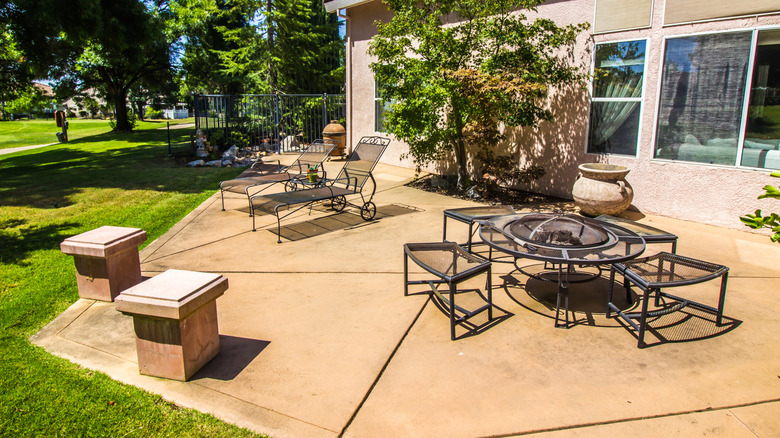
Although a freshly installed concrete patio can add serious value to your home, it won't stay fresh forever. Inevitably, concrete patios or decks (there is a difference) begin to crack, sink, or become a weedy mess. Should this be the situation you can transform that run-down slab easily by covering it with composite deck tiles. This practical DIY project quickly gives your patio a whole new look without requiring a large investment in either time or money.
Composite deck tiles are interesting construction components. The tiles are typically made from of a combination of recycled plastic and natural wood fibers, giving them a look and feel similar to real wood. It also makes them an eco-friendlier option. Additionally, since they are made to interlock, they are easy to install and require few, if any, tools for installation. The interlocking feature comes via a rubber or plastic base — with jigsaw puzzle-like edges — attached to the composite wood decking material.
They also give you a wide range of styles, colors, and price points from which to choose. Typically, composite decking ranges in cost from $5 to $15 per square foot. By doing your homework and comparing prices, you can find composite deck tiles that will make your outdoor space look luxurious on a budget. This is especially true since professional installation isn't needed. Additionally, the low maintenance costs associated with composite deck tiles, means the savings can grow exponentially over the life of the product.
What to consider before choosing composite deck tiles

Although there are a lot of advantages to composite deck tiles, they aren't necessarily the perfect solution for every task. Importantly, while the concrete patio surface upon which tiles are placed does not need to be perfectly level, it can't be too uneven or too heavily damaged. So, if your patio is severely sunken in spots, you will likely need to do some leveling work before installing the pavers. Additionally, the surface beneath the composite deck tiles has to be solid and firm. Therefore, if portions of your concrete patio have been reduced to bare dirt or grass, a firm surface will need to be re-established. This can be accomplished by pouring a concrete patch or filling the area with concrete pavers.
Composite deck tiles have other limitations as well. They don't hold up well under high traffic or heavy weight, such as large appliances. They are not a good choice in areas susceptible to high winds nor should they be used to cover extremely large areas. Composite deck tiles aren't recommended on patio surfaces that tend to flood easily. Finally, there is an element of you get what you pay for: The least expensive tiles are thin and made without UV stabilizers, meaning they will break down more quickly than pricier versions.
On the plus side, quality composite deck tiles are extremely weatherproof. This makes them a great option if you are building a patio in an area where it snows. They are also not susceptible to pests like carpenter bees, termites, or carpenter ants, which are all attracted to natural wood. Additionally, if an individual tile is damaged, you can easily replace it without having to replace an entire section.
Installing composite deck tiles
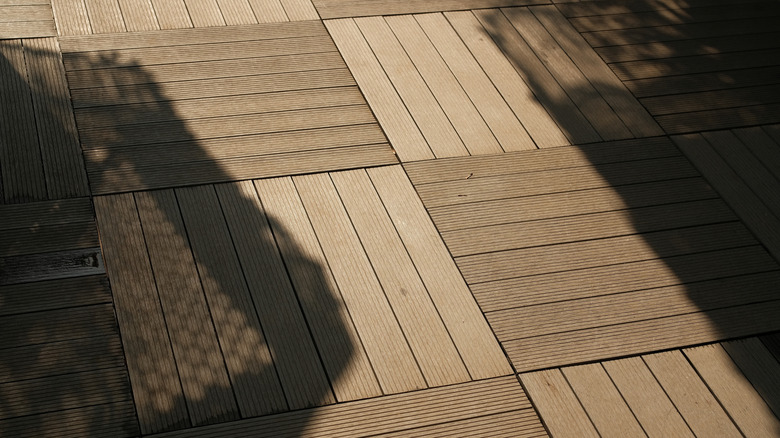
Once you've made the decision to go with interlocking composite deck tiles, the first step is to figure out how many you'll need. To do this, measure your concrete patio. Most composite deck tiles are 12" x 12", or 1 square foot. That makes the math easy: Just buy one tile for every square foot of patio. It is a good idea to buy 10% extra to cover any mishaps or odd contours. If you choose a different size tile, such as 12" x 24" or 24" x 24", be sure to account for any cuts that may need to be made.
After you've gotten everything together, clean the patio thoroughly. Sweep away any dirt or debris and make sure the patio is fairly level. Then, begin laying out the tiles. Start in one corner of the patio, placing a tile with the interlocking loops facing out. Place successive tiles in place one at time, connecting loops as you go, like a jigsaw puzzle. Continue this process around the entire perimeter of the patio. After the perimeter is complete, repeat the process with the next row. Continue doing so until you have completely filled in the patio. Should you have difficulty getting any of the tiles to snap in place when interlocking them, you can use a rubber mallet to tamp them into place.
If you come across an object you must work around, or space for the final row is less than a foot wide, simply cut the tile to fit the space using a jigsaw or tile cutter. However, make sure to leave a gap of about ¾ of an inch between the wall, column, or other object and the tile, allowing for swelling or expansion.