The Easiest Way To Repurpose Old Climbing Rope
We may receive a commission on purchases made from links.
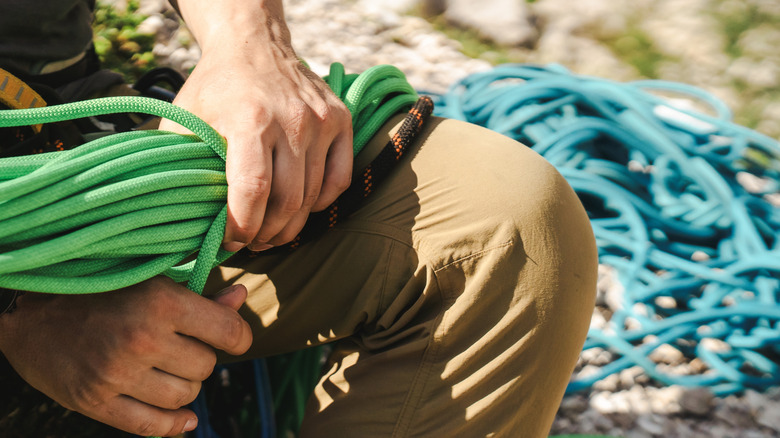
If you're into sport climbing or want to try it, or most any type of technical climbing, you know how vital quality ropes are. The rope must be in good condition each time you use it, meaning it wears, weakens, and won't last forever. If you climb more than once a week, your rope may last a year. Even if you never use that rope, it still should be replaced in 7 to 10 years. Forget about selling them; ropes are exactly the type of outdoor gear you should never buy used. However, that retired rope still is still useful; just not for anything where your life depends on it. Instead, repurpose your climbing rope into a small woven rug or mat that's functional and fun to look at.
To make a 22- by 18-inch mat, you'll need about 250 feet of clean climbing rope. This is a nice size for a door mat or a good, padded mat in front of a workbench. Making the mat is a weaving process that also requires a 3-foot-square board, about 18 smooth-sided nails, and a hammer. You'll also want an electric hot knife, like the Romech 60-watt rope cutter.
Making a rope rug is a little harder than making a rug out of an old garden hose. It's easiest if you follow a pattern, found online. There are a number of pattern variations, including ocean or nautical weaves, and rectangular mats. Print the design you like, enlarging it as needed. Tape or trace the pattern onto a 3-by-3-foot sheet of plywood, then hammer nails in at all the numbered points on the pattern. Be sure the numbers are visible on your board as you work, as you'll follow them in consecutive order to weave the rug. Coiling the rope before you start makes the whole weaving process easier.
Repurposing an old climbing rope into a fun, funky doormat
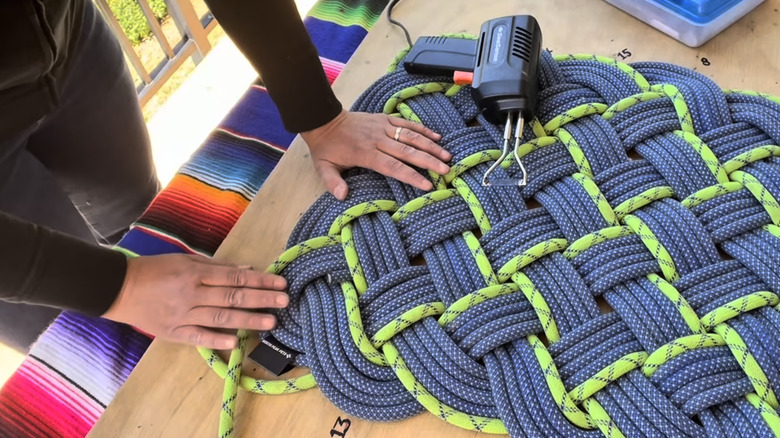
Start your first pass with the rope above the nail marked 1, then bring it down beyond the nail marked 2, then over to the 3 and then the 4. Follow the pattern, being sure to alternate the rope over or under the rope that's already on the pattern, based on what the pattern indicates. It's the over/under process that holds the structure together. After you've made one full pass around the pattern, double-check your work as you go along, to make sure each crossed piece of rope goes over, then under, then over, and so on. If you have two wraps in a row of over or under, it means you've made a mistake. Fix it at this point, if you need to.
Make another round through all of the numbers, following the exact over/under pattern of the previous round. You could use the same piece of rope or switch to another color, if you like. If you run out of rope at any point in the pattern, start another piece of rope in the same place, overlapped by about 5 inches. Continue until you've made four full passes, then lift the mat off the board and nails. Make one more pass with the rope so you have five full passes, keeping the weaves tight. Use a hot knife over protective scrap wood to cut the excess from the hanging rope pieces, leaving just enough space to join them together. Heat the ends with the hot knife, then press them together, uniting the ends. If the final rope ends don't meet up, melt it on an angle and adhere it to the side of an adjacent rope.