Turn Your Leftover Pavers Into A Sturdy Planter You'll Love
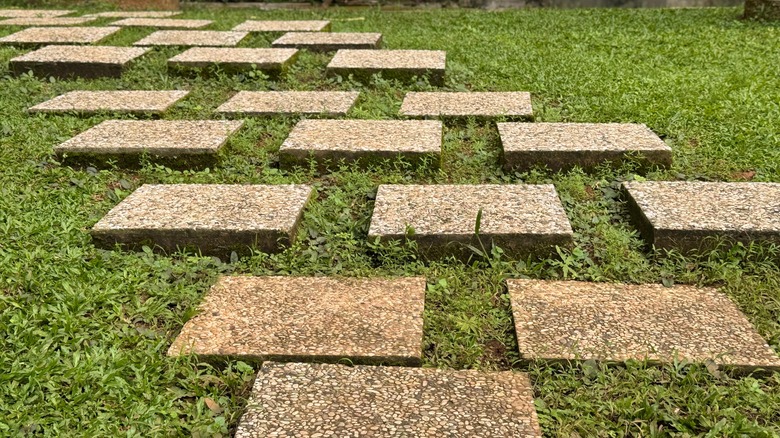
Maybe you bought more pavers than you need for your landscaping projects. You may have even purchased extras just in case one got chipped or cracked in the process. If you end up with at least four leftover pavers, we found a great project to use them up in a way that adds beauty to your landscaping plans. Use them to make a concrete planter — it'll keep you from needing to find storage space for those leftover pavers, and it will match the design you already created with the rest of the paver stones. It's just one of many great DIY landscaping projects you can do with pavers.
To make this project happen, you will need four matching pavers (for each planter), cement or construction glue, a glue gun, and corner clamps. You'll also need potting soil and plants, of course. You know how heavy your particular pavers are individually, so consider that when it comes to putting these together — if it's going to be too heavy to move the four of them once they're all glued together, you may want to decide where you'll put it first and then build it on the spot. Also, keep in mind that this planter is being made without a bottom, so you may not want to keep it on a porch or somewhere that could get damaged when you water your plants — a nice spot on the lawn would be ideal.
Use clamps and cement glue for this paver planter DIY
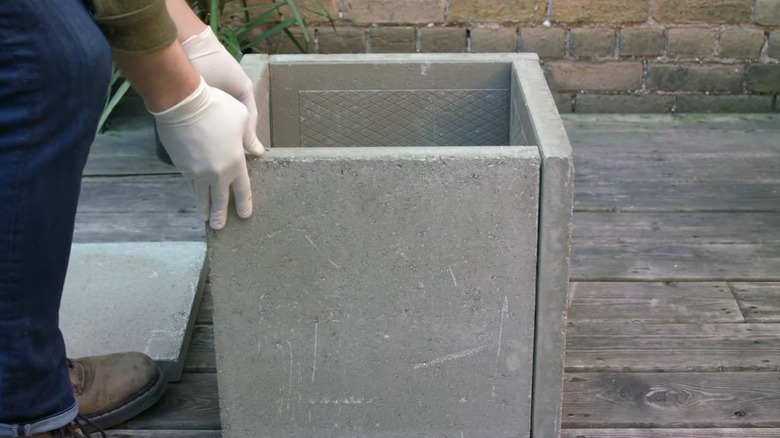
Lay out your four pavers in the area you want to place your planter (if you don't want to have to move it when you're done). Being on a level area will make this project easier, or you might want a helper to keep your pavers standing while working on the beginning parts of putting together your planter. You will want to stand two pavers the width of one apart — this will be two adjacent sides. Apply the cement glue in a curvy pattern like a snake on the thin sides that you'll then put the third side against. Clamp down on both of these corners. Then do the other side in the same manner. Your finished product will be a square planter with no bottom. Apply a line of glue on the inside of each corner where the pavers connect to create a seal that keeps water inside. Read the glue container to find out how long it will take to dry. After that amount of time, you can remove the clamps and move your planter to your desired location.
Once you have your paver planter glued and dried, you can either leave it as is or paint it to match your home or porch decor. Then, add your potting soil and your chosen plants. If you live in an area prone to high winds that can blow over your potted plants, this is a great way to ensure your planters stay in place. If your planter gets dirty, you can easily clean the concrete. If you want to pair your paver planters with other unique pots for plants, try this DIY planter using an old lampshade.