How To Use Organic Loofah Sponges As Seed Trays
Growing your own food is a sustainable act that comes with great rewards. Anyone who has grown their food can attest to the fact that food from your garden always tastes better — probably because you're getting it at its freshest, but also because it feels like your own creation that you put your energy and heart into. Gardening is also good for your health.
A healthy garden begins with your seedlings, so it's essential to learn what you can about starting seeds. One seed starter that you may not have considered before? Loofah sponges. They're filled with holes and organic bits that are perfect for tiny seedlings, and can be directly planted in the ground once the seedlings are ready. However, don't just run down to the beauty store and grab anything; we're talking the organic loofah sponges (also called luffa), not synthetic ones.
What are loofahs? You may have used one in the shower to help scrub your skin and exfoliate, but do you know where these sponges come from? Interestingly enough, they come from a plant called the loofah plant, which is a gourd before the inside "sponge" is removed. If you want to be really adventurous and grow your own gourd, you can buy seeds and follow the planting instruction that comes with them. Then, when they've matured, you can go through the process of drying them so that the fibrous bits inside become the sponge you're used to seeing.
How to use organic loofah sponges as seed starters
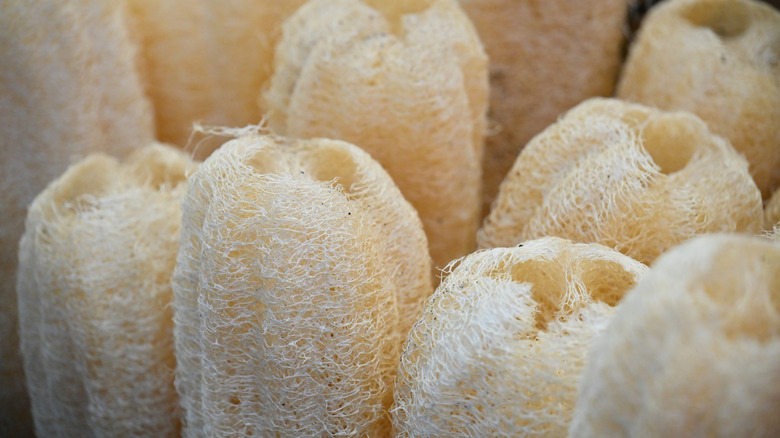
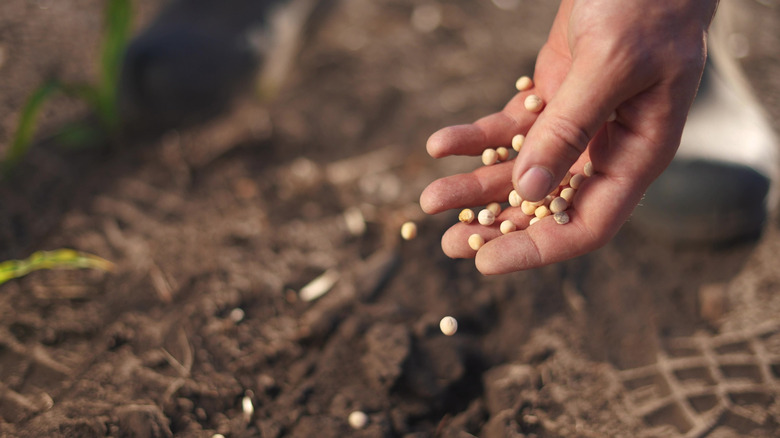
Whether you grow your own loofah sponges or you buy some, they need some prep before just tossing in the seeds. To start, you will need soft, unbleached organic loofahs, your chosen seeds, scissors, potting soil, a cup or scoop for putting the soil in the loofahs, and a tray to place the loofah "pots" in (like an old egg carton). Loofah sponges already have holes in them, so all you need to do is cut them to the size of the seed pot you want to use (a couple of inches will do) and press the middle a little to make it one big hole instead of multiple small ones.
With your new seed pot, use your cup or scoop to fill each loofah with the seed starting soil of your choice, holding it in place with your hand until you're ready to transfer it to your tray. Be sure to tap them a little to let the soil settle. You can also add some soil or rocks around the base of your tray to help them stay standing, as well as help with moisture retention.
Finally, follow the seed depth and spacing instructions on your packet for placing them into your loofah starters, give them a nice spray of water, and put them in a sunny spot. If you keep them inside to germinate, you will want to know when to successfully move them outside. When your sprouts are big enough to transplant, you can plant the entire loofah pot into the ground without worry.