How To DIY A Backyard Ice Rink For Loads Of Winter Fun
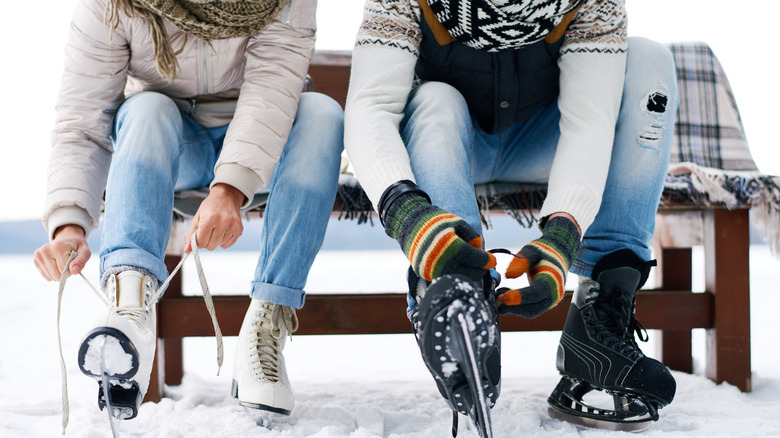
When winter is in full swing, you may find yourself struggling to come up with fun, cheap ways to enjoy the great outdoors. If you've got children, it's unlikely they'll want to brave the cold for a snowy camping trip, or trek through icy sludge to hang out at the park. Still, you can't be expected to lounge in front of a roaring fireplace all season long. Luckily, there's a simple DIY you can put together in your own backyard: Your own temporary skating rink. Ice skating is fun, but there are risks taking the sport outdoors: Skating over a naturally frozen body of water could result in disaster, since you never know when the ice might crack and send you into the freezing water below. This homemade ice rink idea not only eliminates the chance of falling through the ice, but helps to keep the fun contained within your yard.
Obviously, there are few factors you'll need on your side to make this DIY work. The outdoor temp needs to be consistently below freezing to get a thick, solid layer of ice. You'll also want to consider how much space you're working with. A smaller DIY rink will freeze faster, while a larger rink provides more space to spread out and practice your skills (and accommodate more skaters). If you do wind up building in a large space, be sure to take sunlight into consideration as well, as direct sunlight might warm up certain portions of the rink and melt your ice before you've completed your signature layback spiral. Finally, you'll want to build on the most level piece of ground you've got, so the ice freezes consistently, and you don't have to build one wall of the rink higher than another.
Build a frame on level ground and fill
Begin with a few sturdy wood boards, cut to size, to frame the perimeter of your rink. If it's a small perimeter, you can get away with a few 2-inch by 8-inch planks screwed together. Larger creations will require support posts along the outside. Look for a relatively even area in your yard (one you don't mind covering for a few weeks with ice and people), preferably with as little direct sunlight as possible. Ensure that your framing border is securely screwed together, and place a thick plastic (waterproof) liner down over it to create a basin. Begin filling the liner before you secure it along the edges using pins or staples. Keep an eye on the corners to make sure water isn't leaking or spilling all over your lawn.
Fill the liner with 2 to 4 inches of water from the hose (the thicker the ice, the longer your rink will last). At this point, you've effectively built a budget-friendly alternative to a backyard pool. Be sure to pat yourself on the back for your fine craftsmanship as the water slowly turns to rock-hard ice. This could take a matter of hours, or it could be an overnight affair, depending on the temperature and the thickness of your ice.
If you live in a particularly cold and snowy local, you can clear out a chunk of lawn from under a foot or more of snow, and use 4-inch PVC pipe as your border (along with the thick liner). Instead of a Zamboni, use a large manual scraper. And you can always top off your rink with a fresh layer of water to smooth things out. And remember to protect your outdoor faucets from freezing when not in use.