How To Transform A Drying Rack Into A Simple Plant Potting Station
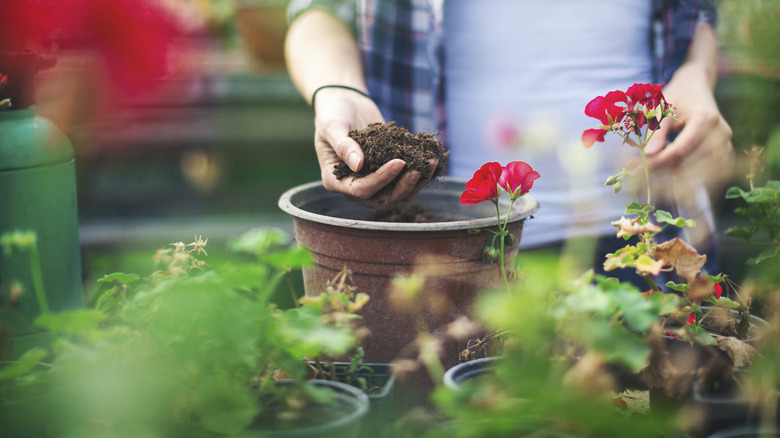
Along with being a relaxing way to pass the time, gardening offers a variety of health benefits. However, even with its many advantages, this green hobby can be daunting when thinking about the cleanup. After all, from spilled soil to pruned leaves, gardening can be a task that's as messy as it is fun. One way to cut down on cleanup is to invest in a potting bench. These store-bought stations can come with everything you need to make potting a breeze, but they also often sport a hefty price tag. Fortunately, with this DIY, you can repurpose items you already have while creating a clever potting station.
For this DIY project, you'll need an existing work station made of wood. You also need a saw, protective gear, a small plastic drawer, and a wood or metal dish rack. If you don't have a dish rack, alternatives like a flat colander or a metal rack can work as well. To secure your plastic drawer in place, you also want to have a drill on hand, as well as the proper hardware. If you want to customize your potting station, you can also grab some paint or stain in whatever colors you wish.
Before diving into this handy DIY, make sure to brush up on your safety techniques. This project involves cutting wood off of your workstation, so proper safety precautions are essential.
Repurposing a drying rack into a DIY plant potting station
Getting started right away can be tempting, but you may want to take some measurements before breaking out the saw. Ideally, both your drawer and your dish rack will fit perfectly with the hole you create, allowing for a flush design that's easy to secure while remaining functional. If you're working with an existing hole in your workbench, then you may want to keep that in mind when choosing the right add-ons for your space.
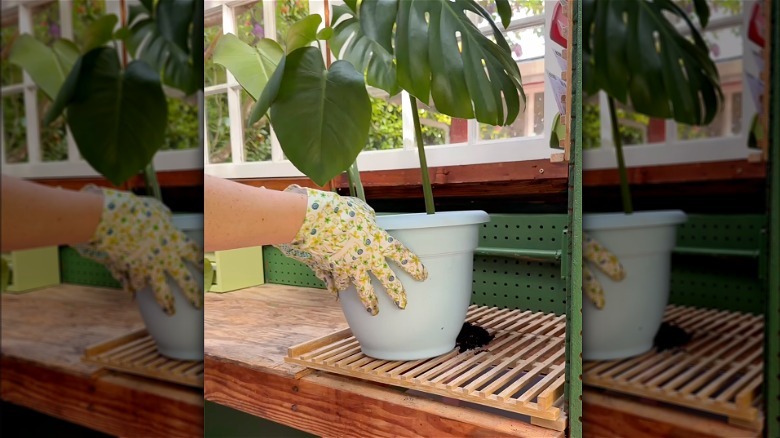
After you've cut the hole in your workbench, remove the plastic lid from your drawer. You won't need it for the rest of this DIY. You also want to set the drawer to the side so that you can easily secure the frame to the hole in your workbench. If you plan on painting it to match your workspace, you'll want to do that before beginning the next step, giving it ample time to dry. Position the frame so that you can still open and close the drawer, then use your drill and hardware to secure it in place. With the frame stable, you can slide the drawer back into place.
Once the drawer is in place, lay the dish rack flat across the opening. This provides a sturdy workspace where you can deadhead your flowers for a season of colorful blooms, repot plants that have outgrown their pots, or even enjoy other creative projects like DIY appliques to elevate plastic planters. Since you're not securing the dish rack into place, you can also remove it when necessary, creating the perfect basin for mixing soil. A clever setup like this can make each planting session easier, so you can focus more on nurturing your growing collection and less on the cleanup.