DIY A Hydroponic Garden System With The Help Of Extra PVC Pipes
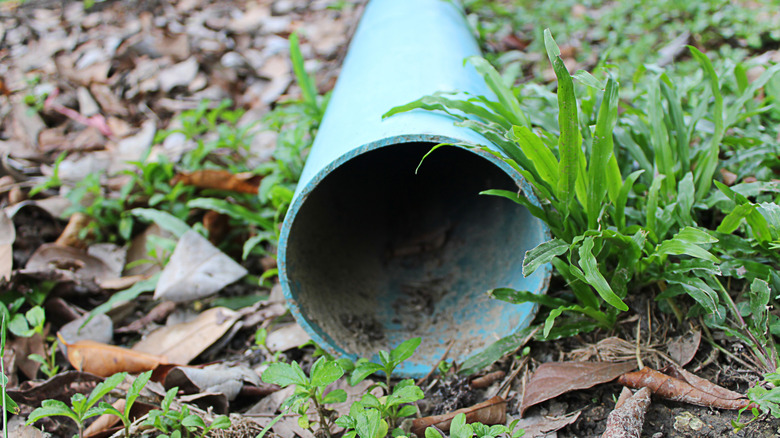
With all the talk about nutrients, pH levels, and circulation pumps, hydroponics might seem a little complicated and out of reach. However, it's actually quite simple and approachable, and you don't have to be an expert to get started. Whether you choose to purchase a kit or go the DIY route and use up those extra PVC pipes in your garage, hydroponics is one of the best ways to enjoy easy-to-grow vegetables and herbs year-round.
From backyard gardens to tiny apartments, all hydroponic systems use the same basic concept. Essentially, you're giving plants everything they need without soil. In most setups, plants sit in net pots with water flowing around them, delivering nutrients and oxygen. The mechanics behind these systems are reservoir tanks, hoses, and circulation pumps. Other tools and supplies for hydroponics include pH meters, timers, and small fans. You'll also need a growing medium, such as coconut coir or rockwool, and liquid nutrients formulated for hydroponics.
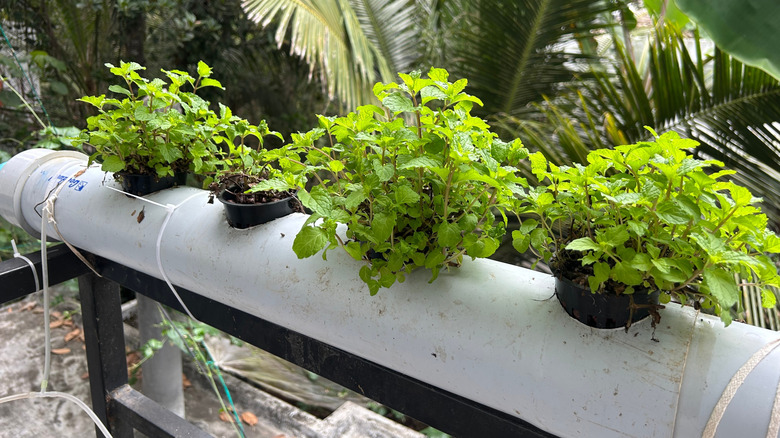
It's best to start small and keep things simple at first. Planning your hydroponic systems begins with choosing the types of plants. Leafy greens and herbs are easiest for beginners. Next, select your location. Space-saving options such as vertical towers or wall-mounted systems work well to maximize space in tight areas like balconies, patios, and kitchen gardens. Horizontal PVC systems work anywhere you can manage water flow and light, making them ideal for backyards and rooftops.
A vertical hydroponic system made with PVC pipe
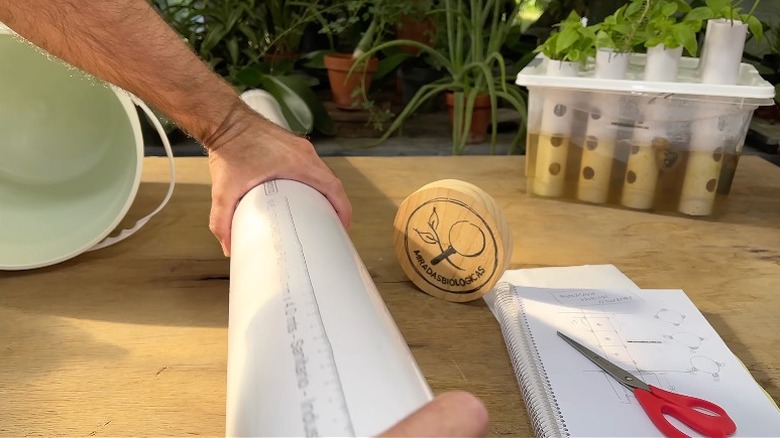
Gardening is good for your health, and hydroponics makes it easy to enjoy these important benefits even during the winter. Kick off your hydroponic garden adventures with an easy DIY vertical tower system. For the tower, you need a piece of 4-inch PVC pipe and enough 1½" elbows for the plant openings. This corner-friendly design stands about 5 feet tall and uses 15 elbows spaced evenly on three sides, staggered to give plants room to grow.
To keep the water accessible to the plant roots but still angled away from the tower, a 45-degree street elbow works best. These elbows have a female hub at one end for the plant and a male (spigot) end to go in the tower. You may have to trim an inch or so off the spigot end for a proper fit. After measuring and marking where the plant holes go, use a 1½" hole saw to drill holes for the elbows. Make sure water can flow clearly from the top to the bottom of the tower, then secure the elbows in place with PVC glue.
With the tower assembled, the next steps are to set up the bucket base and the top water reservoir. For these steps, you'll need a 4-inch PVC pipe cap, a 5-gallon bucket, a flower pot, a length of old garden hose, and a circulation pump.
The finishing touches for your vertical hydroponic system
To create the base for your hydroponic tower, use silicone glue to attach the 4-inch cap to the base of the bucket. This cap keeps the tower upright and secure, so make sure it's firmly in place. Next, cut a hole in the bucket lid so that the PVC tower can fit through, allowing the bucket to act as a stable base and water reservoir.
An aquarium-style circulation pump moves water from the bucket to the top reservoir. In this design, the top reservoir is made with a plastic flower pot. Cut a hole for the hose to come up into the flower pot, and secure it in place with silicone glue. Then, drill many small holes so that the water flows down into the tower without going over the top. Install an overflow pipe at the top of the flower pot and test the system to ensure proper function before placing it indoors.
Once your hydroponic tower is fully assembled, add water and nutrients to the base reservoir. Fill the plant holes with seedlings, using a growing medium to keep them in place, and monitor the system closely for the next few days. Don't throw away the leftover PVC pipe and scraps. You can repurpose any leftover PVC pipe and scraps for additional hydroponic projects or to make a stylish privacy screen for your yard.