Take Inspiration From This Vintage Martha Stewart Tutorial To Boost Your Curb Appeal
We may receive a commission on purchases made from links.
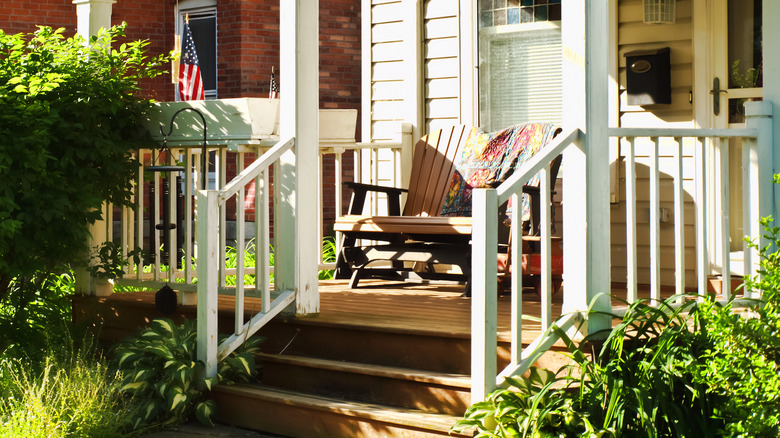
Your front porch can enhance your home's curb appeal, adding to its overall aesthetic and making it look relaxed, stately, or even whimsical. Style maven Martha Stewart illustrates this quite well in one throwback video, in which she stencils a front porch. She does this on a wooden surface, but the same technique can be applied to a concrete one — an acrylic porch paint is suitable for both and can provide a lasting finish.
Stenciling requires both a steady hand and patience; each layer of paint will also need time to dry. It will all be worth it, though, and you might even be surprised by the transformation. Imagine how an intricate mandala could bring a boho-inspired vibe to a wooden porch, or the way a stenciled concrete stoop could resemble classic brickwork. Not only will this project make your porch look great, but it can also give it a gorgeous finish that lasts, allowing you to enjoy your updated space for season after season.
Beyond adding a little style to your front porch, this project will protect it from wear and weathering. If it currently sports an older paint job, fix chipped and peeling porch paint first by scraping or sanding it. Also, pressure-wash its surface to remove any dirt and repair cracked concrete or damaged wood before painting. To help the paint adhere better, it's a good idea to apply an appropriate concrete or wood primer before painting. Taking these prep steps will ensure a smooth, long-lasting finish.
How to stencil a front porch
Critical to this project is the stencil that you choose. It's a good idea to pick a floor stencil that will fit perfectly in your porch or patio space. Start by considering the size and shape of your surface. For a full-coverage design, look for a tile-style or geometric stencil that can be repeated multiple times across the space. If you would like to create a border effect, pick a stencil that is slightly smaller than your porch's area. This will create a rug-like effect, leaving some of the floor free of the pattern. Alternatively, you can use a small stencil design, such as a brick-style one, to create a simple border around the perimeter of your space.
Once you've chosen your stencil, select your paint colors. Start with your base color, which will cover the entire surface and serve as the backdrop for your creation. The other colors you pick will bring your design to life. Using a stencil brush — a paintbrush with a flat top and stiff bristles — will make it easier to apply paint cleanly and get crisp, stenciled lines. Be sure to tape down the stencil with a painter's tape like Frogtape before you get to work, so it will stay securely in place. Your project will likely take several hours to complete, but once it is finished, you can step back and enjoy your handiwork, noticing how it brings both personality and charm to your outdoor space.