DIY An Aeration Tool With Items You Already Have In Your Garage
We may receive a commission on purchases made from links.
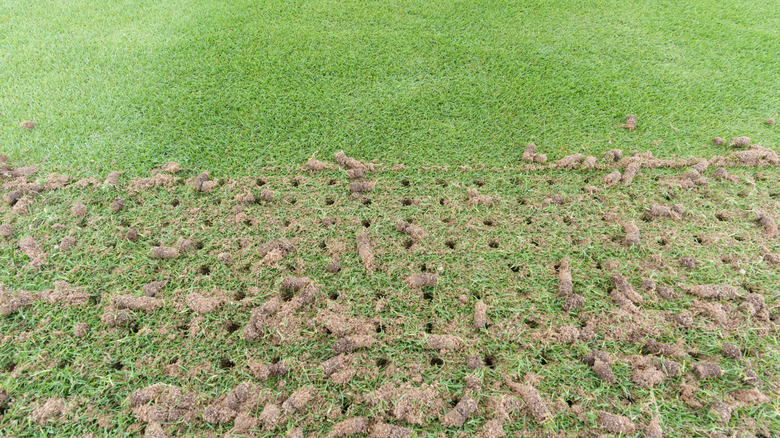
There are many benefits to aerating your lawn. It often allows your grass to develop stronger root structures, which improves its drought toleration, and results in a denser lawn. Aerating can also prevent erosion and aid with drainage. In combination with dethatching, it is one of the simplest ways to remove standing water from your lawn. You can also aerate to help control moss in your lawn. While aeration tools are easy to pick up at the hardware store or online, you can always DIY an aeration tool with items you already have in your garage. Then all you need to know is the best time to aerate based on your grass type.
For the easiest DIY aerator, just about any garden implement that is capable of creating holes in the ground can be used. If you are only aerating a small area, such as a brown patch, even a garden spade will get the job done. Should you have a garden fork, like the Gardenwork 4-tine garden fork, you can aerate slightly larger areas. All you really have to do is jab the tines into the ground and wiggle the garden fork a bit to enlarge the holes. Withdraw the fork, move a few inches, and repeat. However, if you're attempting to do a complete lawn, you will likely want to be able to cover more area with each stroke. That where a DIY aeration tool comes in handy. You'll need some 1-inch thick scrap wood and long nails. Eye hooks and nylon straps are helpful as is a metal garden rake.
How to make a DIY aeration tool
There are actually numerous ways to make a DIY aeration tool. When it comes to using materials you likely already have in your garage, there are a few that utilize such simple materials as wooden boards and nails. If you have scrap lumber, along with some nails, wood screws, eye hooks, and an old metal garden rake or nylon straps, you have everything you need to make either a handheld aerator or aerator shoes, or both.
Regardless of which version you intend to make, the initial steps are the same. To start, measure out your board, which is ideally ¾- to 1-inch thick. If you are using an old garden rake as your tool handle, the board can be slightly wider than the rake head. With shoes, the boards should extend a bit beyond. Next, drive several 4- to 6-inch nails completely through the board so they extrude through, with the heads flush against the top of the board. For a handheld model, the next step is to cover the nail heads with a second board of the same size, securing it with wood screws. Then, add three or four eye hooks, aligned with tines on the rake. Slip the rake into the eyelets and you've got a sturdy handle to push down with.
For shoe aerators, once the nails are in place, lay the straps across the top of the board, place a second board on top, and use wood screws to secure everything in place. Ideally, the screws should go through the straps that are sandwiched between the boards. Place the board on the ground, set your foot on top, wrap the straps over your foot, tie or clasp them in place, and get to walking.