How To DIY A Conversation-Worthy Succulent Ball For Your Garden
We may receive a commission on purchases made from links.
Gardening is good for your health, and may reduce stress or improve your mood. However, if you struggle with the maintenance that some plants can need, gardening may feel like more of a chore than a healthy way to spend time outdoors. Consider a succulent: An easy, fuss-free plant for beginners as long as you understand their needs. Take it a step further with a DIY succulent ball, which is a great way to show off your new green thumb and spark conversations.
For this project, the number of terracotta pots you need depends on the size of the succulent ball you're aiming for. The content creator below uses a base of 10 terracotta pots before reducing the number each layer, requiring quite a few pots to achieve this stylish look. You'll also need an exterior-use adhesive to glue your pots together. Opting for an adhesive designed for outdoor use can be the difference between a stunning statement piece that holds up to poor weather or a DIY succulent ball that slowly breaks down over time spent with the elements.
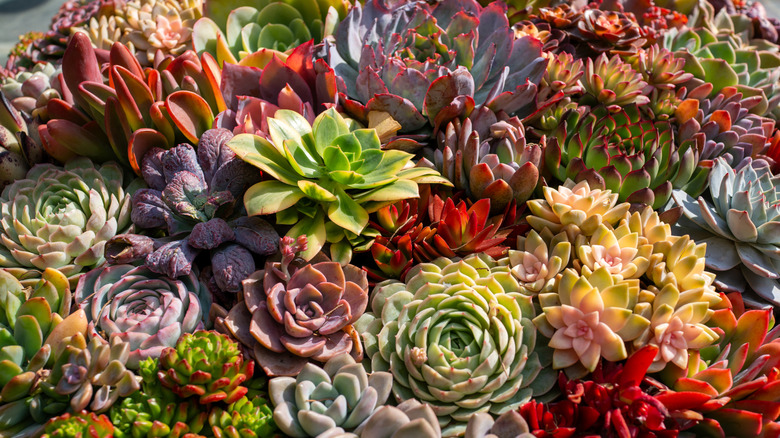
Creating the succulent ball itself is only part of the fun for this style-savvy DIY, however. Take time to pick and choose the perfect succulents for your garden, and tailor this project to your personal style. From there, you'll need to choose the right soil to give your plants a healthy foundation. There are many succulent soil options available, including Miracle-Gro succulent potting mix.
How to create a succulent ball using terracotta pots
If you've ever crocheted, this DIY succulent ball uses a similar method of creating an existing ring and building on it with smaller layers to create the round shape. With minimal resources and no tools, this project can be easy for beginners. Just follow the directions specific to the adhesive you choose and use proper safety techniques.
Start by creating the largest, middle layer of your succulent ball. Both the top and the bottom will be built from this layer. As a result, the middle also determines how large your overall succulent ball will be and how many pots you'll need to pick up. Once you've glued the middle ring of pots together, the next step is to build the final layers until you reach the top. To do so, place the next layer of pots in the gaps of your middle rings and begin to create your dome shape. Do this until you reach the top and then secure a final pot at the apex of the dome.
Completing the bottom of this project is identical to the top. Once the glue is secure for the top portion of your succulent ball, turn it upside down and begin building the other dome layer by layer, securing each pot with adhesive as you go. When your succulent ball is complete, you can add your potting mix and the eye-catching plants you picked. If you don't know where to start, burro's tail is a popular low-maintenance succulent, but jade plant, aloe vera, roseum, and zebra plant are all great options as well.