Two Quick DIY Mulch Glue Recipes To Try Out In Your Garden
We may receive a commission on purchases made from links.
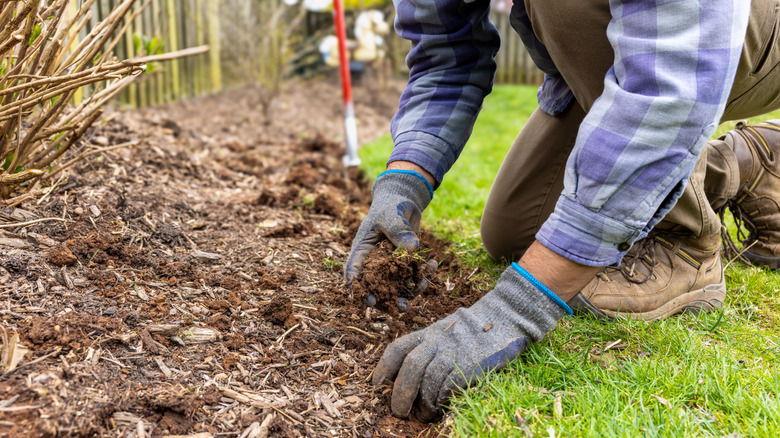
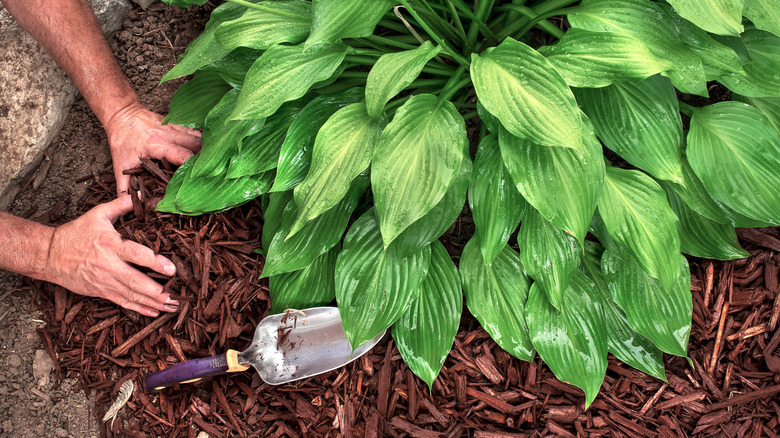
Whether you mulch your garden with a biodegradable material like wood chips or a more permanent option like gravel, you're likely to see fewer weeds and better moisture retention. This means less time spent weeding and watering, plus less money spent on weed-fighting products and utility bills. However, one of the main drawbacks is that mulch can wash away, blow around, or shift to unintended areas when you walk across it. Mulch glue is designed to minimize these problems, helping shredded tree bark, lightweight straw, and even pea gravel stay put. It may even let you refresh your garden's mulch less often since it can extend the life of wood chips and other materials.
In general, mulch glues work on a range of materials, including pine needles and rubber, but not every product offers the same adhesive power or chemical makeup. Though there are eco-friendly varieties on the market, it can be hard to discern if the ones at your local garden center are truly safe for kids, pets, and plants you intend to eat. You can do research and check labels, of course, or you can make your own from non-toxic materials.
There are several ways to make mulch glue from pantry ingredients such as flour and cornstarch. In addition to giving you peace of mind by keeping hard-to-pronounce chemicals out of the mix, homemade mulch glue can save you a chunk of change since store-bought alternatives can cost up to $30 per gallon. For many DIY mulch glue recipes, you'll need a saucepan and a tool for stirring its contents, plus a heat source that can bring your concoction to a boil.
Two mulch glue recipes to try at home
Making non-toxic mulch typically requires a handful of ingredients that you'll stir together in a saucepan, bring to a boil, and then simmer for 5 minutes or so. Keep stirring the mixture throughout the process to keep it from burning or sticking to the pan. Also make sure to wash your pan and mixing tool right away once you're done making mulch glue, as the finished product can be tedious to remove.
One of the simplest mulch glue recipes calls for equal parts of all-purpose flour and water. When blended together and boiled, they form an extra-thick wheat paste. This strong, natural adhesive is commonly used for binding books and hanging posters, but it can also keep mulch from sliding around in your garden. Though it's quite durable, it eventually breaks down when exposed to rain and ultraviolet light, so you'll need to reapply it from time to time. If you don't have all-purpose flour or are allergic to this ingredient, starches such as arrowroot and tapioca flour are suitable substitutes.
When it comes to adhesion, cornstarch and vinegar are another powerful pair. You can make mulch glue by combining 1 cup of cornstarch and 1 cup of water, heating them using the method described earlier, and then incorporating 1 tablespoon of white vinegar after you've removed the mixture from the stovetop. The vinegar thins out the glue a bit, which makes it easier to apply to your garden. It also doubles as an antimicrobial agent, slowing the growth of mold and mildew.
Applying your mulch glue to your garden
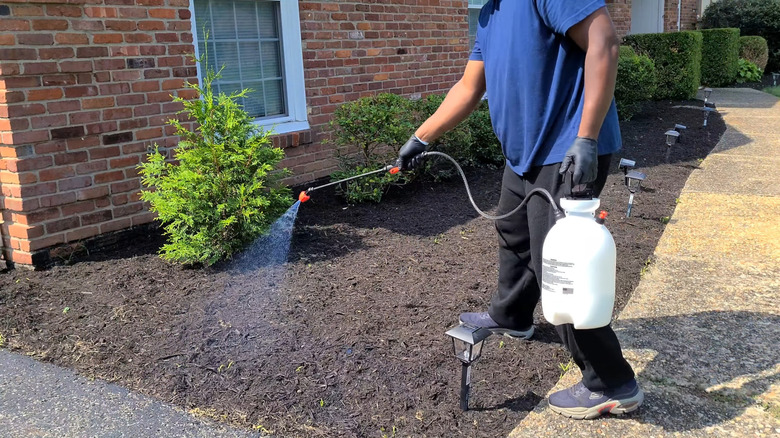
Shifting mulch is the reason mulch glue exists. It's also the biggest barrier to applying it properly. Though you can coat your mulch with this adhesive using something like a paintbrush, consider using a garden sprayer for even coverage. Mixing a few drops of food coloring into the glue before introducing it to your mulch is also a good idea. This can help you determine if you've covered every area that needs it. If your mulch glue is especially thick, mix in some water to make it easier to spread. Working with DIY mulch glue tends to be easiest when it's the thickness of milk or coffee creamer.
No matter how you apply the glue you've created, smooth out your mulch with a rake beforehand. Also make sure it's dry, which will promote a strong bond. For maximum effectiveness, spritz or push the glue into cracks and indentations. Give the edges of gardens and flower beds a hearty helping to discourage mulch from tumbling onto lawns, sidewalks, and pathways. You can also use your mulch glue on gravel walkways in your garden and beyond. However, if you're trying to stick together larger stones or bricks, opt for a stronger landscaping glue such as Loctite PL500.
Once the application phase is finished, let your mulch glue dry for a couple of hours. It may need extra drying time if you glue down the mulch on a humid day. You can use multiple coats of this adhesive to enhance its holding power. In general, you'll need to give your mulch a fresh coat of it each spring and after severe weather.